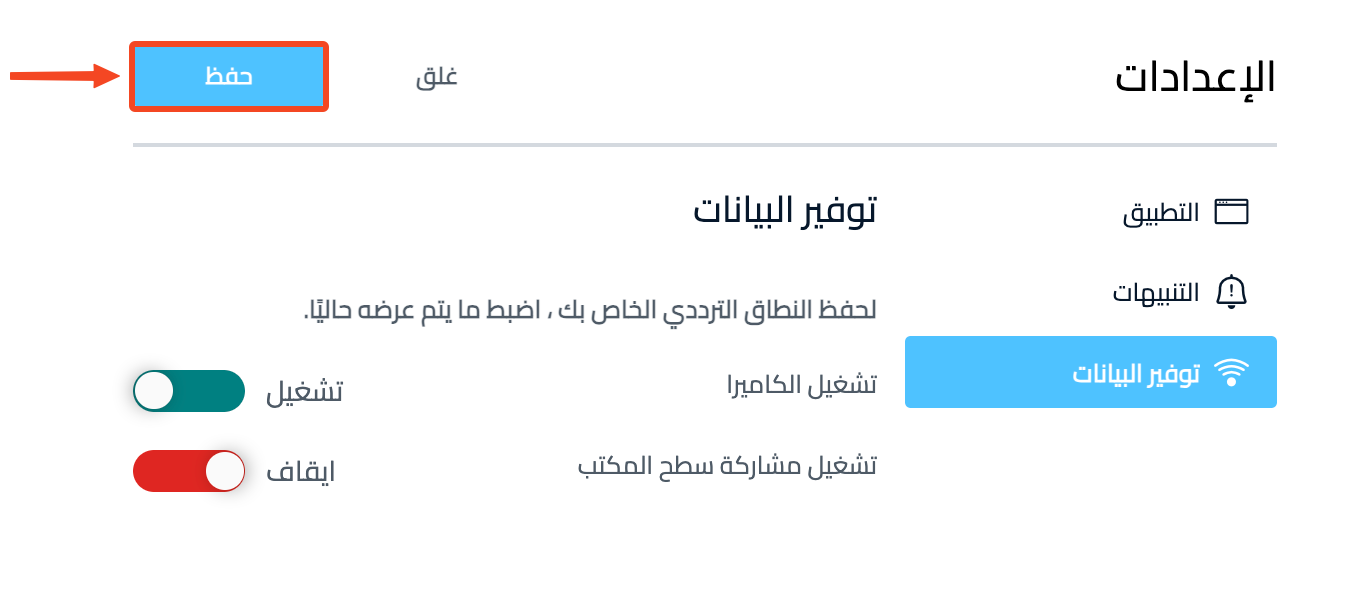
Room settings
This article shows how to change your own room settings during a session, such as dark mode, the application language, notifications and data savings.
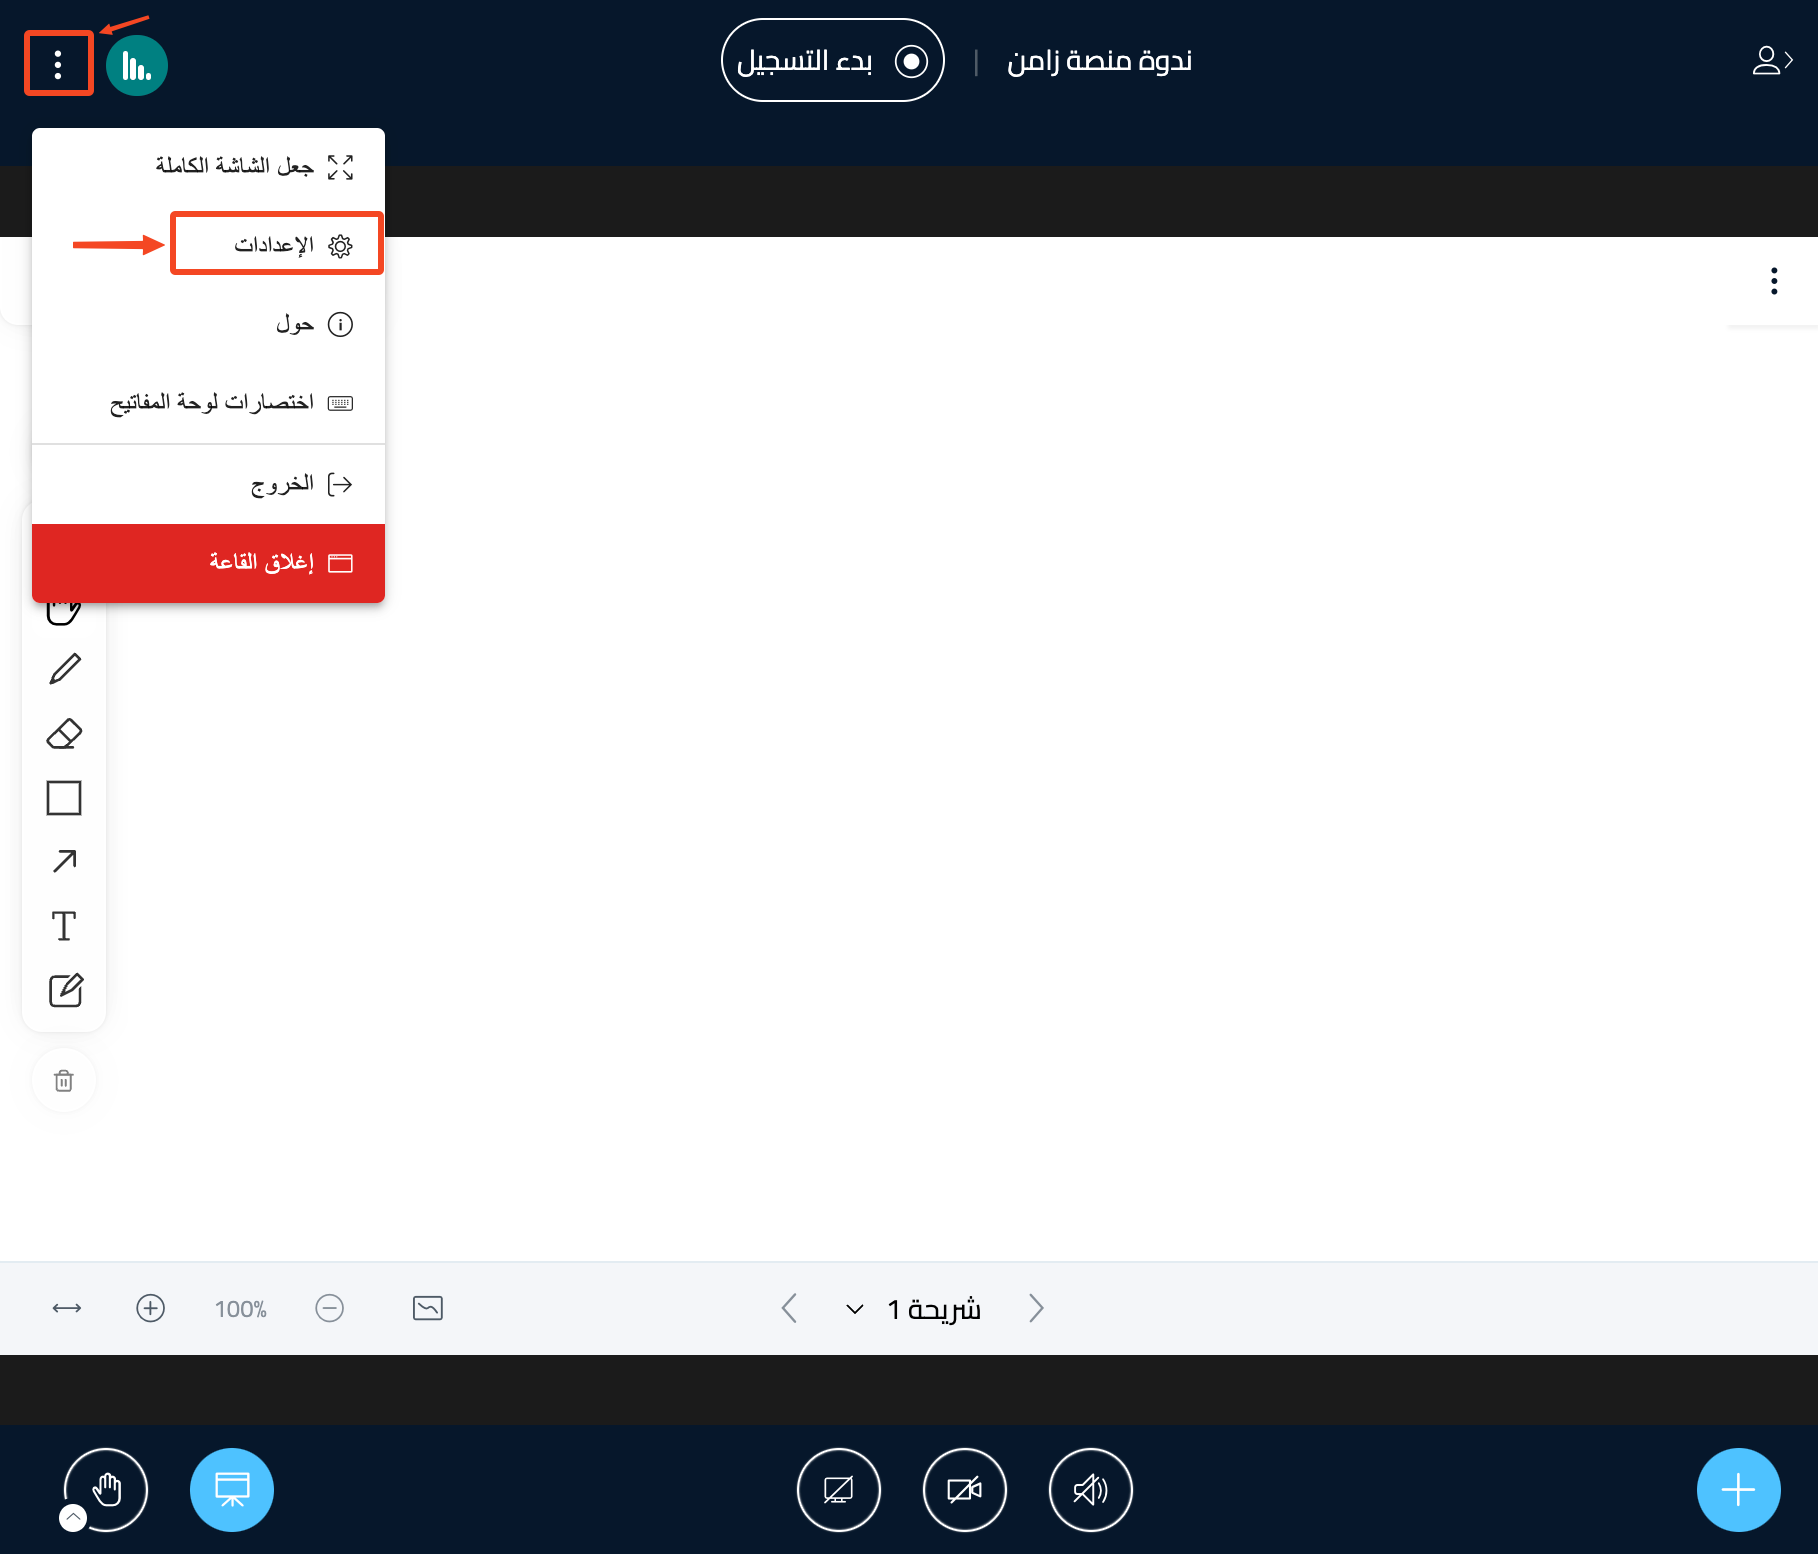
Steps to open the room settings
-
Click the options button (three dots) at the top of the screen.
-
Choose Settings.
Application settings
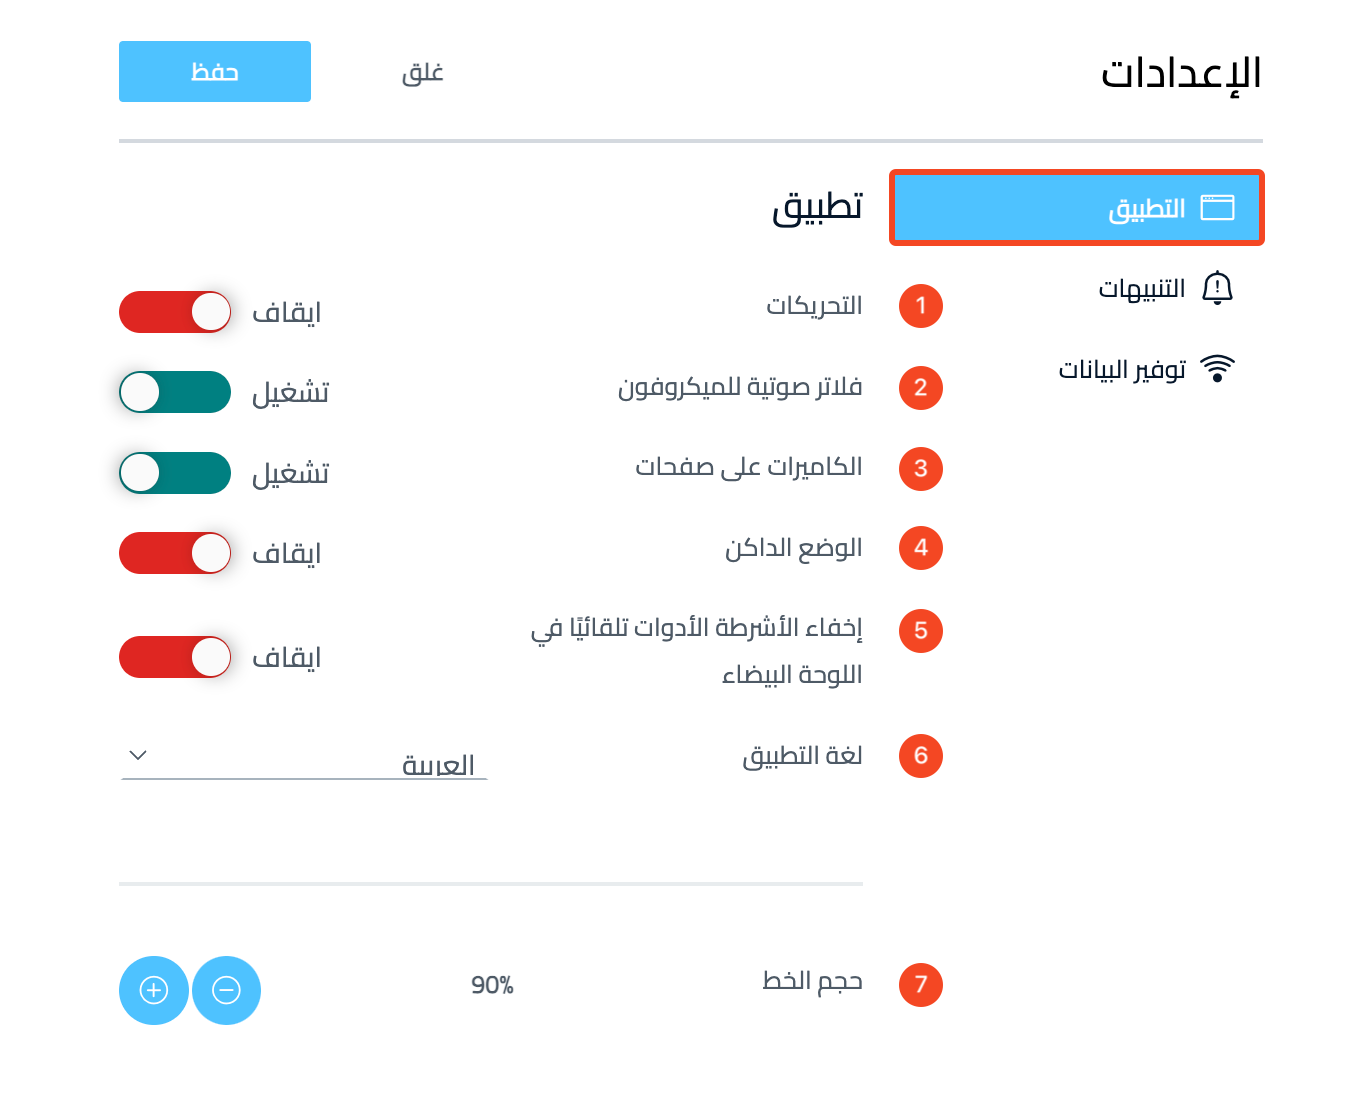
On the Application page, you can turn these settings on or off:
- Animations.
- Audio filters for microphone.
- Paginate webcams: when many cameras are shared, you can turn on this option to show all the cameras together on the screen.
- Dark mode.
- Auto hide the whiteboard toolbars.
- Application language.
- Font size.
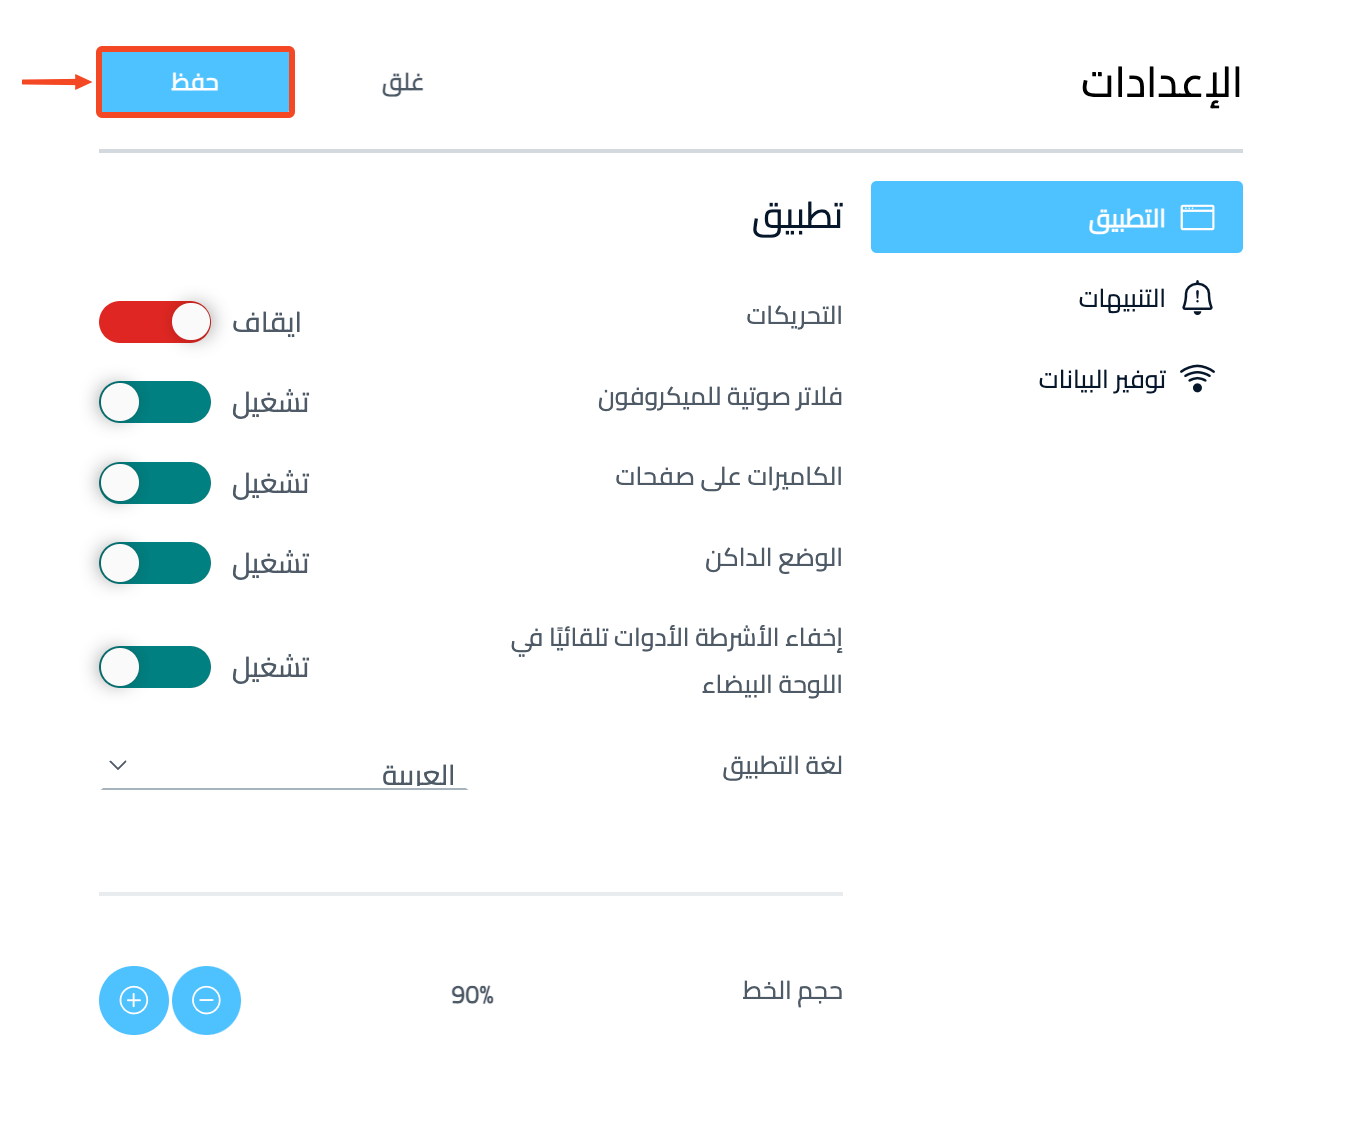
When you finish changing the application settings, click Save.
Notification settings
On the Notifications page, you can choose audio and popup alerts. You can turn on audio alerts, popup alerts, or both, for each of these:
- Chat messages.
- User join.
- User leave.
- Guest waiting approval.
- Raise hand.
Note
All notifications are Off by default.
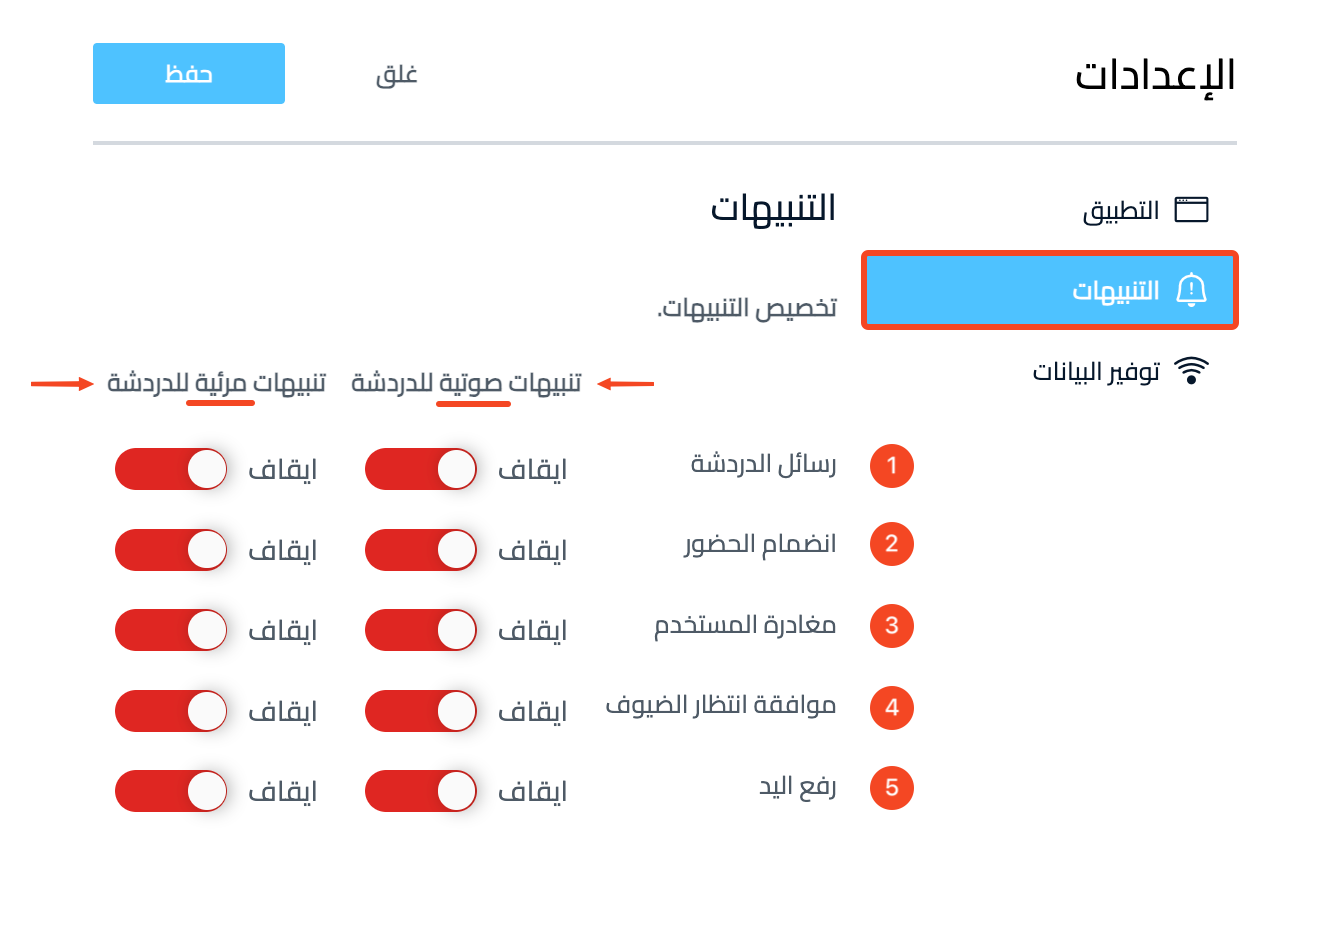
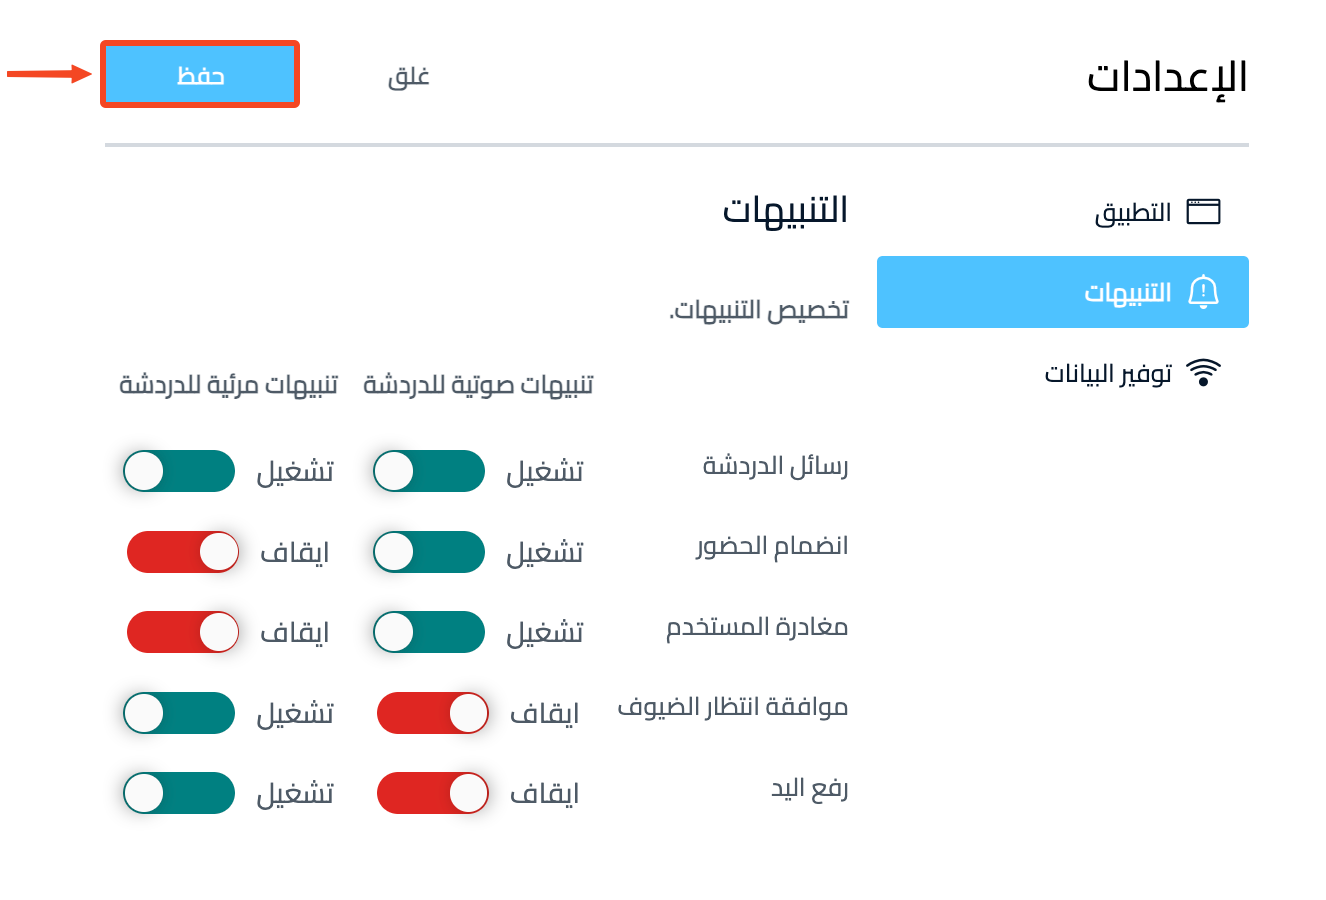
When you finish changing the notification settings, click Save.
Data savings settings
On the Data savings page, you can use less internet data by turning off:
- Enable webcams.
- Enable desktop sharing.
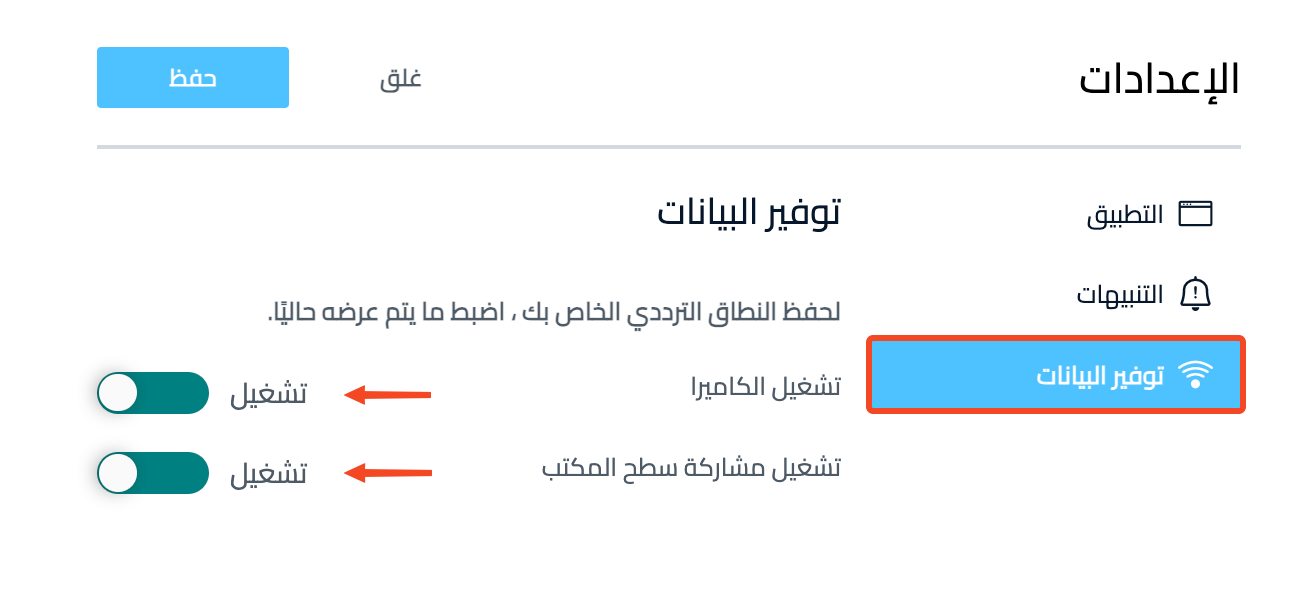
When you finish changing the data savings settings, click Save.