Set up Snapchat Pixel with Google Tag Manager (GTM)
This article shows how to install Snapchat Pixel on your platform with Google Tag Manager, so you can track visits to your platform and the results of your Snapchat ads. These steps are for platform admins.
You must connect your platform with Google Tag Manager first. To learn how, read Connect with Google Tag Manager.
How to install Snapchat Pixel with Google Tag Manager
-
Sign in to Snapchat Ads Manager, then open the navigation menu at the top left of the page and choose Events Manager.
-
Click New Event Source.

-
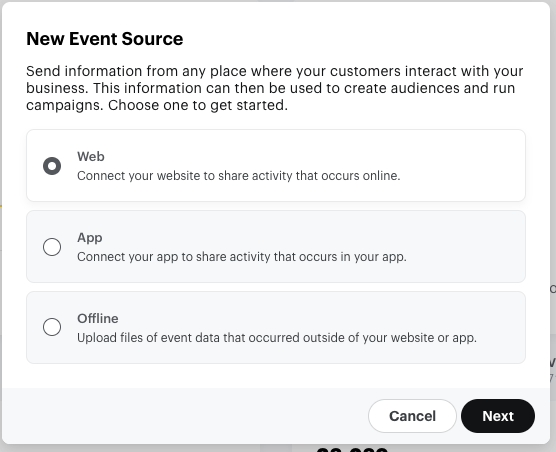
Choose Web.
-
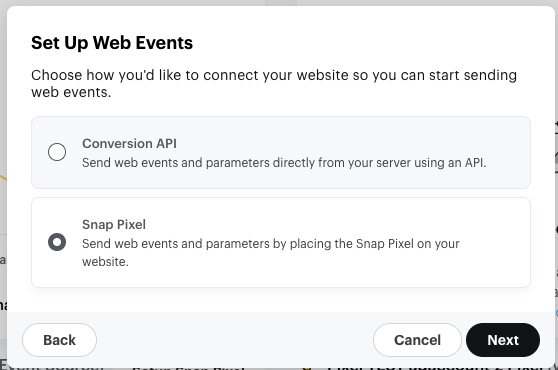
When you choose the setup method, choose Snap Pixel.
-
Choose the Pixel you want to connect from the drop-down list. (You can learn more about Snapchat Pixel here).

-
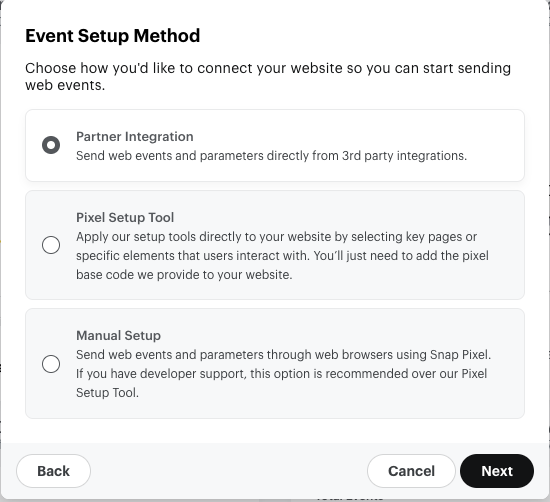
Enter your platform link (optional) to help Snapchat suggest the best setup method for your business, then choose Partner Integration.
-
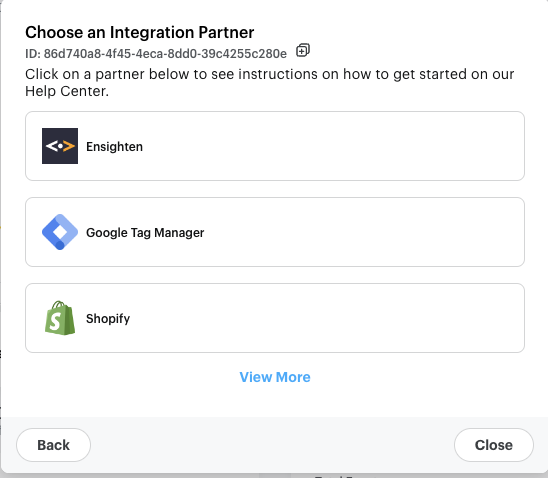
Choose Google Tag Manager as the integration partner.
-
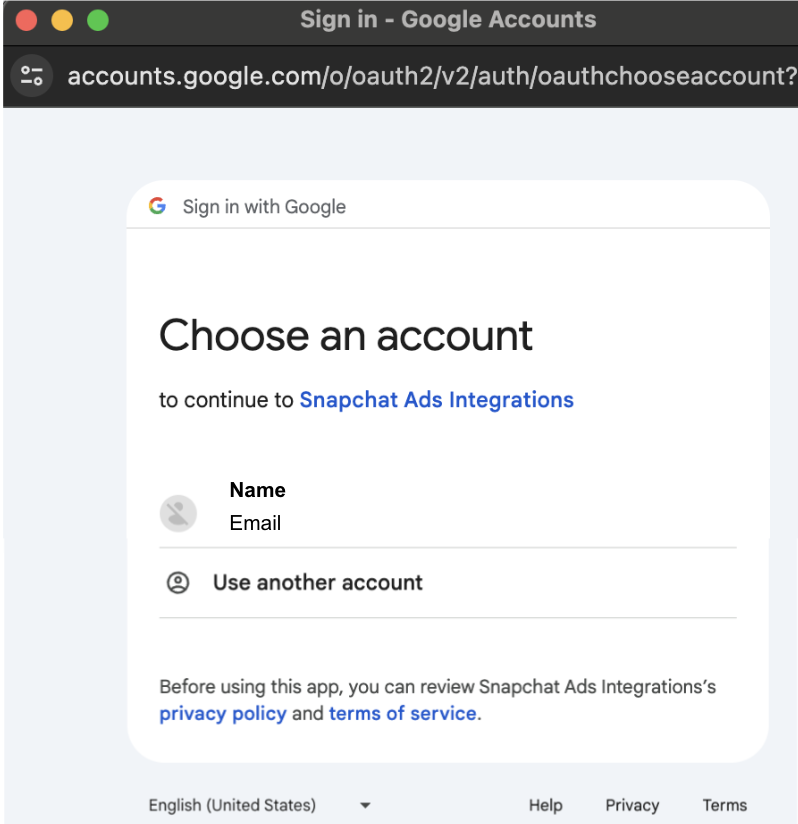
Complete the sign-in with your Google account (Google Authentication). If you do not see the pop-up window, check the pop-up settings in your browser.
-
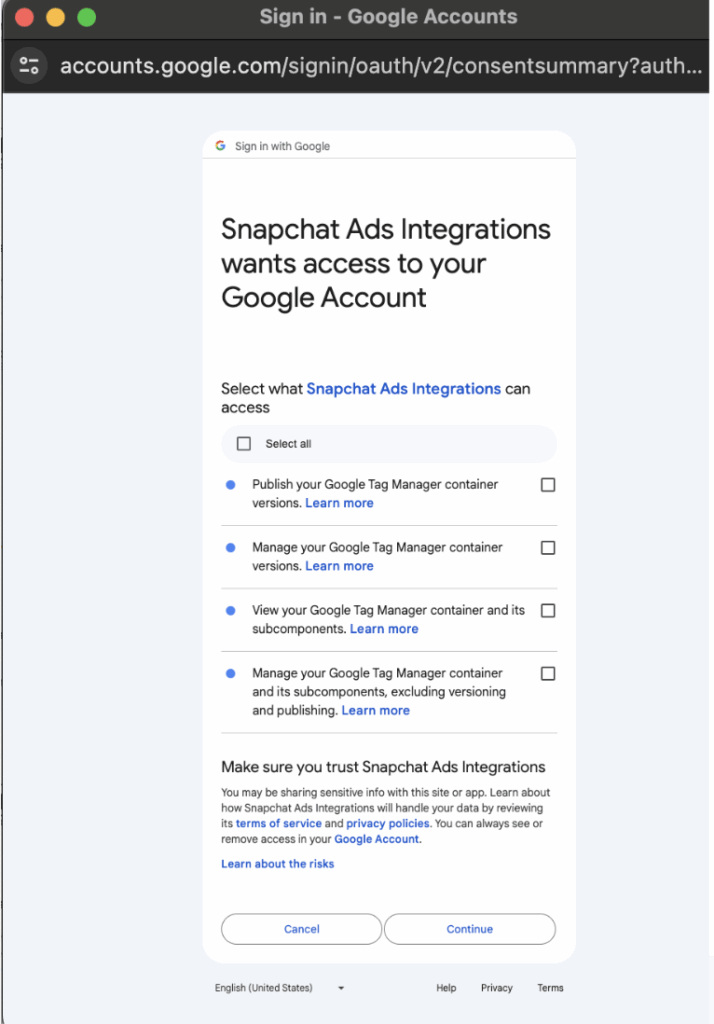
Approve the access for Snapchat Ads Integrations.
-
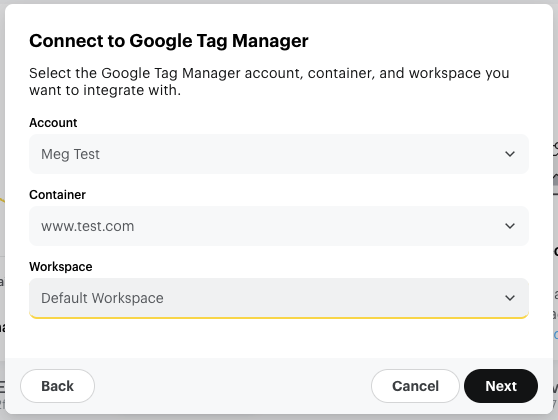
Choose your Google Tag Manager Account, the Container of your platform, and the Workspace you want to connect.
-
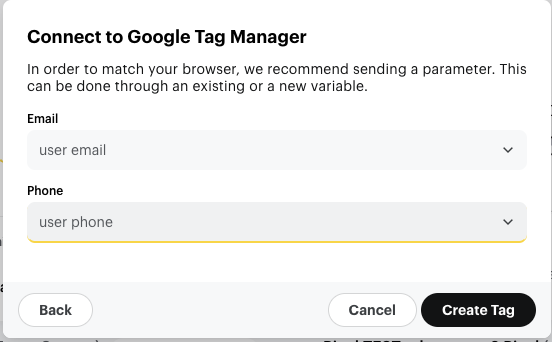
(Optional) Choose the email and phone variables, then click Create Tag. This data helps you link conversion events on your platform to your Snapchat account, so your ads show to users who are more likely to take the action you want.
-
Check the installation: enter your platform link, then click Check.
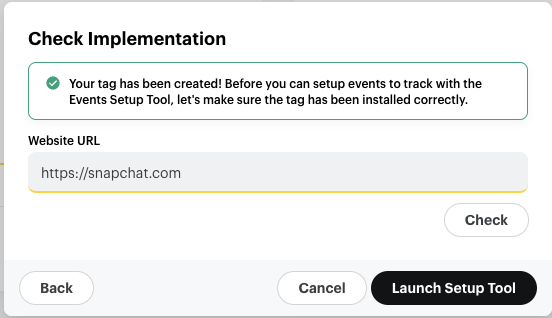
After you install the Base Code, you can use the Pixel Setup Tool to track certain events on your platform, such as purchases, adding products to the cart, or any other actions that matter to you.