How to control public signup for a course
You can stop or limit signup for a course in several ways. Here we explain each way in detail, so you can pick the one that fits your needs.
Open the signup options
You find the signup options when you add a new course, or when you edit an existing course:
-
From the dashboard, click Courses.
-
Click Add New Course, or click Edit Course Details on the card of the course you want.
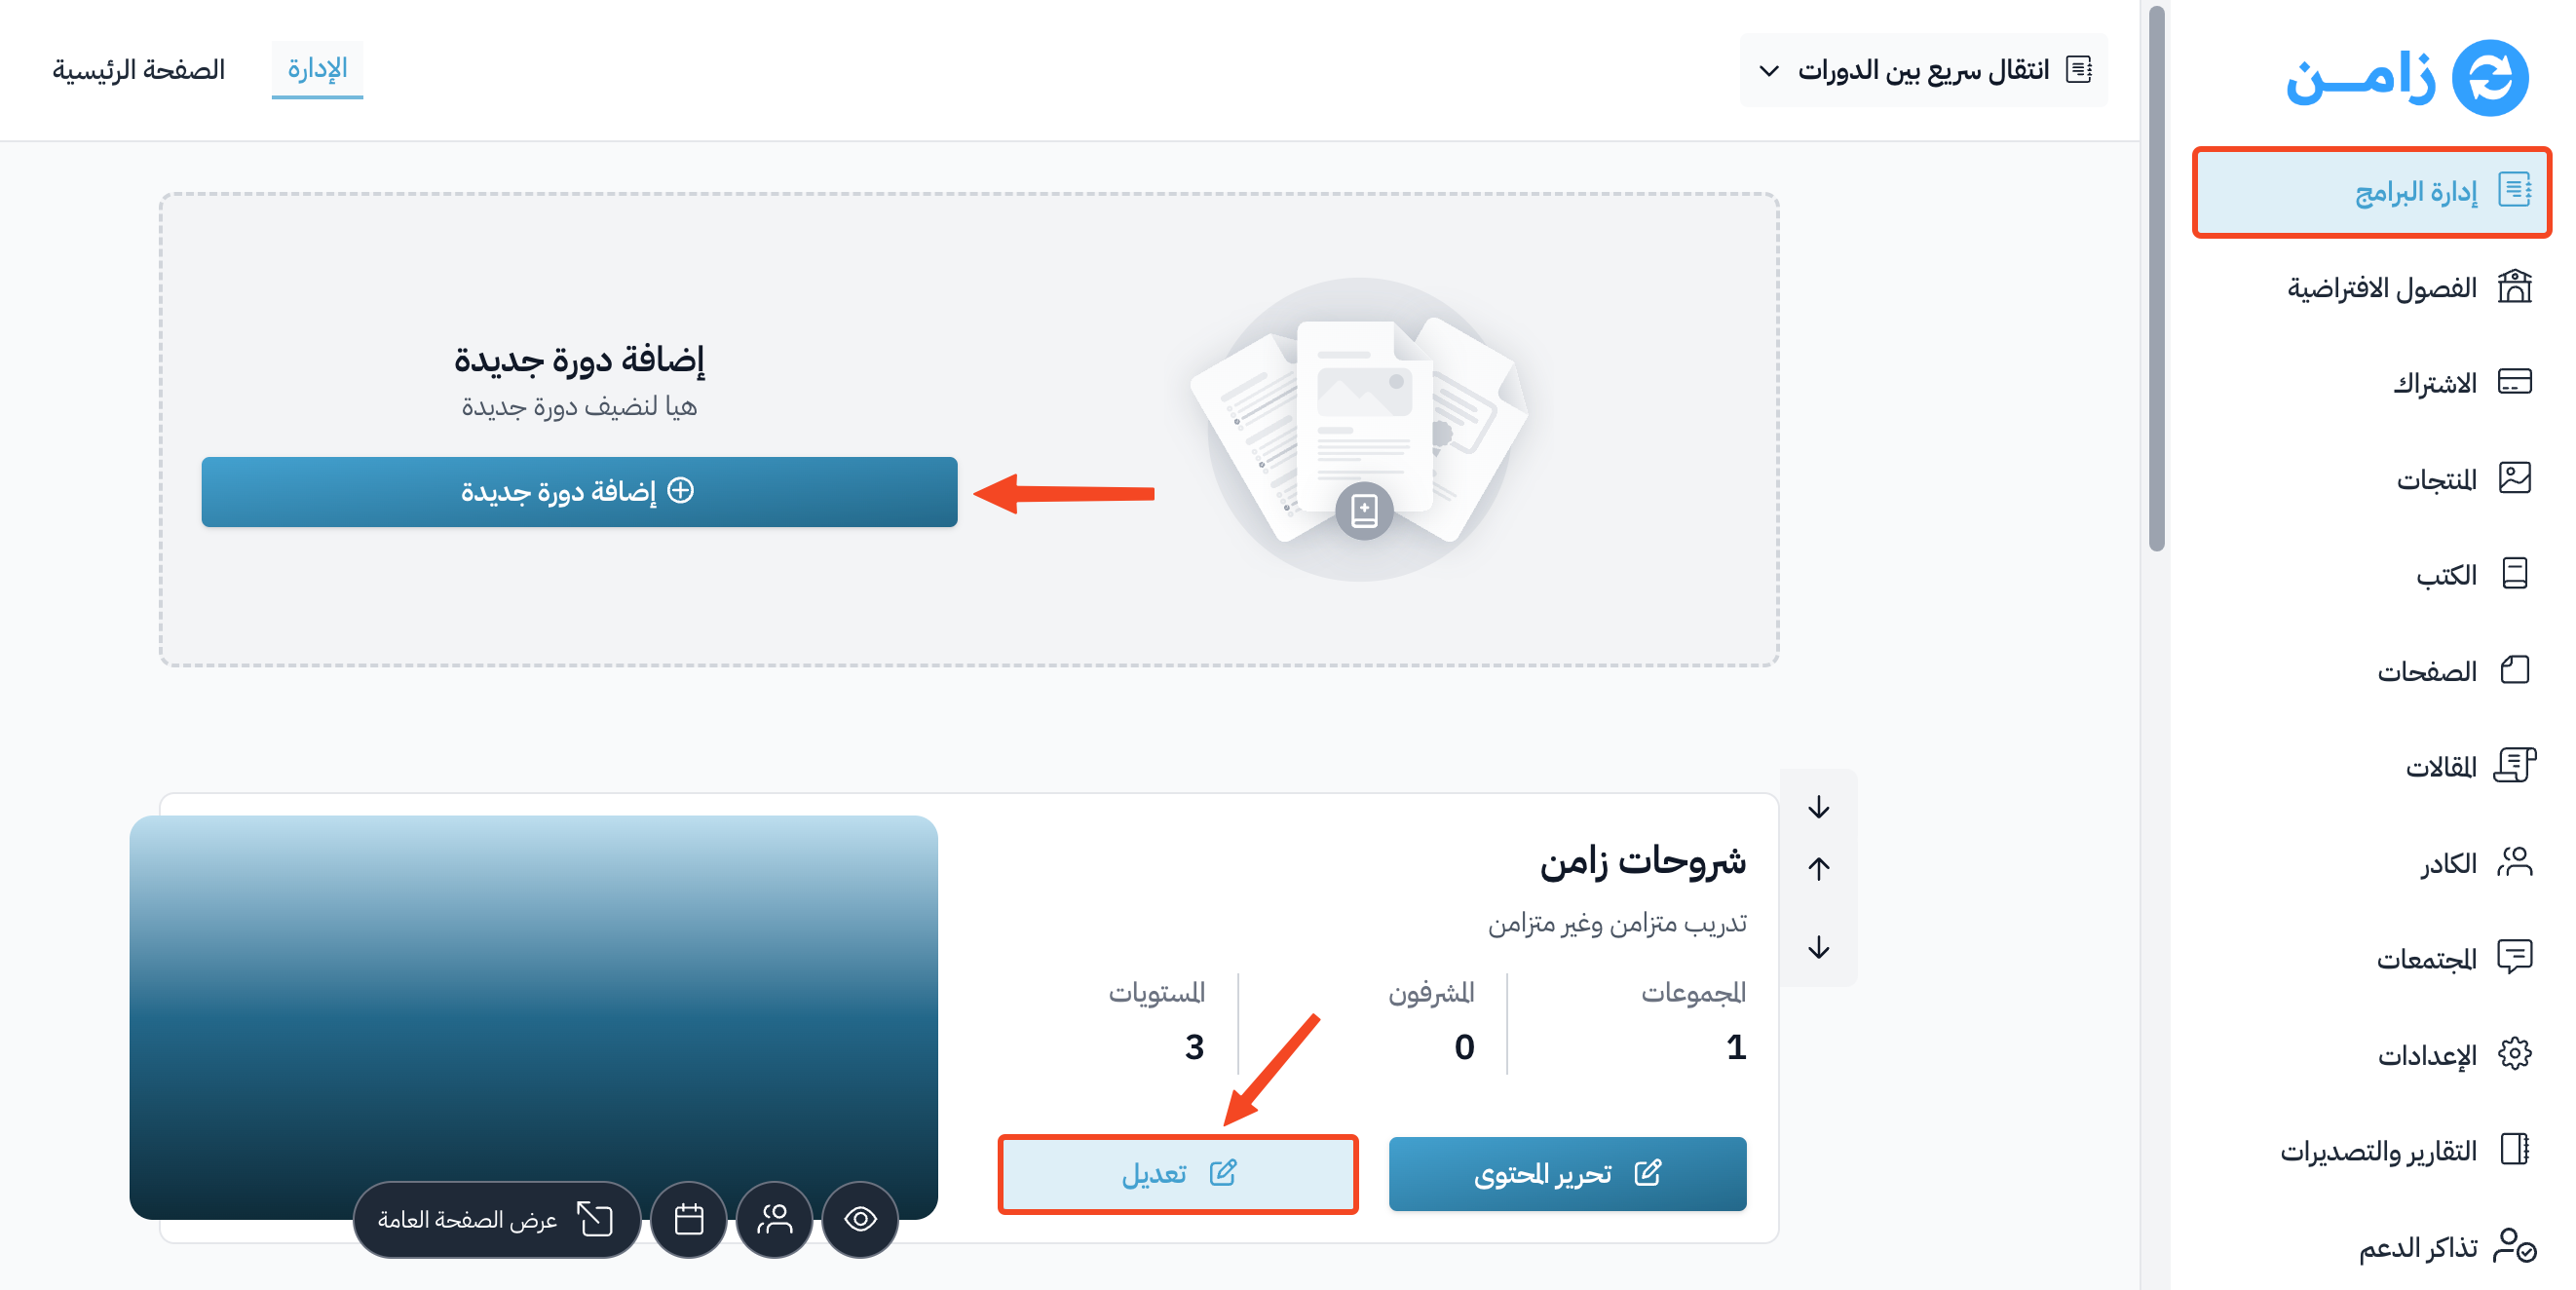
Ways to limit public signup for a course
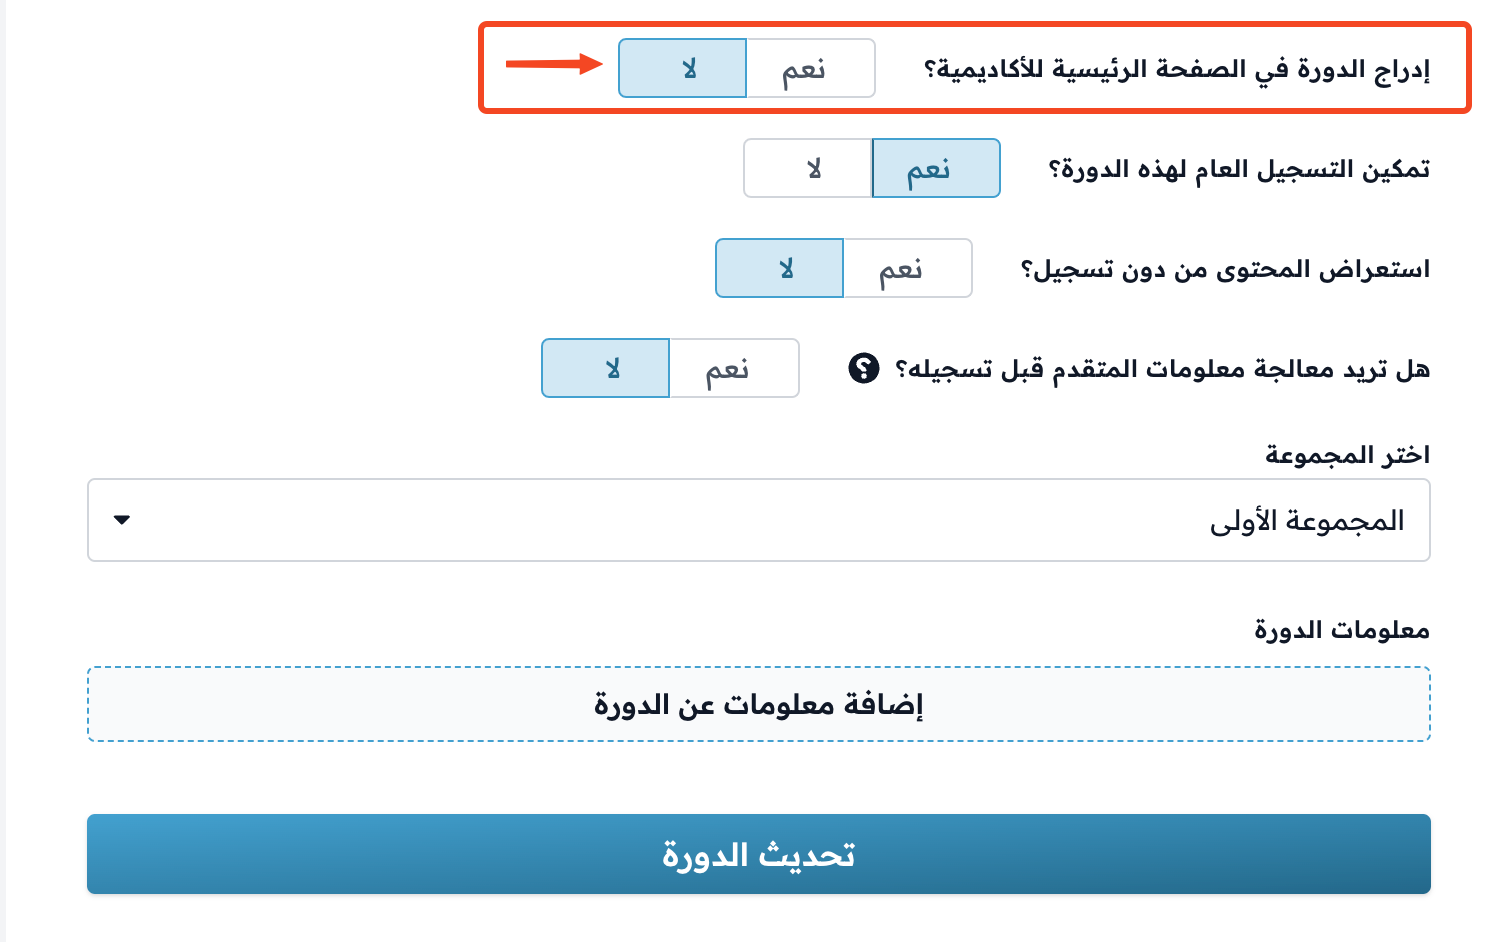
1. Do not add the course to the home page
Turn off Add to homepage. The course will not show on your platform's home page. Visitors can reach the course information or sign up only if they have a direct link to the course, reach it from somewhere else such as ads and posts, or the platform admins add them to the course.
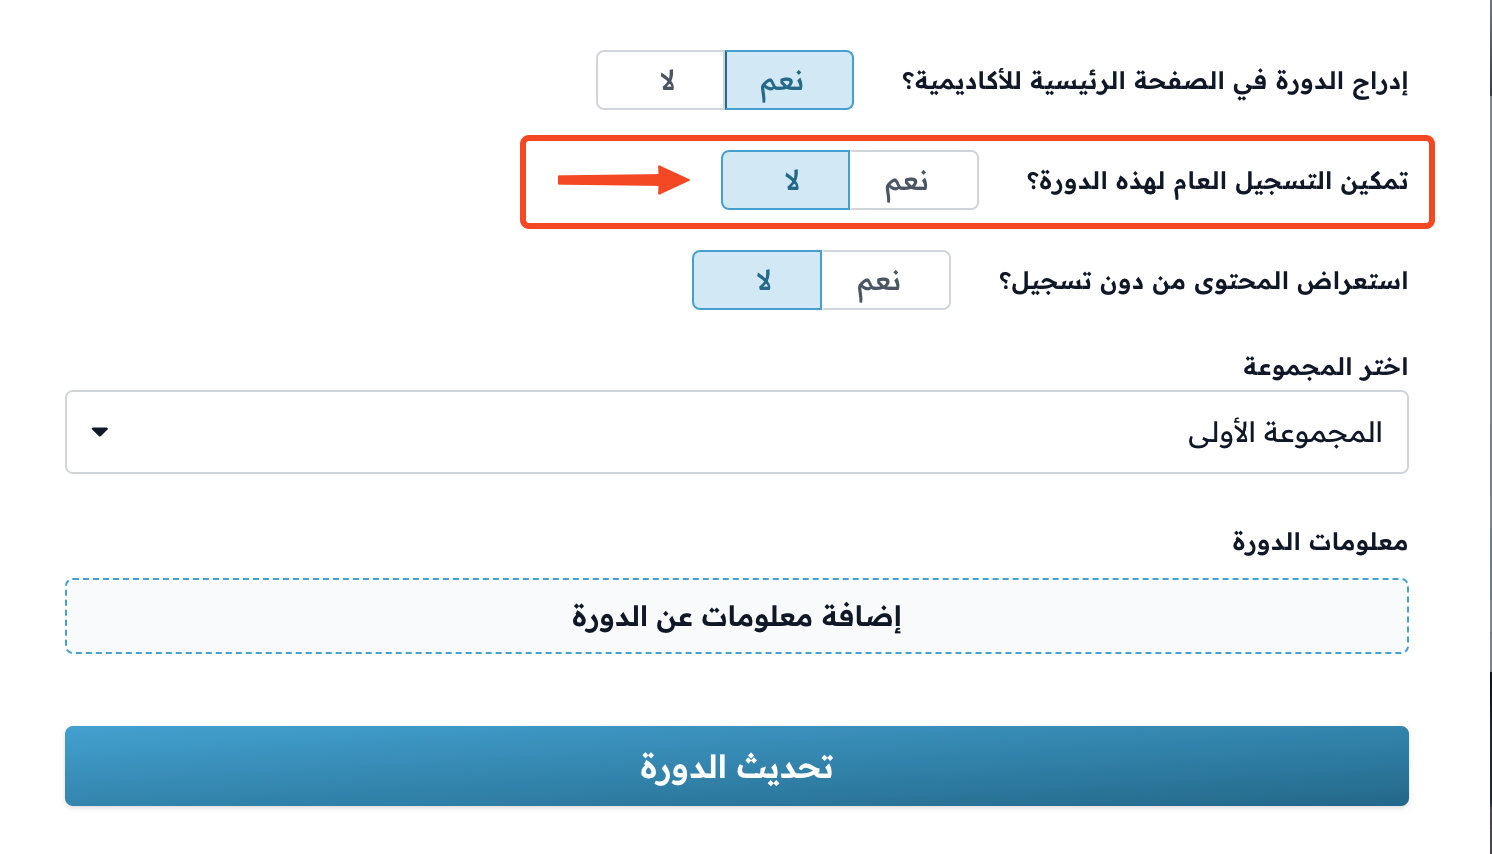
2. Turn off public signup for the course
Turn off Enable public signup. Nobody can sign up for the course, whether it shows on your platform's home page or not. The platform admins add students to the course themselves.
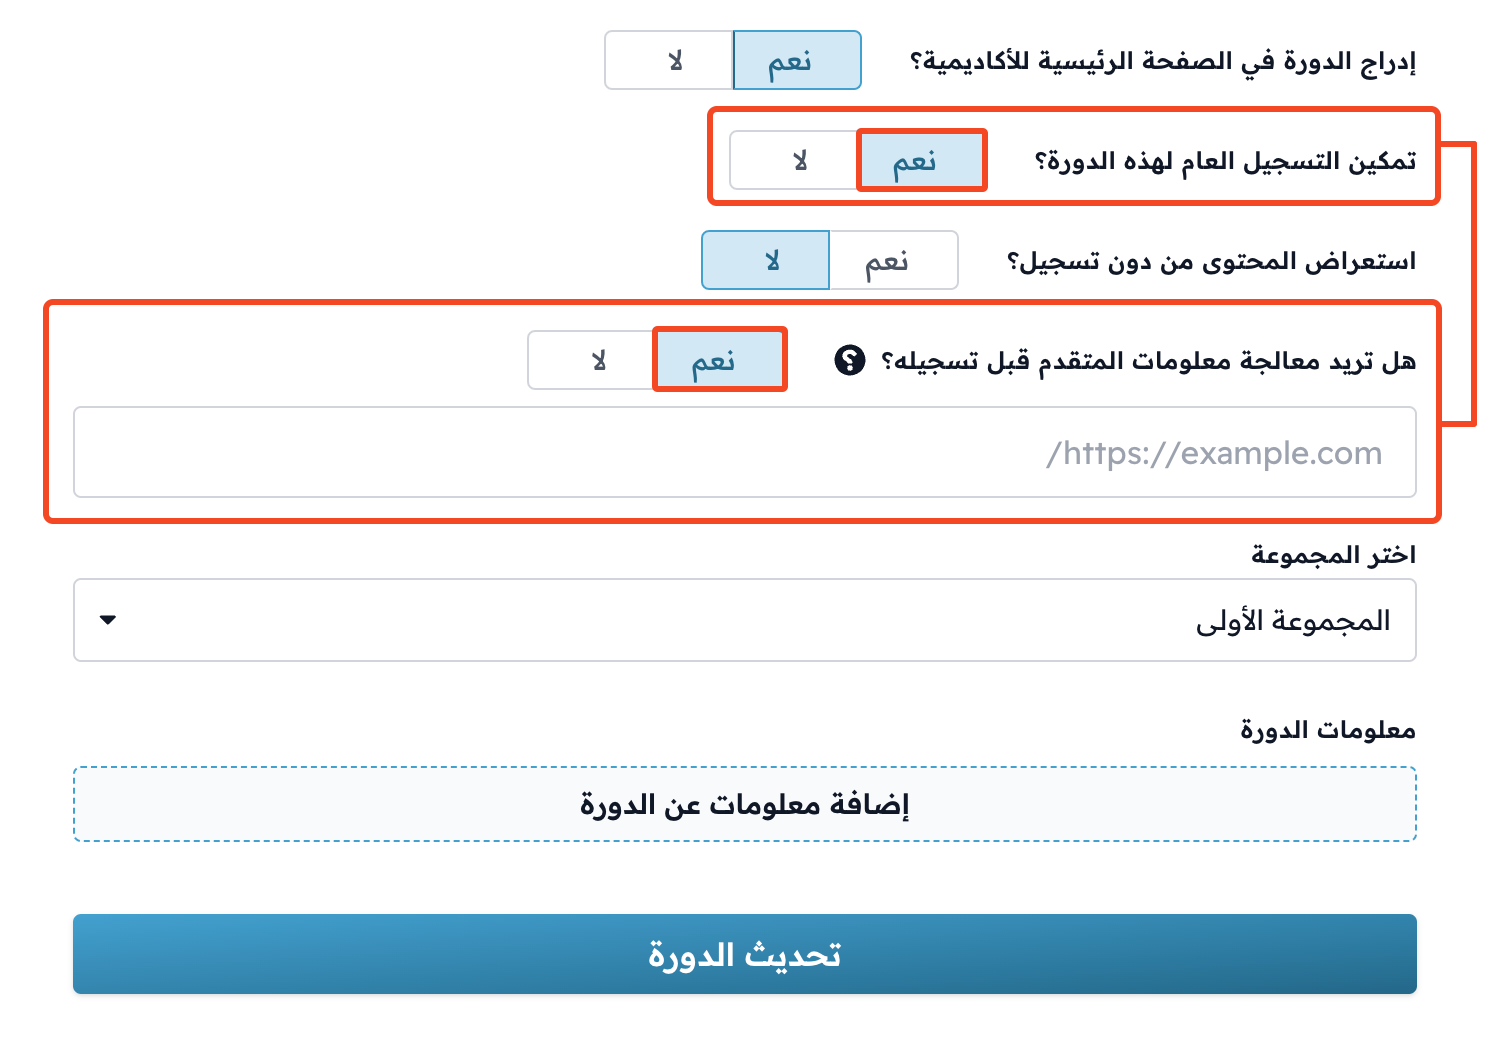
3. Process applicant info before enrollment
When Enable public signup is on, the Process applicant info before enrollment option shows. When you turn it on, applicants cannot reach the course content until the platform admins approve their signup request.
After you turn on the option, a link field shows. You can leave the field empty, or type a link that users are sent to after they apply to join the course (such as the link to your platform's home page).
You can also create a custom signup form with extra fields as you need. To learn more about creating a custom signup form, click here.
Signup requests show on the Applicants page in the course dashboard. To approve a request:
-
Open the Applicants page in the course dashboard.
-
Click the applicant's name, or click the ⋯ (Actions) button at the end of their row, then click Onboard as student.
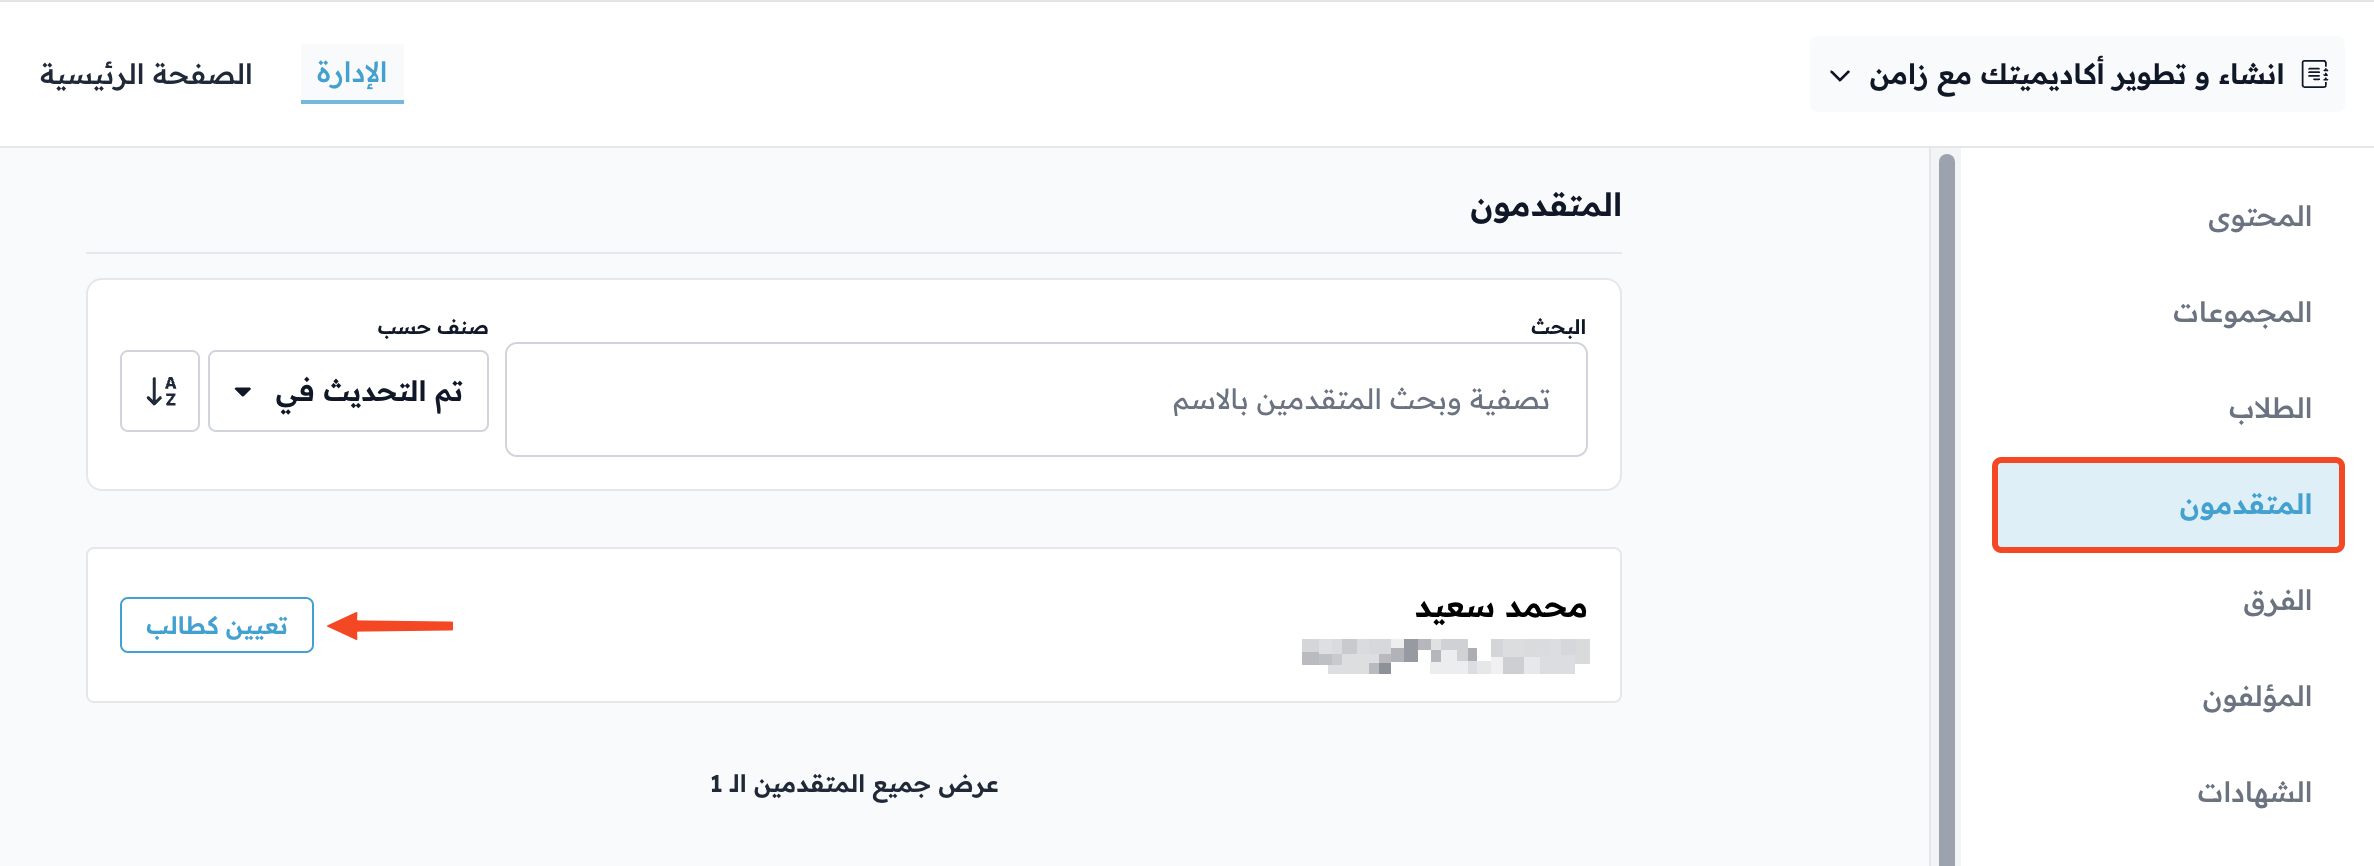
-
In the window that opens, click Add as student. Before that, you can add details such as Title and Tags, and turn on the option to notify the student and send them a sign-in link.