Edit courses
This article shows how to edit a course's information, and how to edit its content. This feature is for platform admins.
Edit the course information
Go to the Courses page, then click Edit Course Details on the course.
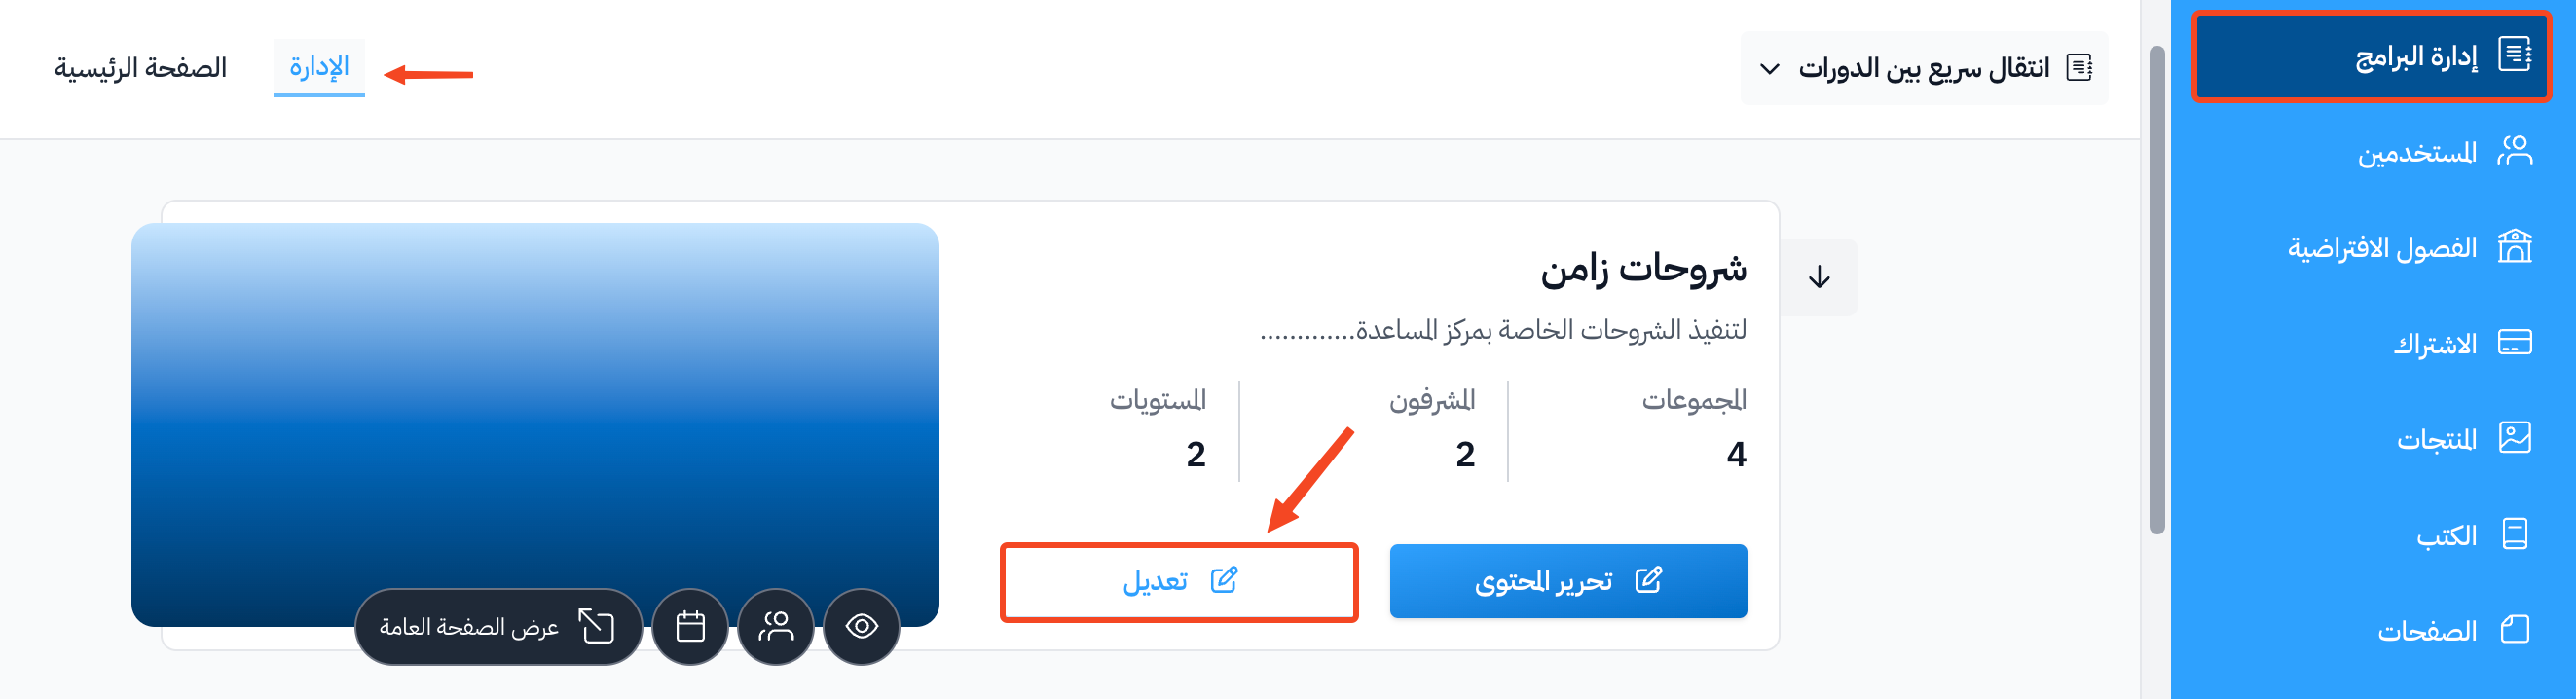
The Edit Course Details window opens. It has three tabs:
- Details.
- Images & Video.
- Actions.

Details tab
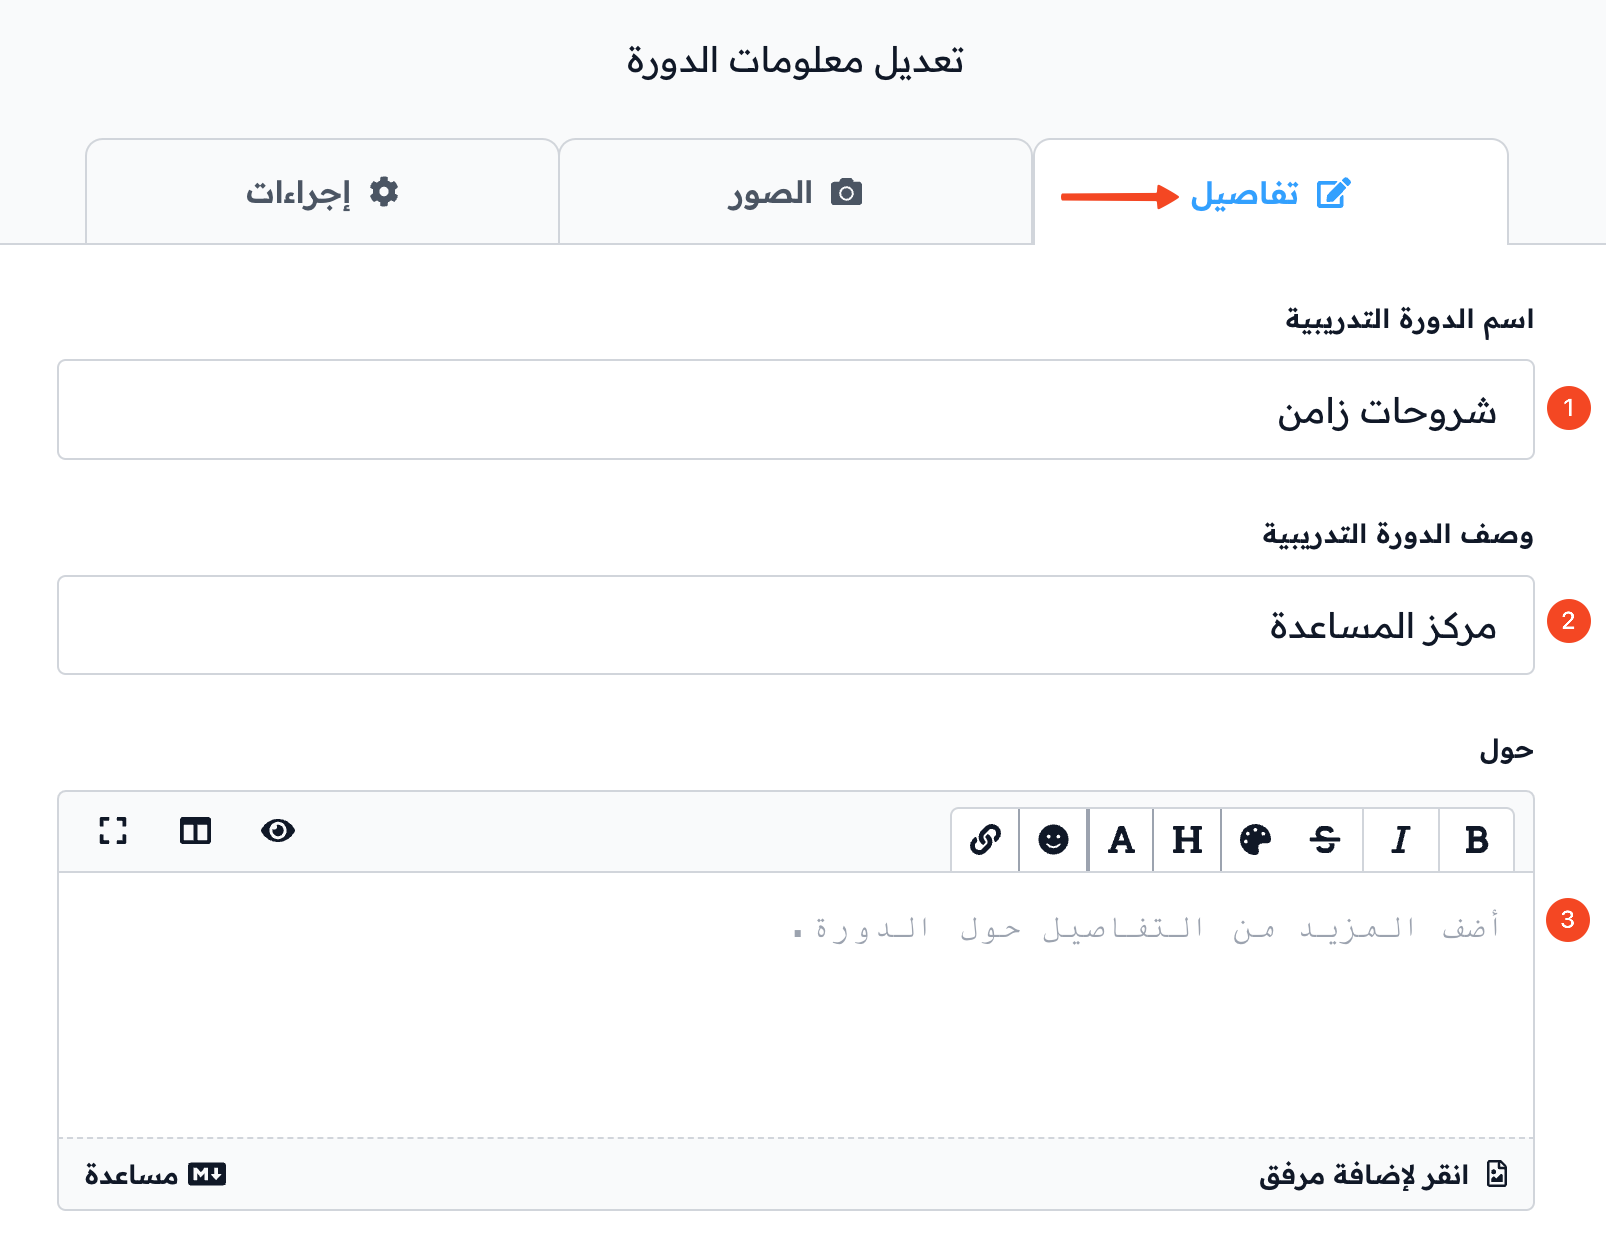
From the Details tab you can change:
-
Name: the course name.
-
Description: a short description of the course, 50 to 150 characters.
-
Details: more details about the course.
-
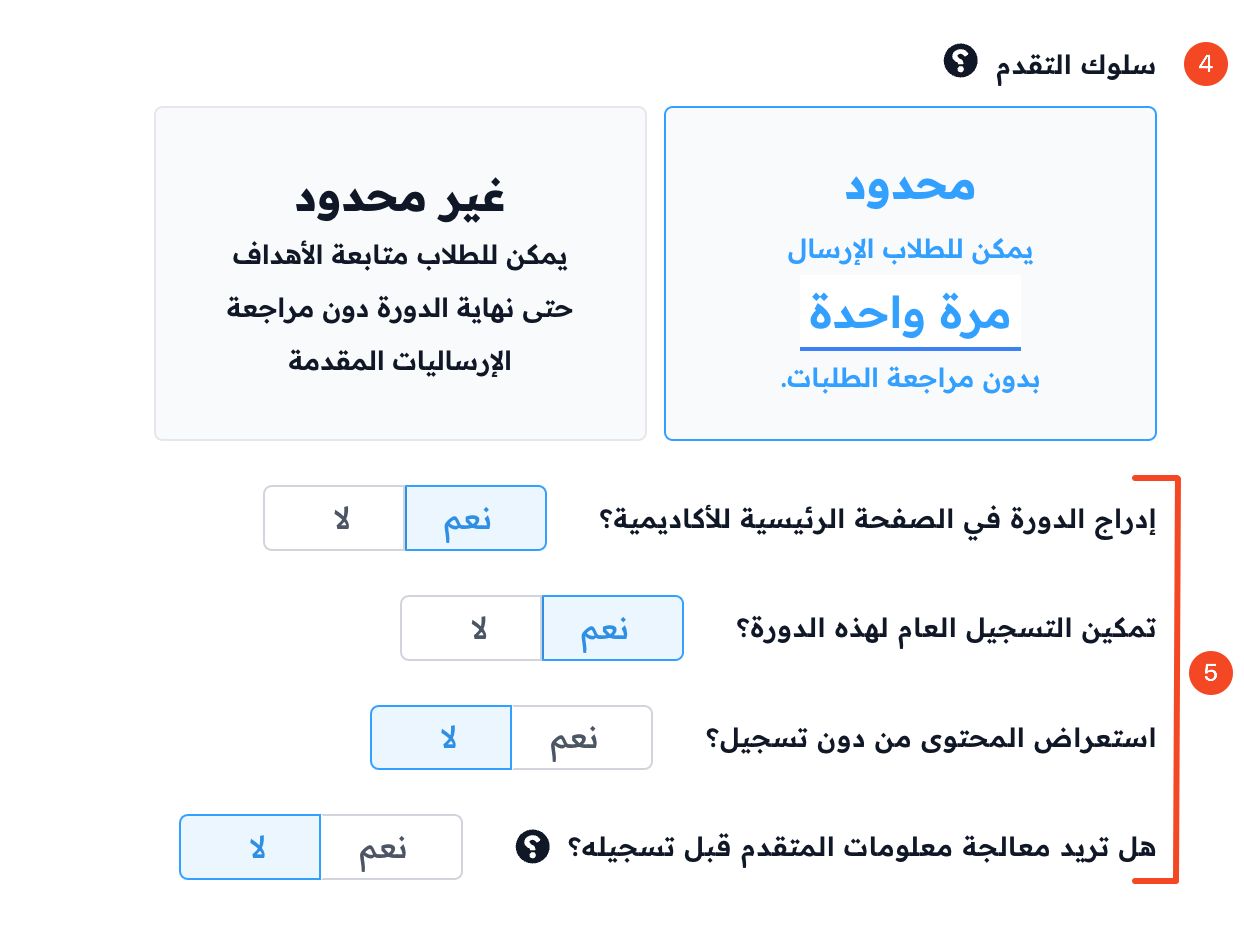
Course options:
- Add to homepage: the course shows to everyone on your platform home page.
- Enable public signup: visitors can sign up for the course by themselves. If you turn this off, you need to add students by hand.
- Show course outline to public: the course outline shows on the course page.
- Show watermark on videos and slides: the student's name and ID show on top of lesson videos and slides.
- Process applicant info before enrollment: a link the student is sent to after applying to join the course. The student then shows on the Applicants page so you can approve them by hand. This field only shows when Enable public signup is on.
-
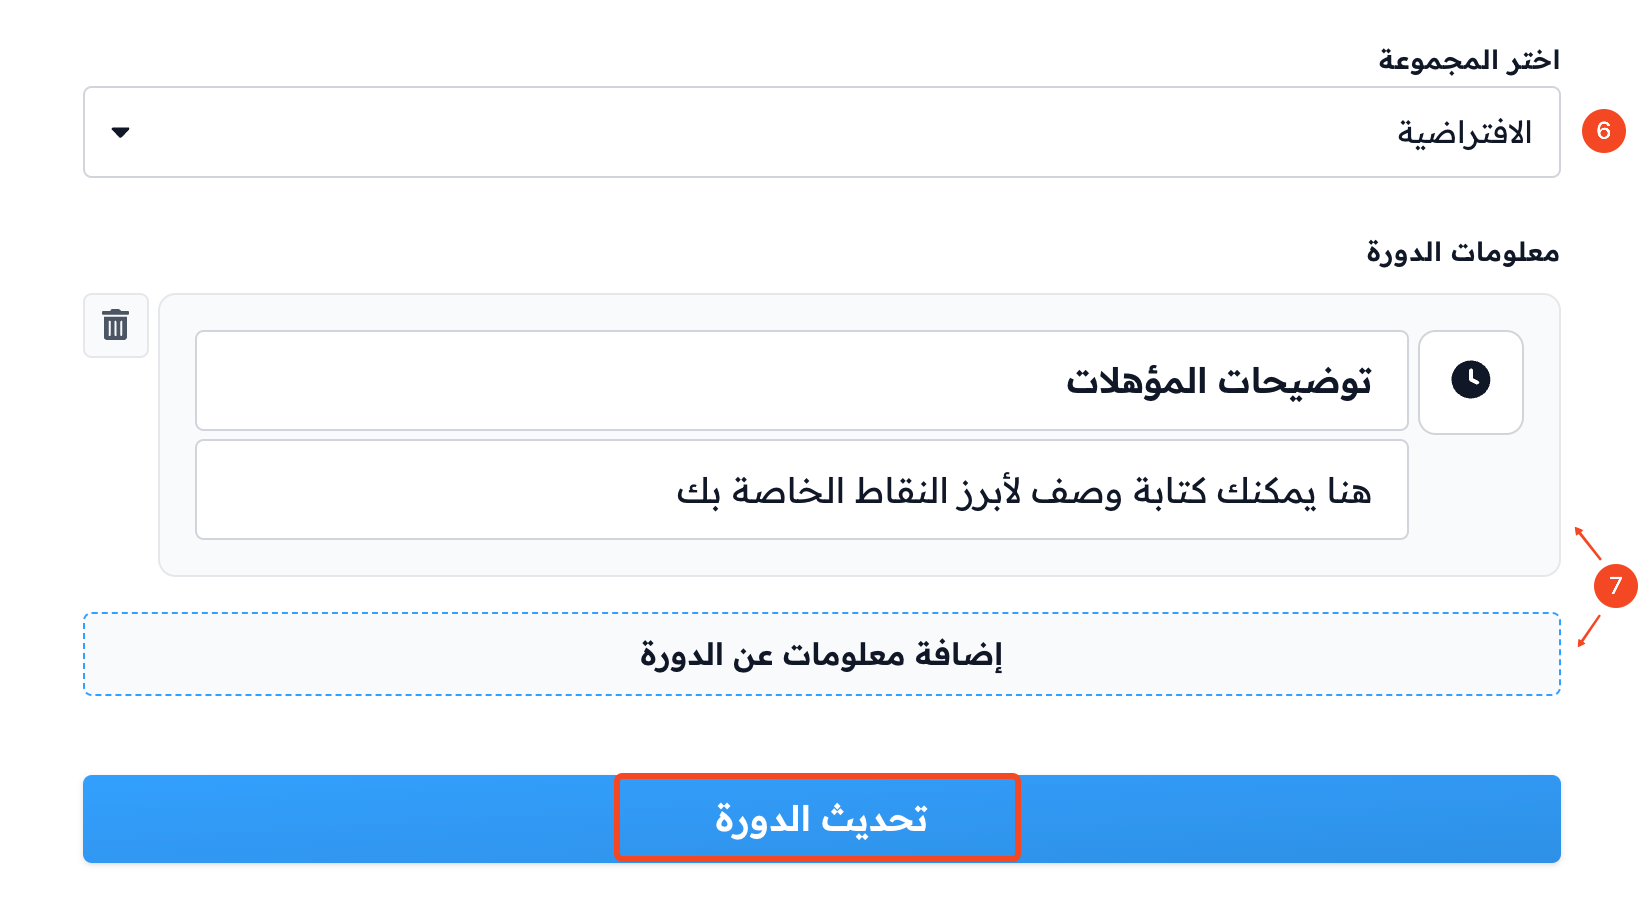
Pick the default cohort: change the default cohort of the course.
-
Course Highlights.
You can also change the Categories and the SEO settings from the same tab.
When you finish your changes in the Details tab, click Update Course to save them.
Images & Video tab
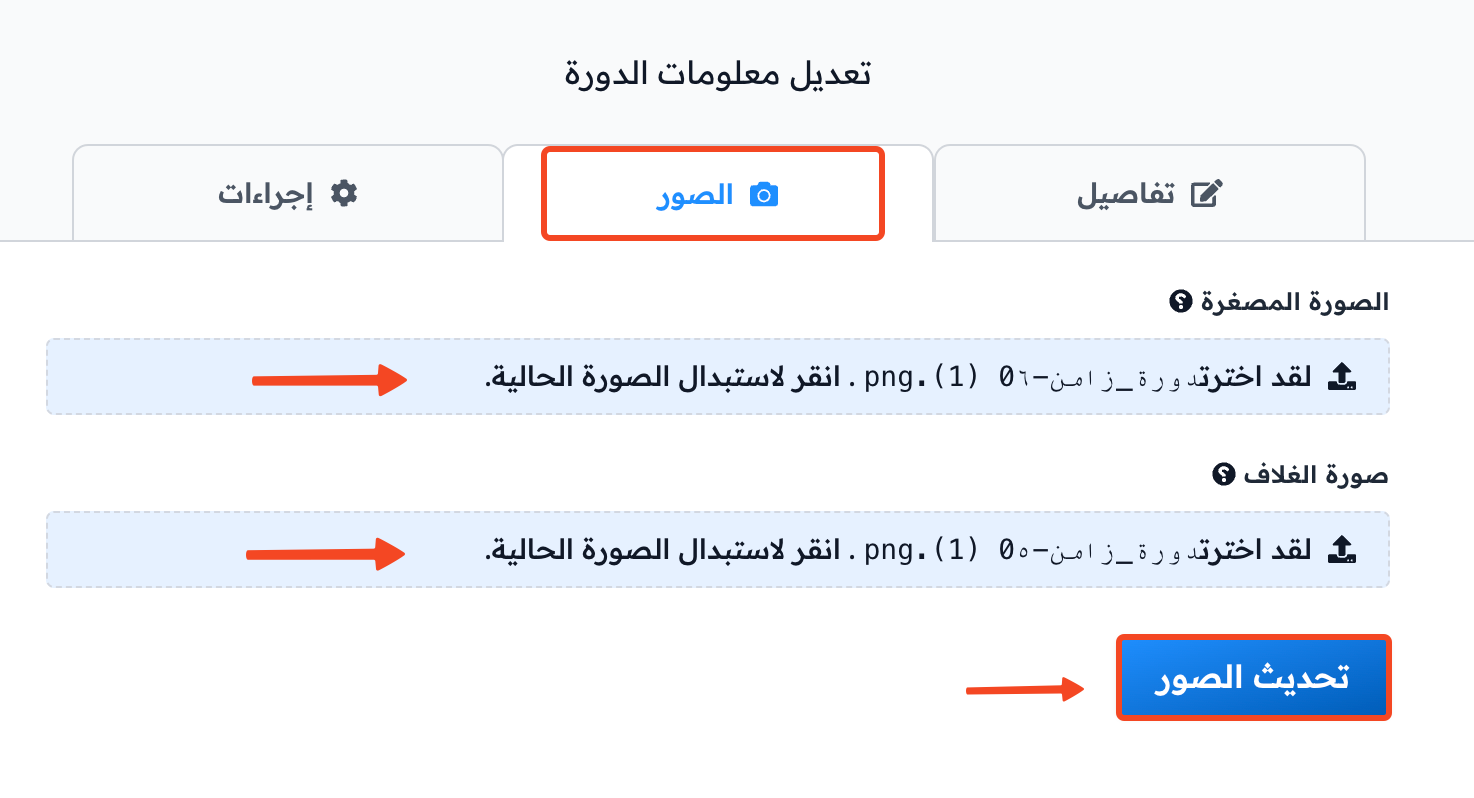
From the Images & Video tab you can change:
- Thumbnail.
- Cover Image.
- Course Video (YouTube): a YouTube video link that shows instead of the cover image at the top of the course page.
When you finish, click Update Images & Video to save.
Actions tab
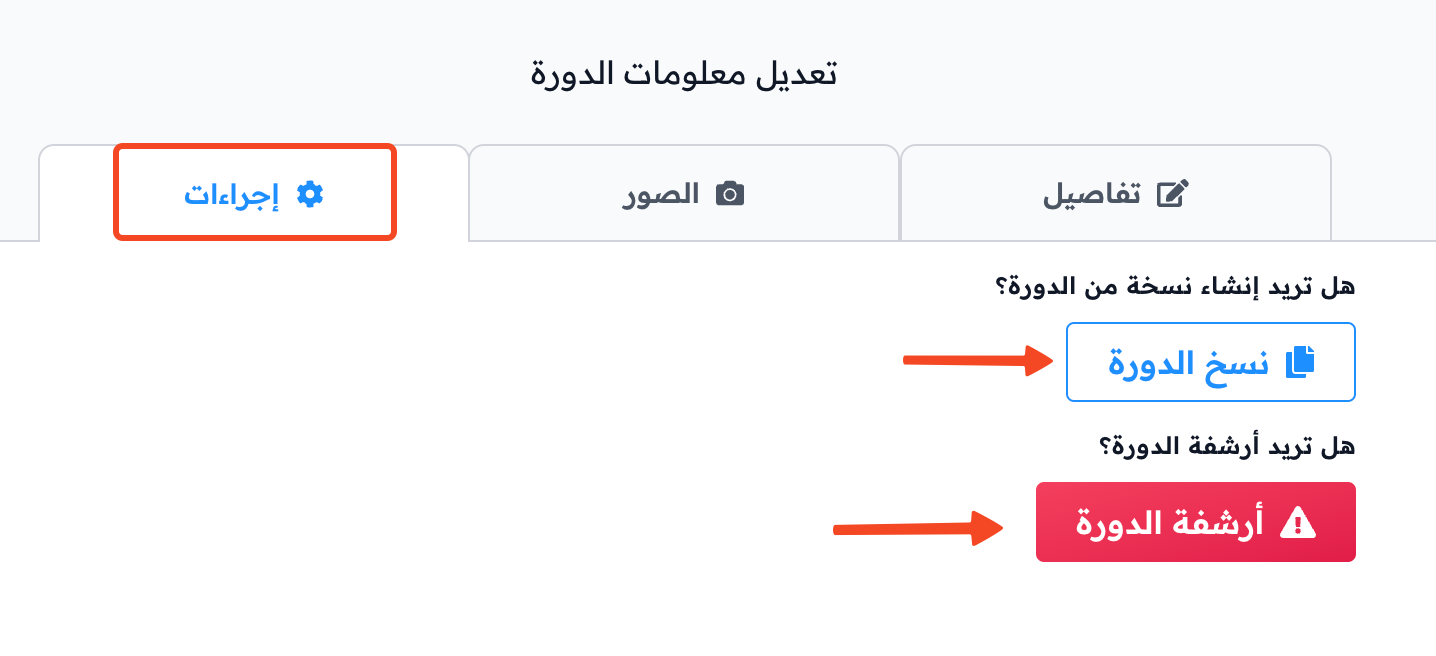
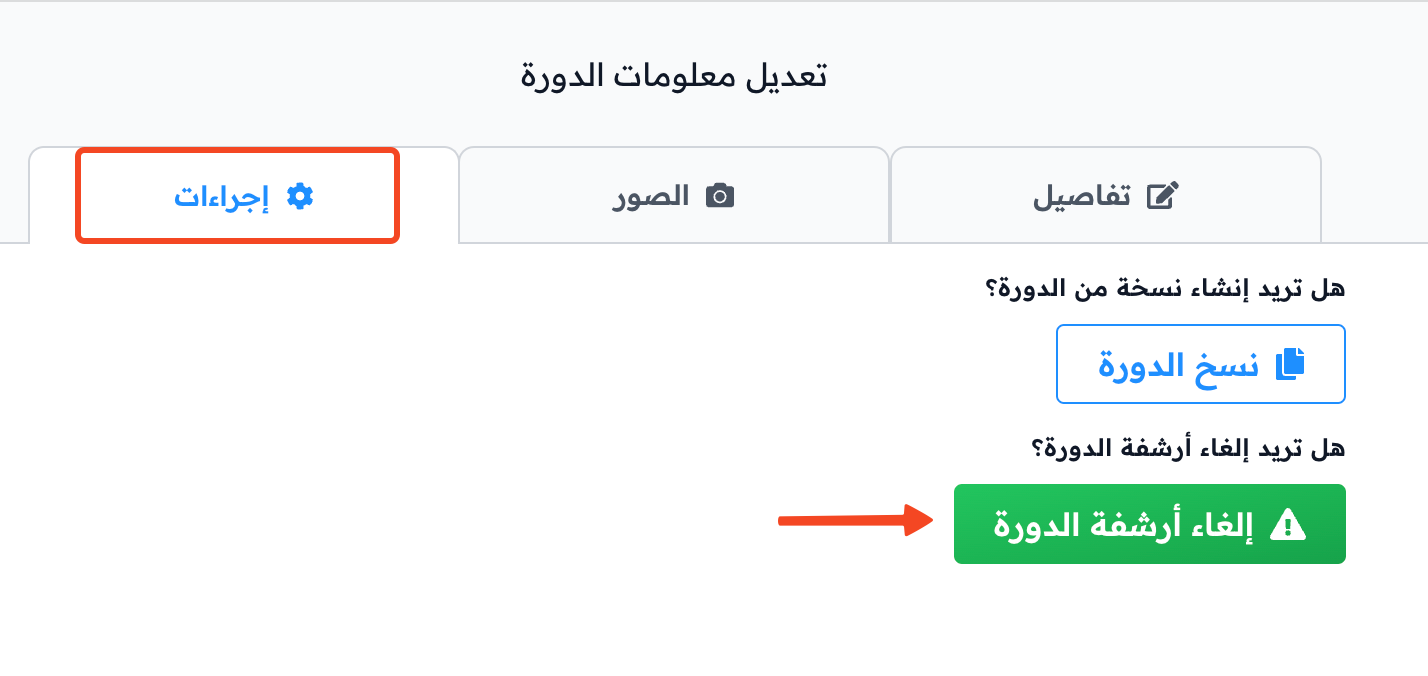
From the Actions tab you can:
- Make a copy of the course by clicking Clone Course.
- Archive or delete the course by clicking Archive Course, or unarchive it by clicking Unarchive Course.
Edit the course content
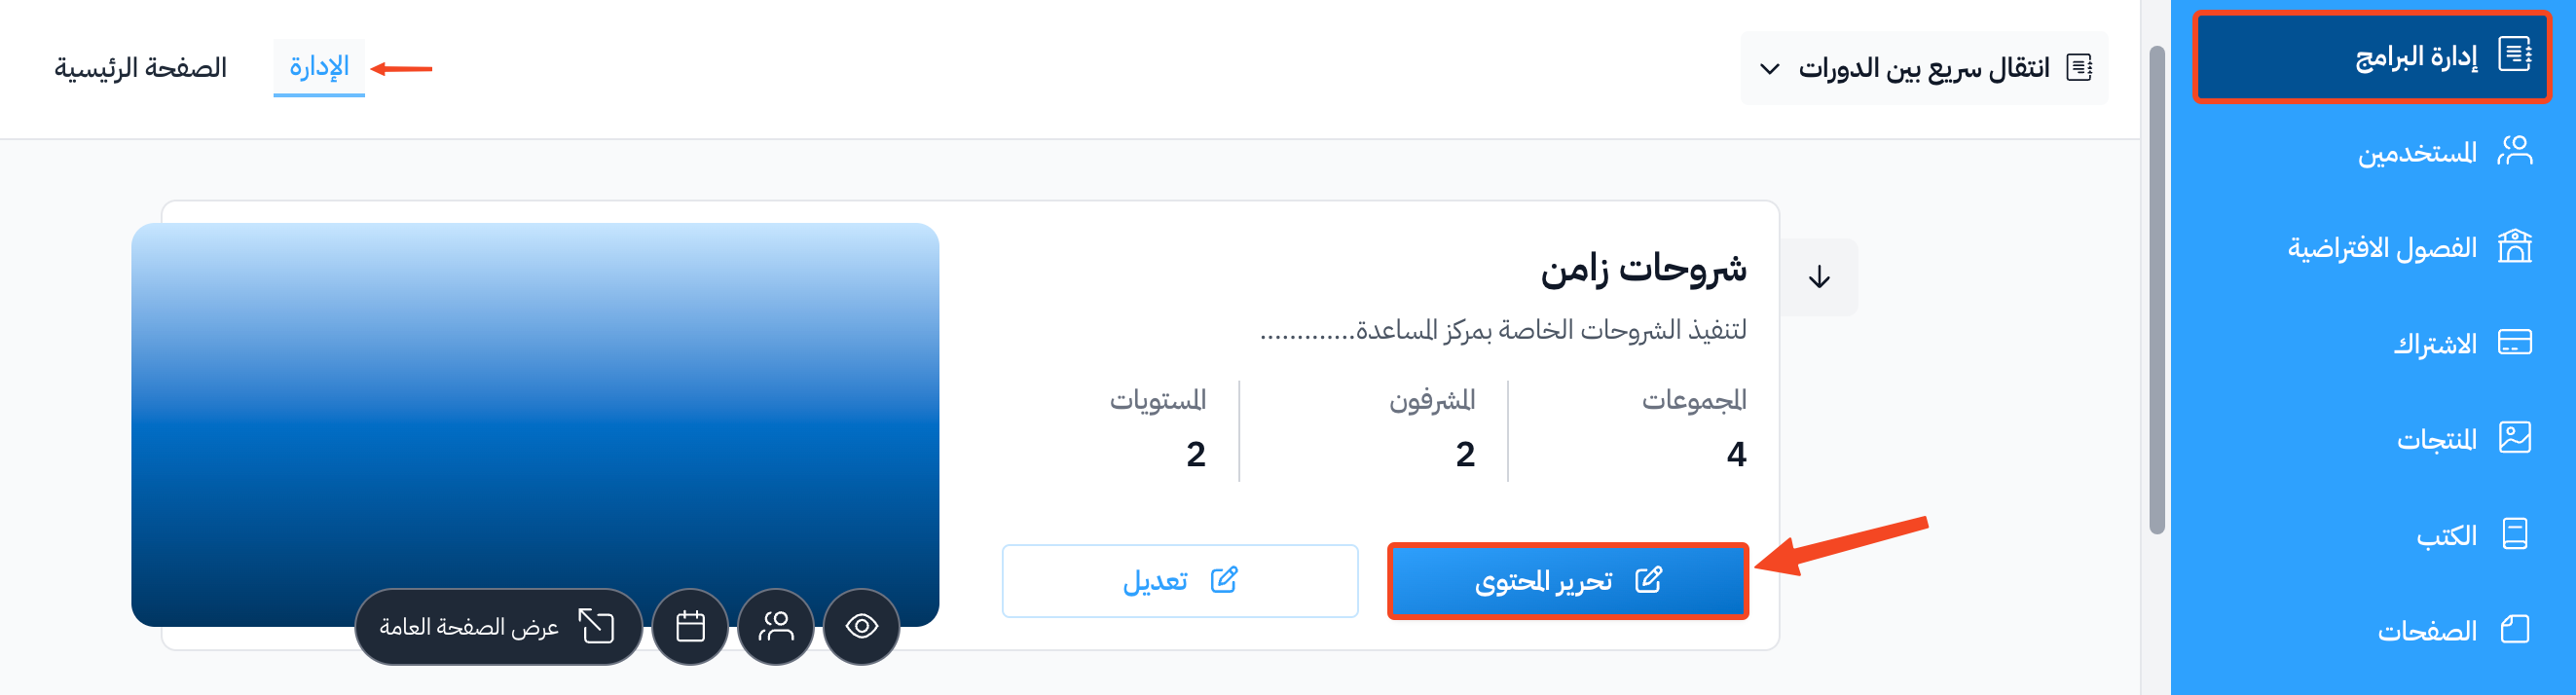
Go to the Courses page, then click Edit Curriculum on the course.
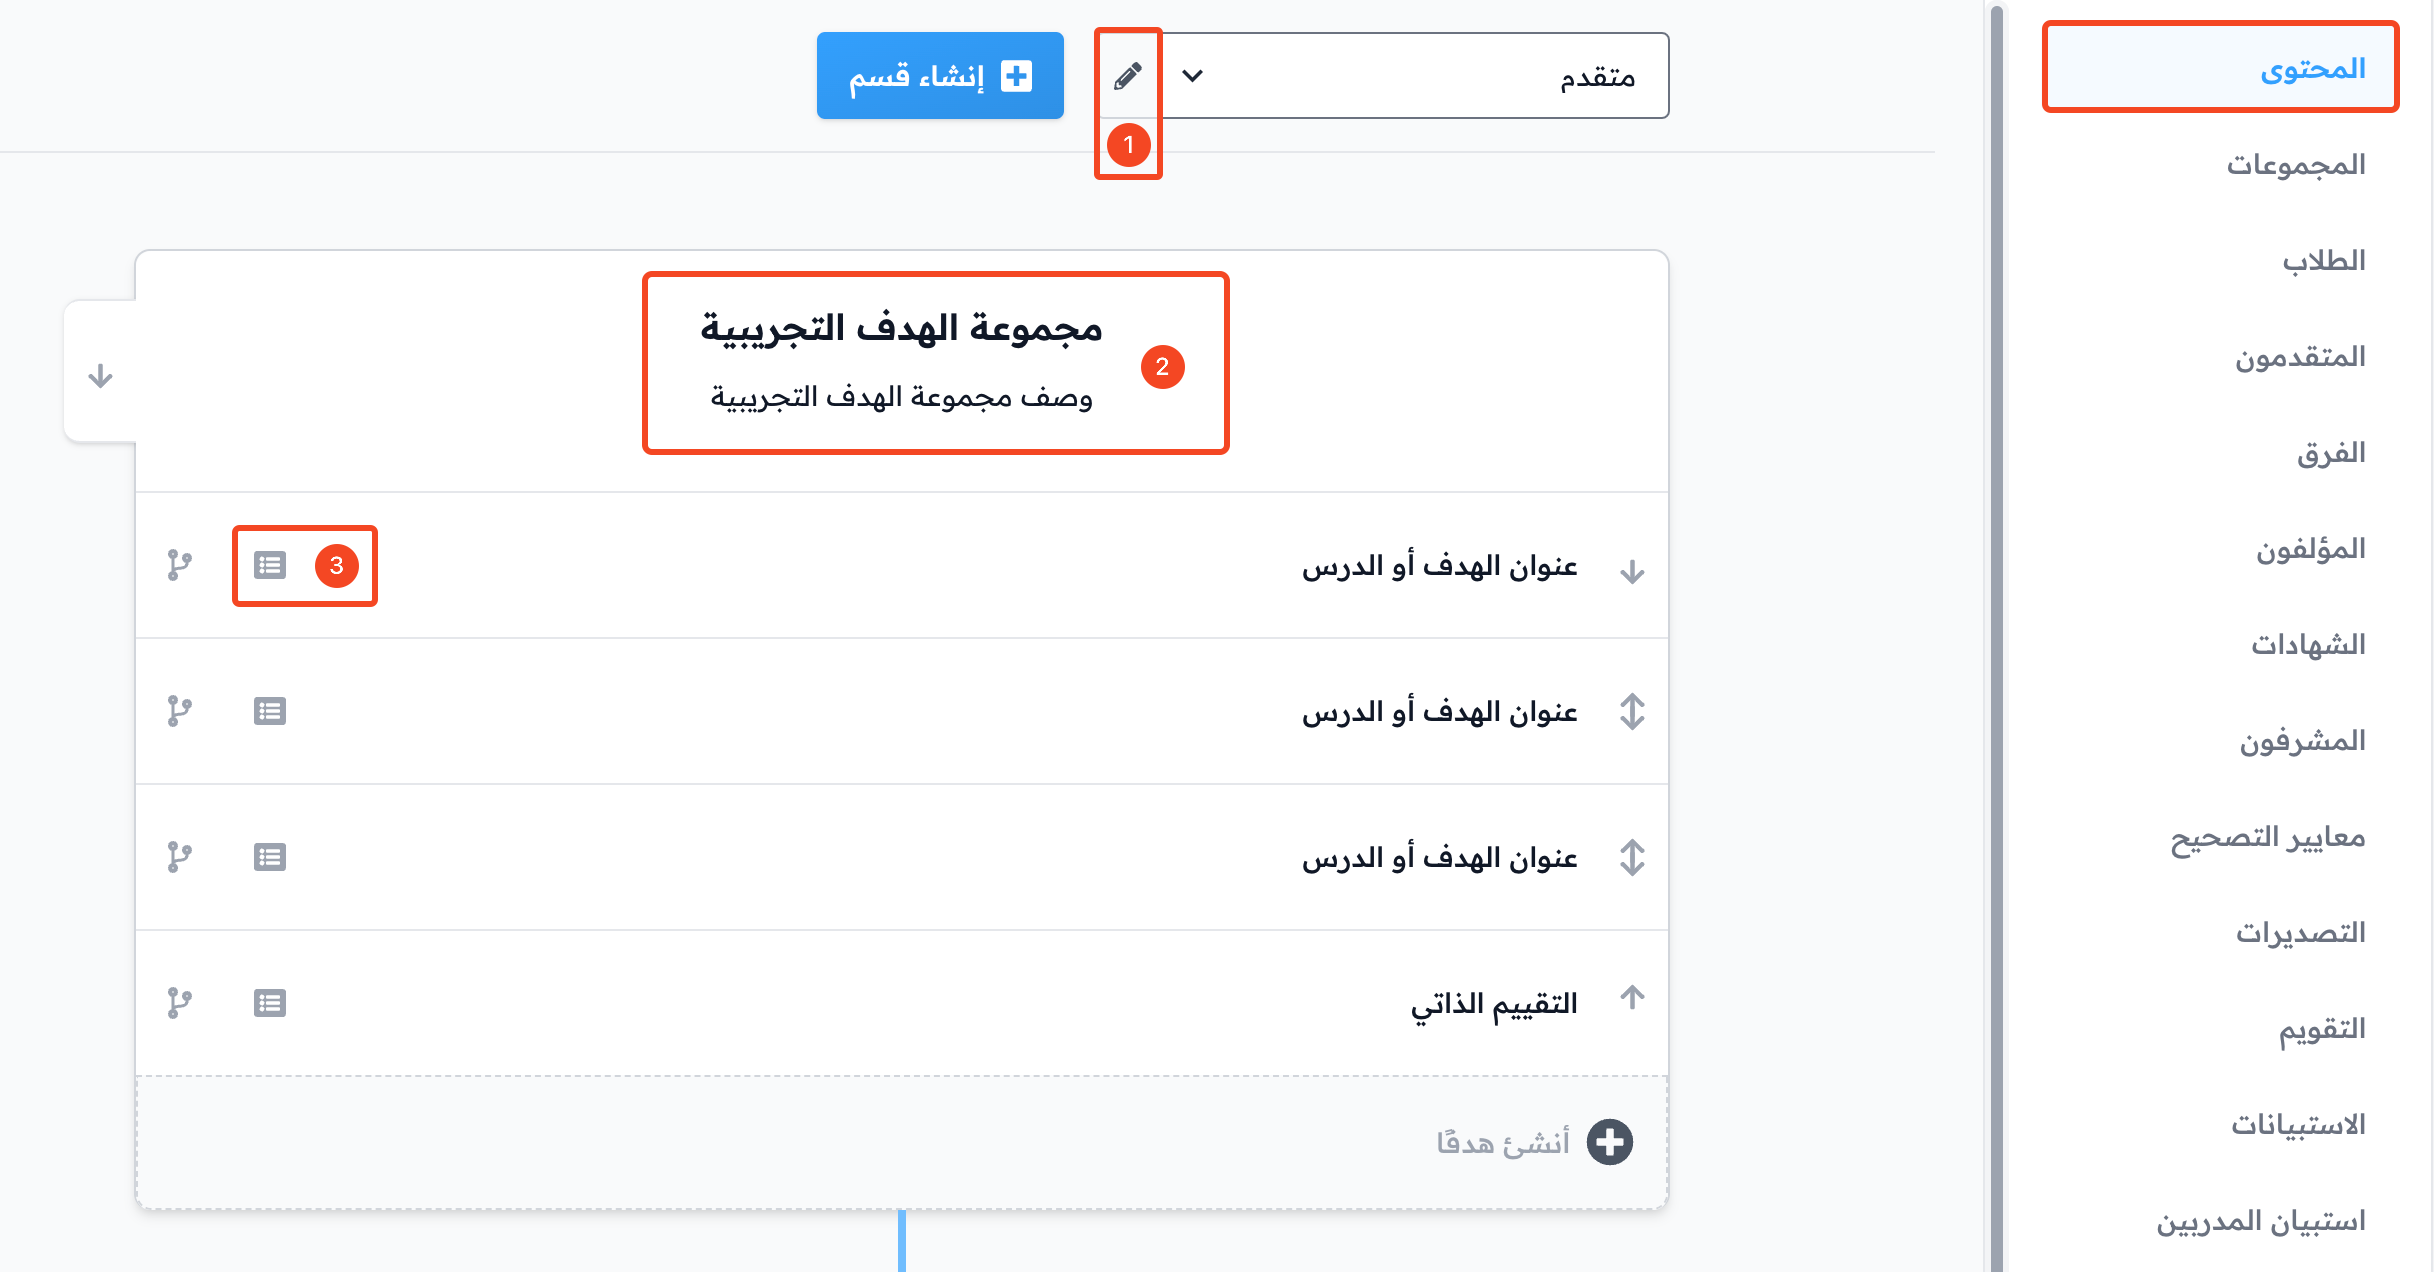
From the course Curriculum page you can edit:
- Sections.
- Target groups.
- Targets.
1. Edit sections
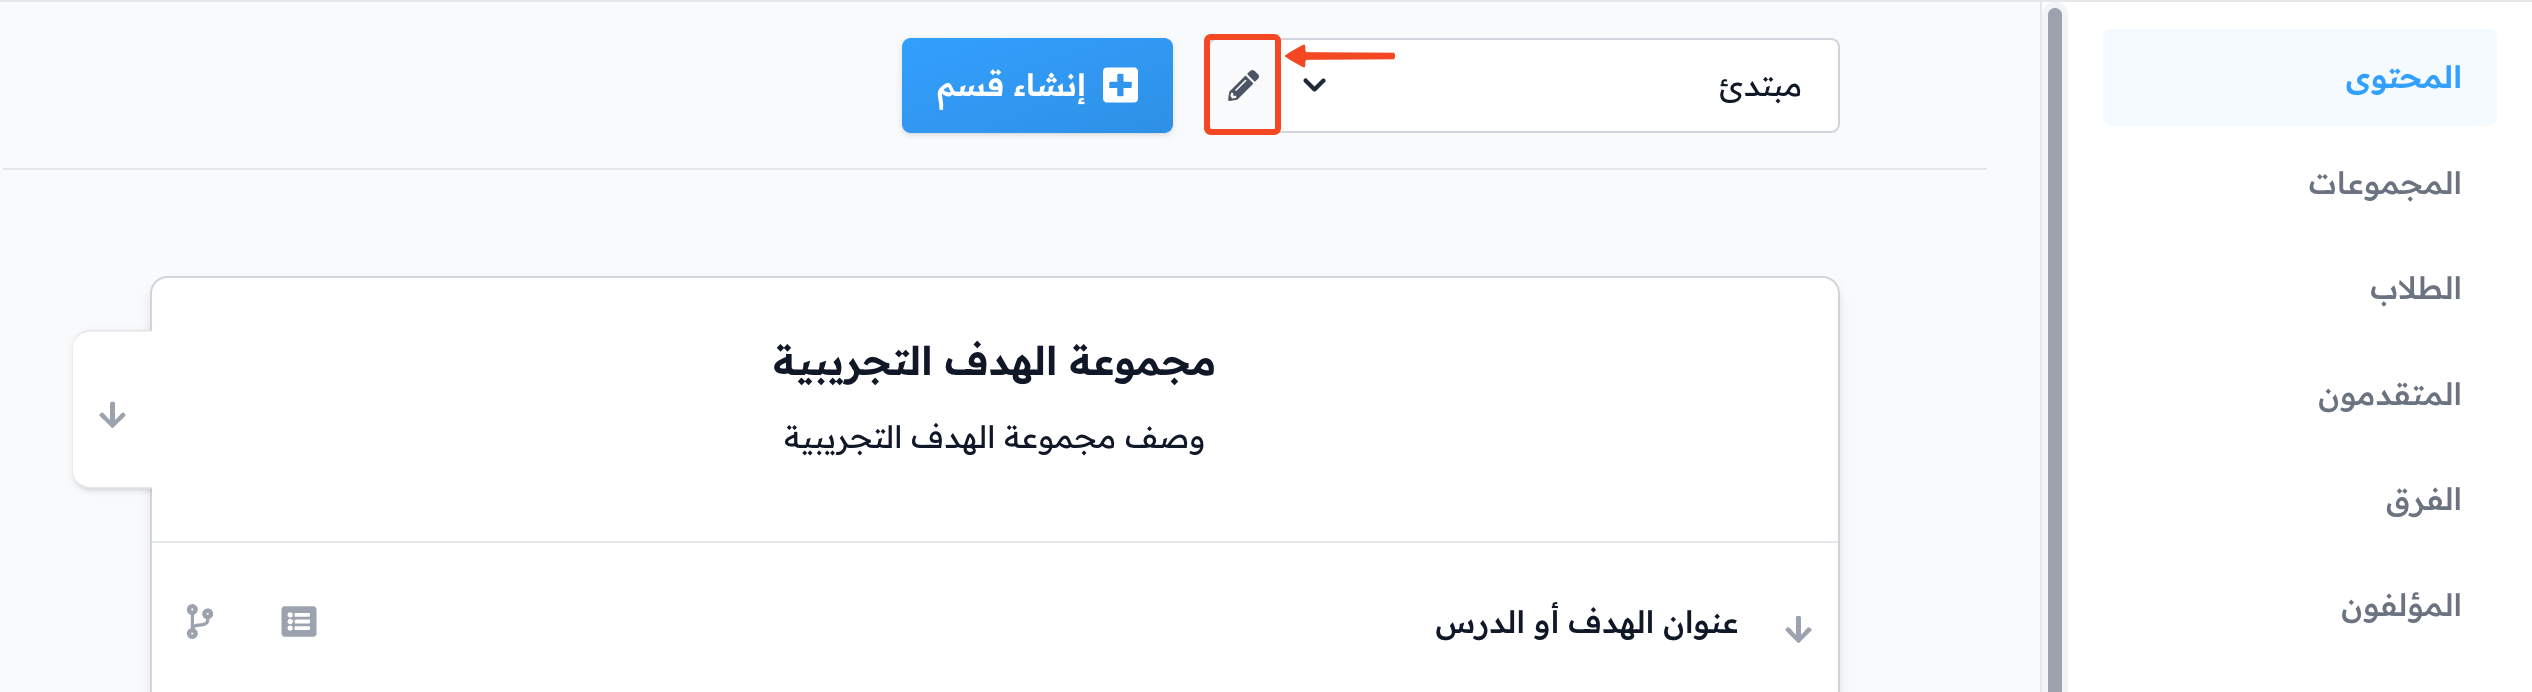
Click the edit button next to the section.
Section Details tab
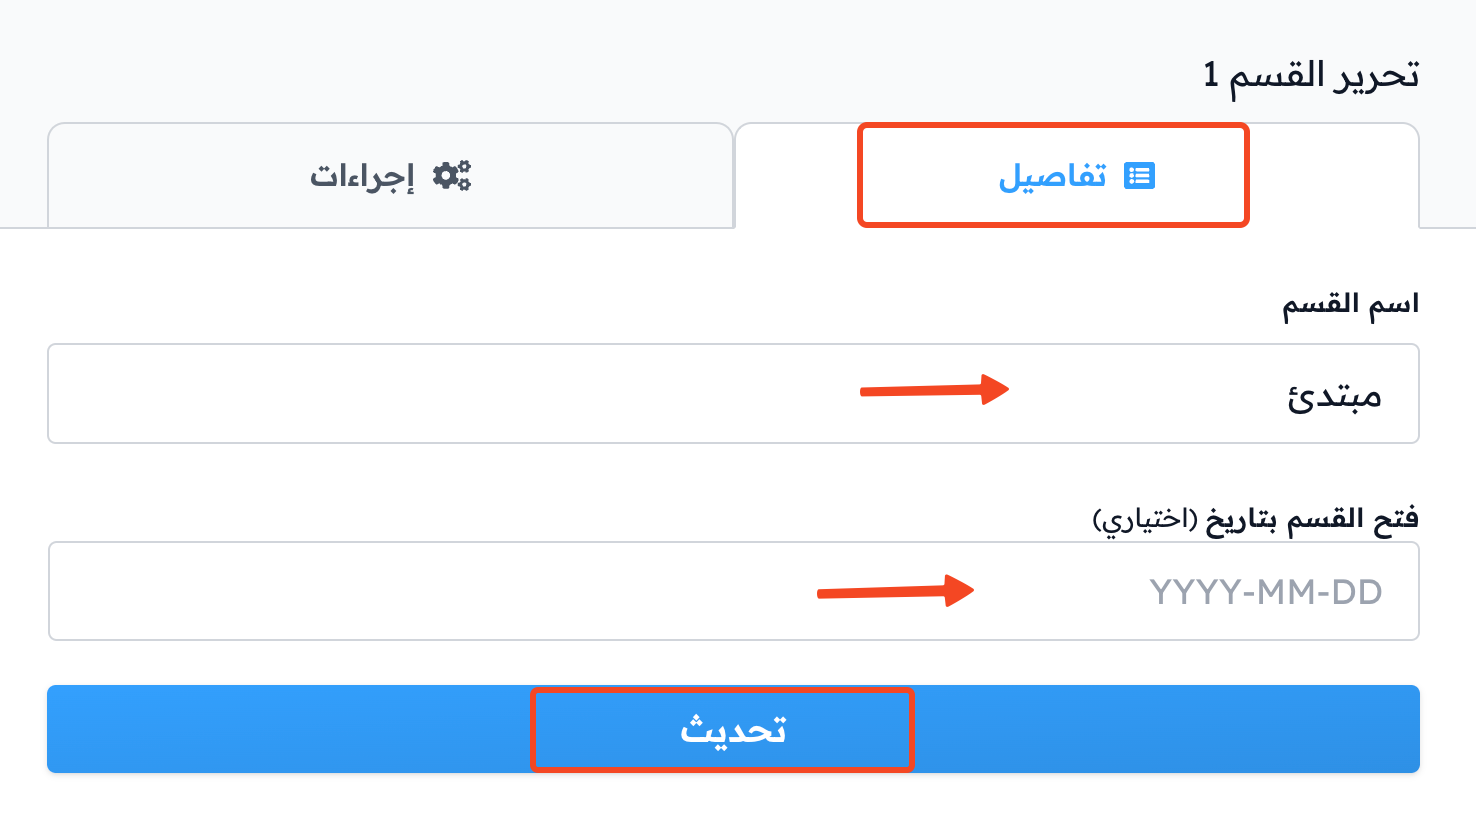
From the Details tab you can:
- Change the Section Name.
- Add, change or remove the section opening date in Unlock section on.
When you finish, click Update to save.
Section Actions tab
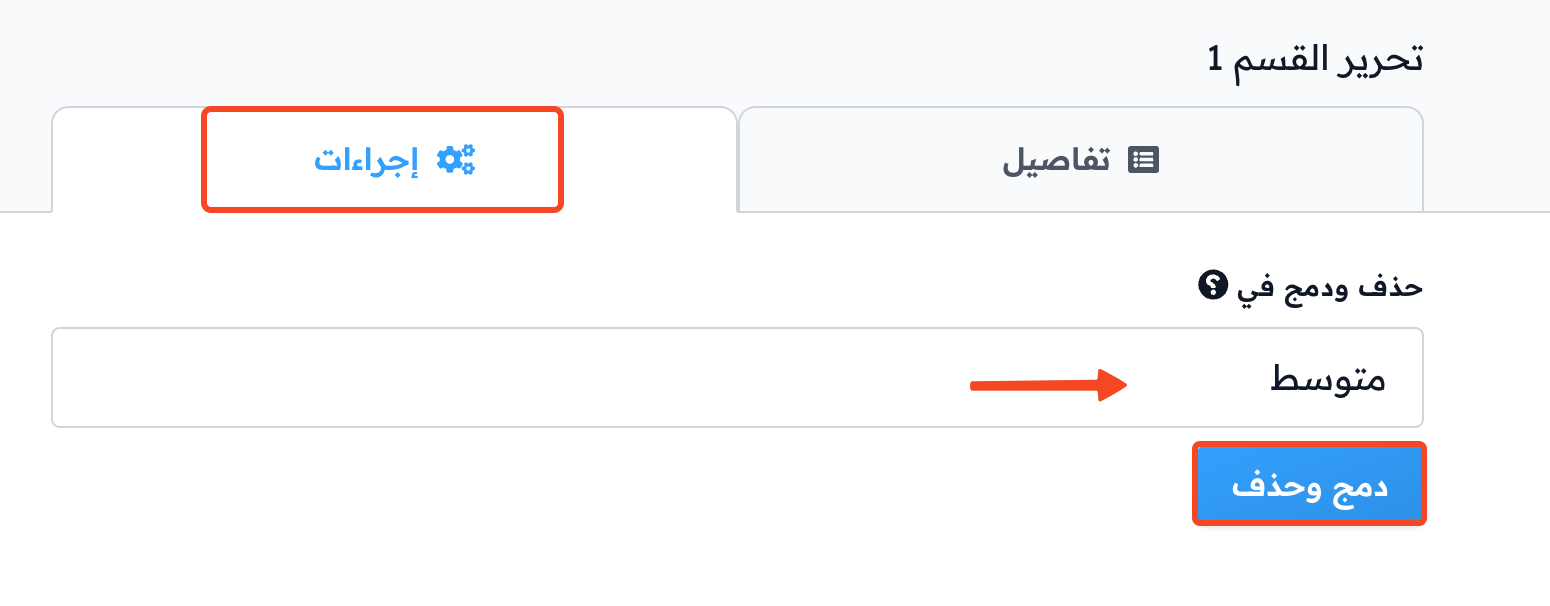
From the Actions tab you can:
- Merge the section into another section and delete it: choose the section in Delete & Merge Into, then click Merge and Delete.
- Copy the section to another course: choose the course in Copy Into, then click Copy Level.
2. Edit target groups
Click the target group you want to edit to open Target Group Details.
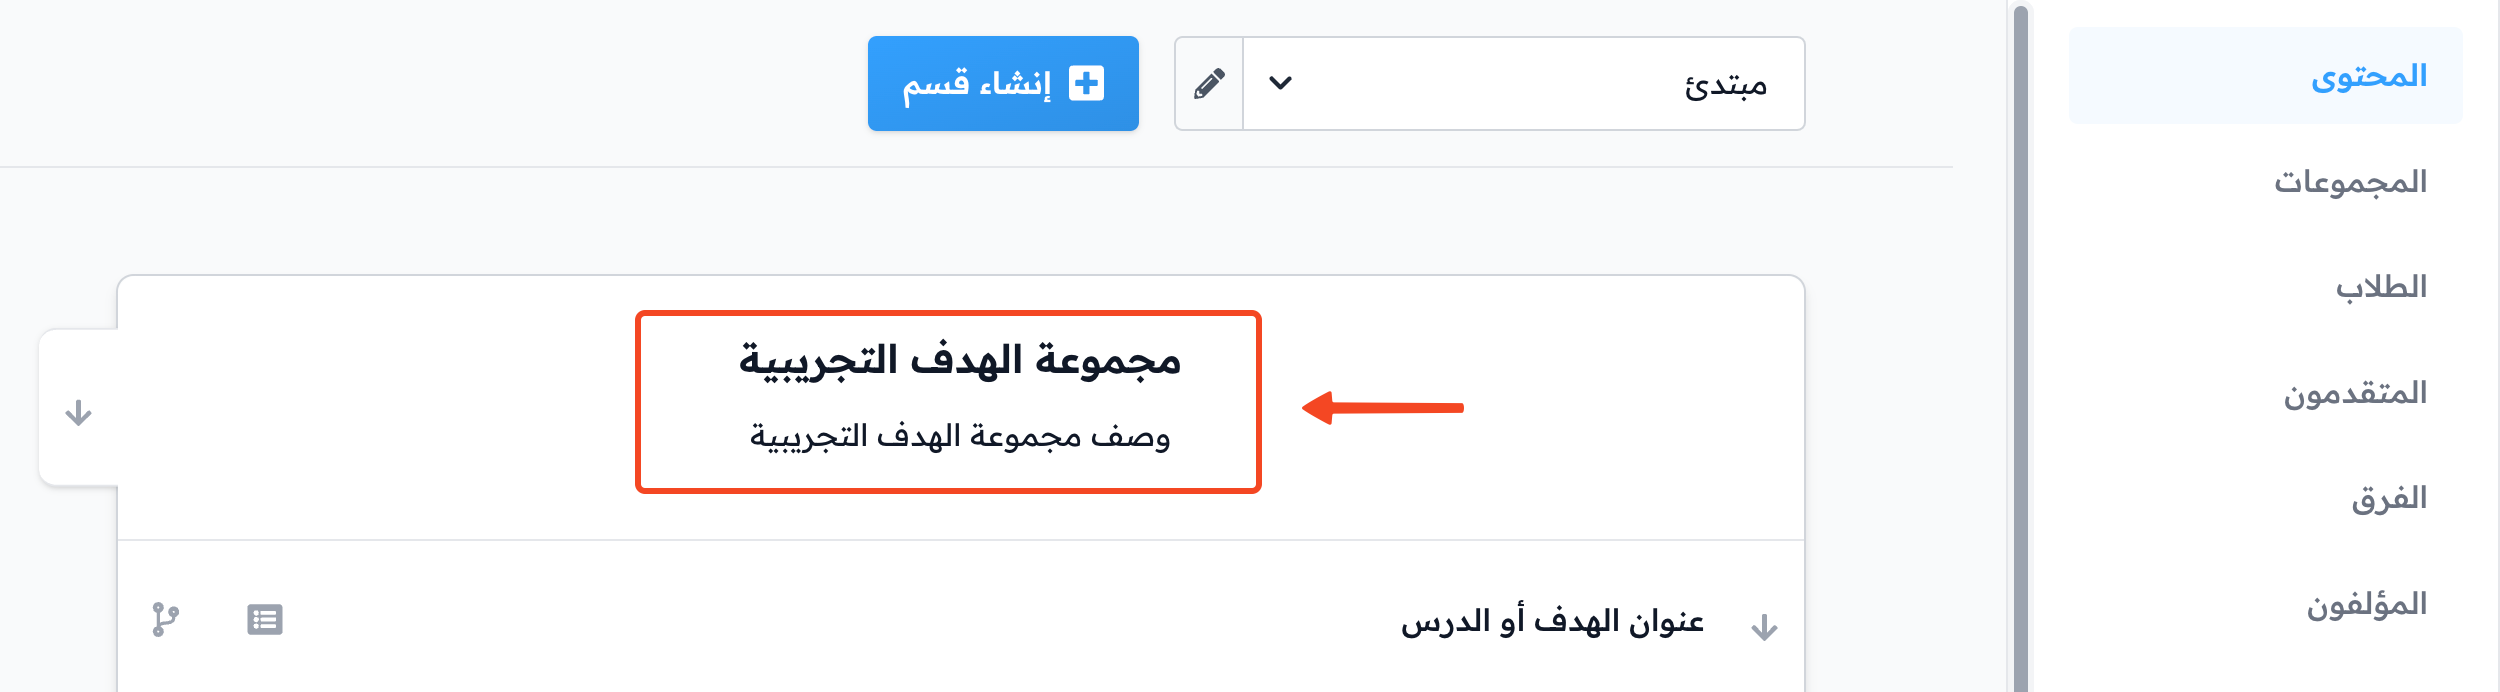
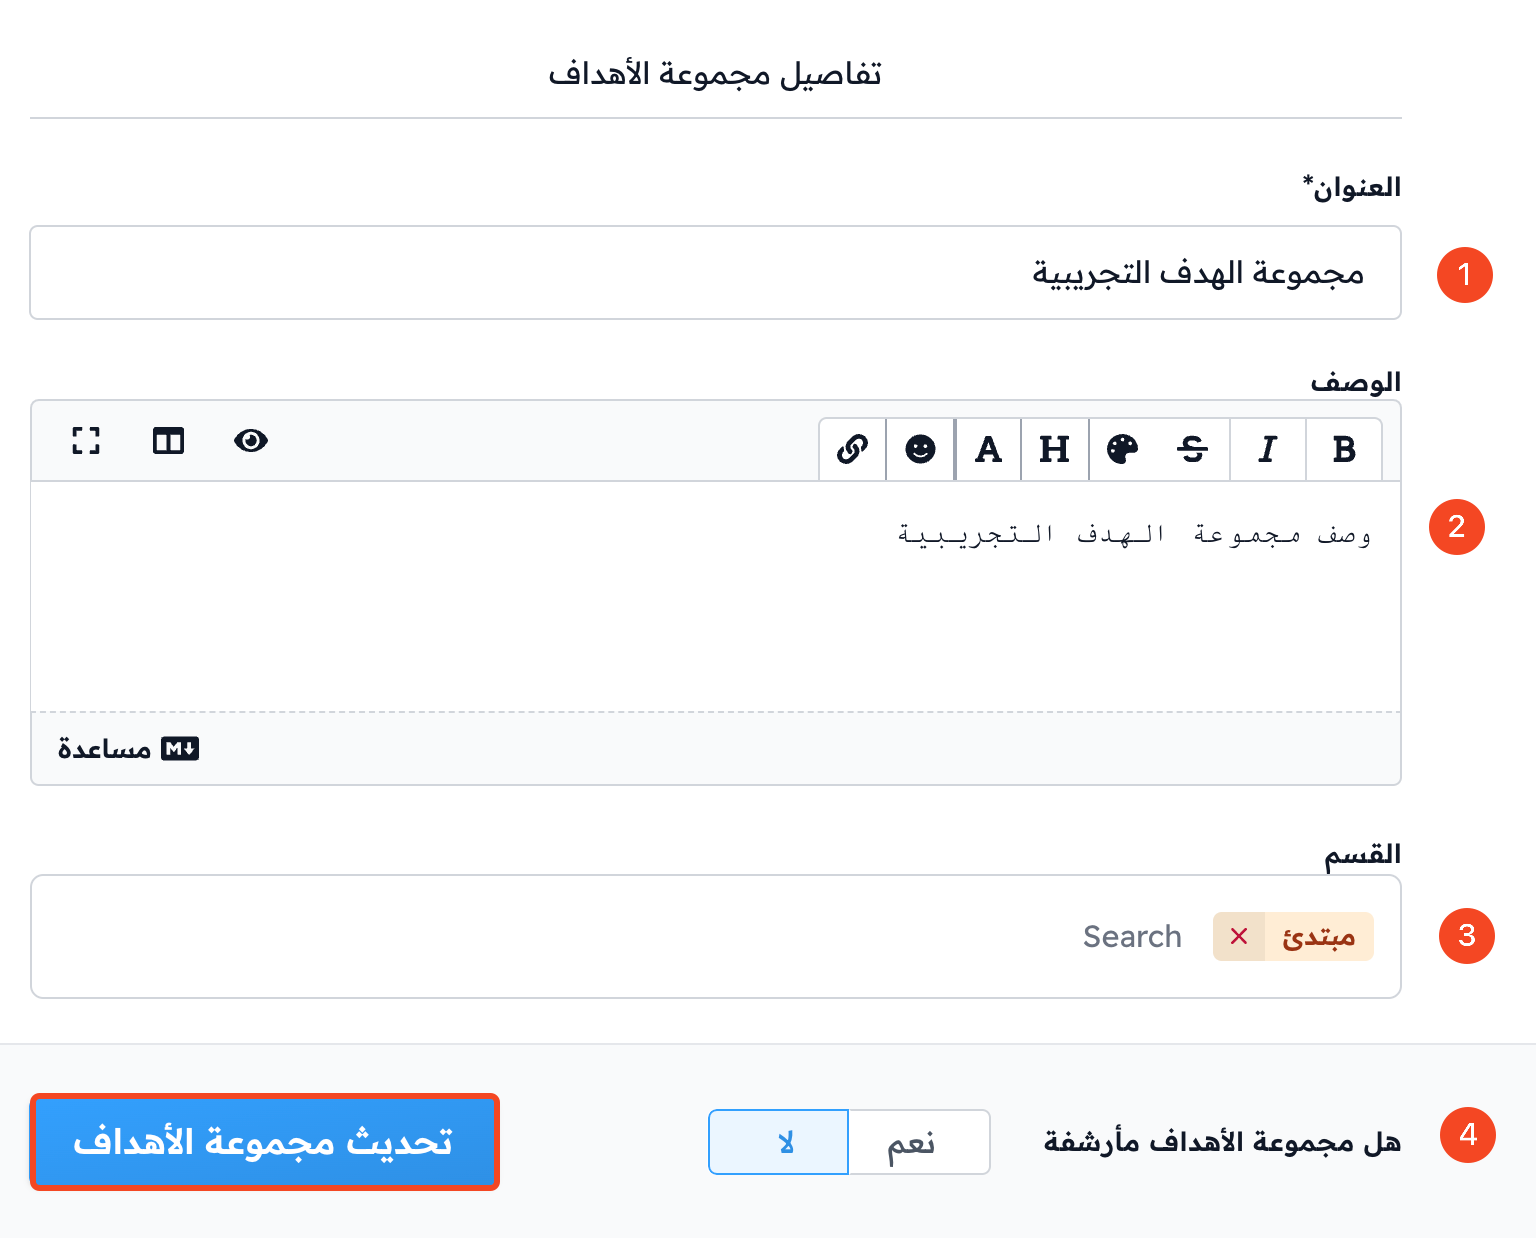
From Target Group Details you can:
- Change the Title.
- Change the Description.
- Move the group to another section from Section.
- Archive or unarchive the group with Archived target group.
When you finish, click Update Target Group to save.
3. Edit targets
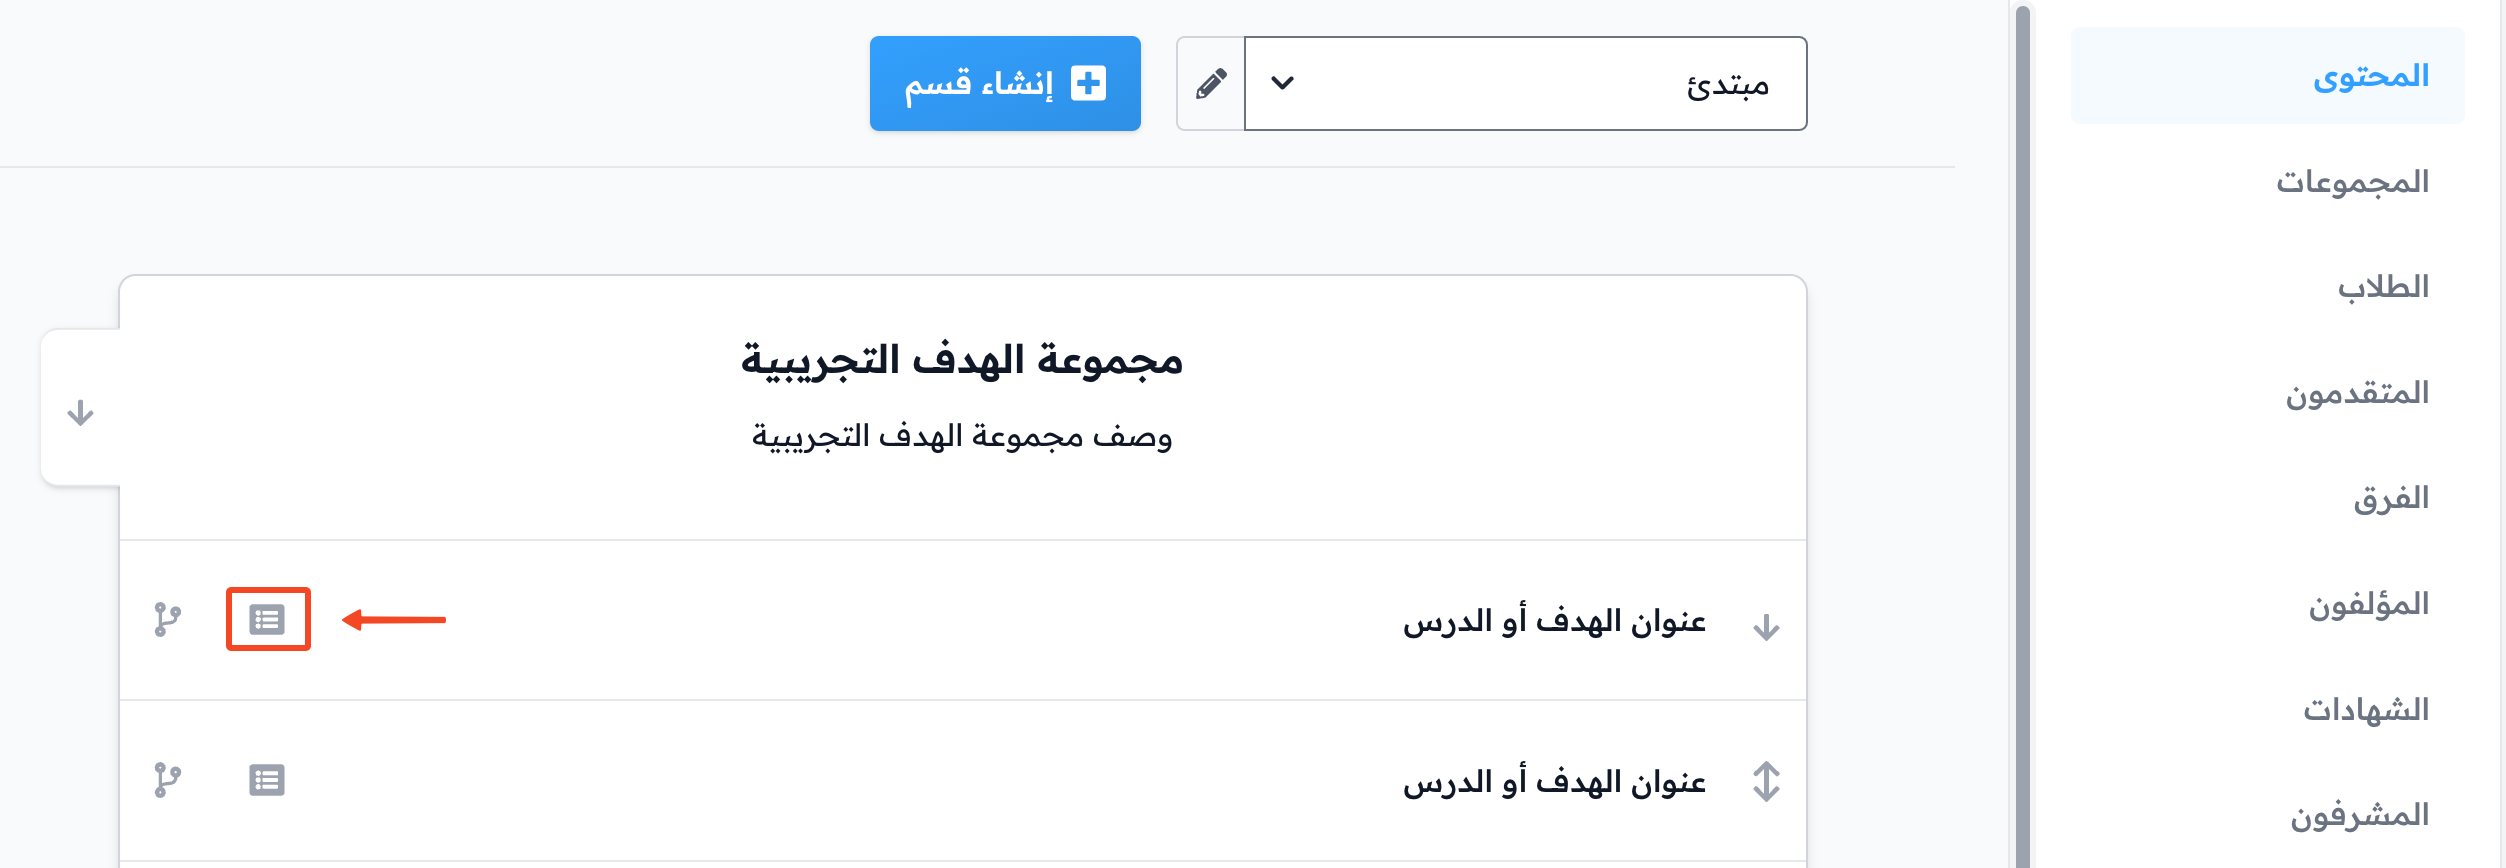
Click the edit button next to the target you want to edit.
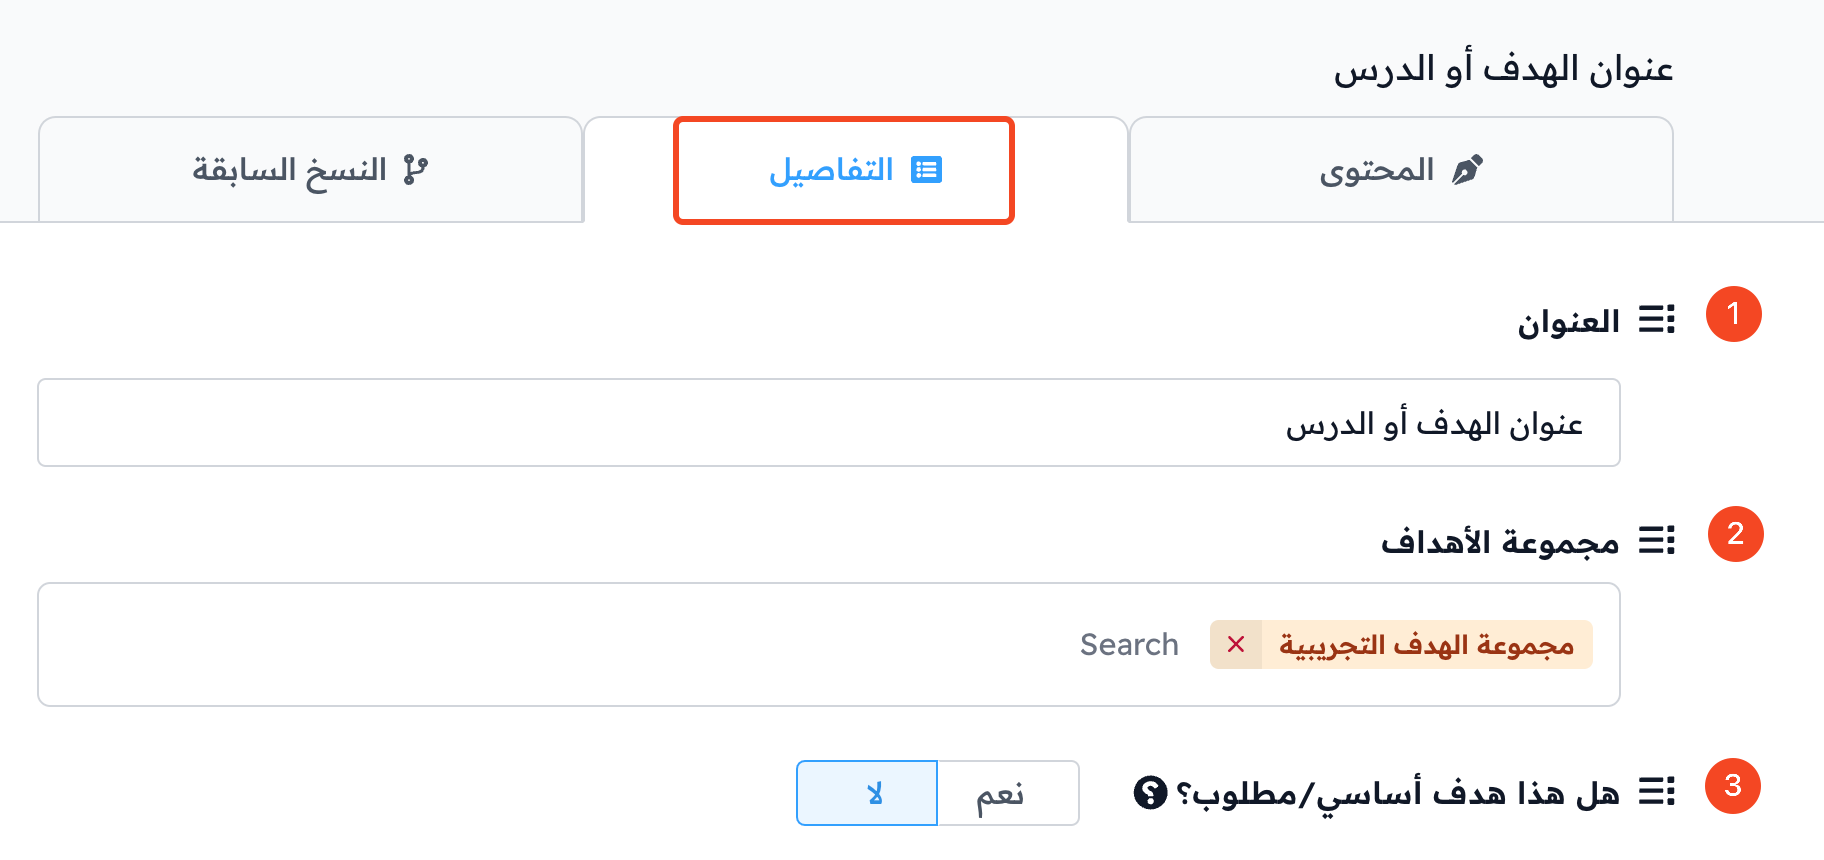
Details tab
From the target's Details tab you can:
-
Change the Title.
-
Move the target to another target group from Target Group.
-
Turn on Milestone target. If a target is a milestone, students cannot complete the course until they complete this target.
-
Turn on Free preview, so visitors to your platform can preview this target for free before they enroll.
-
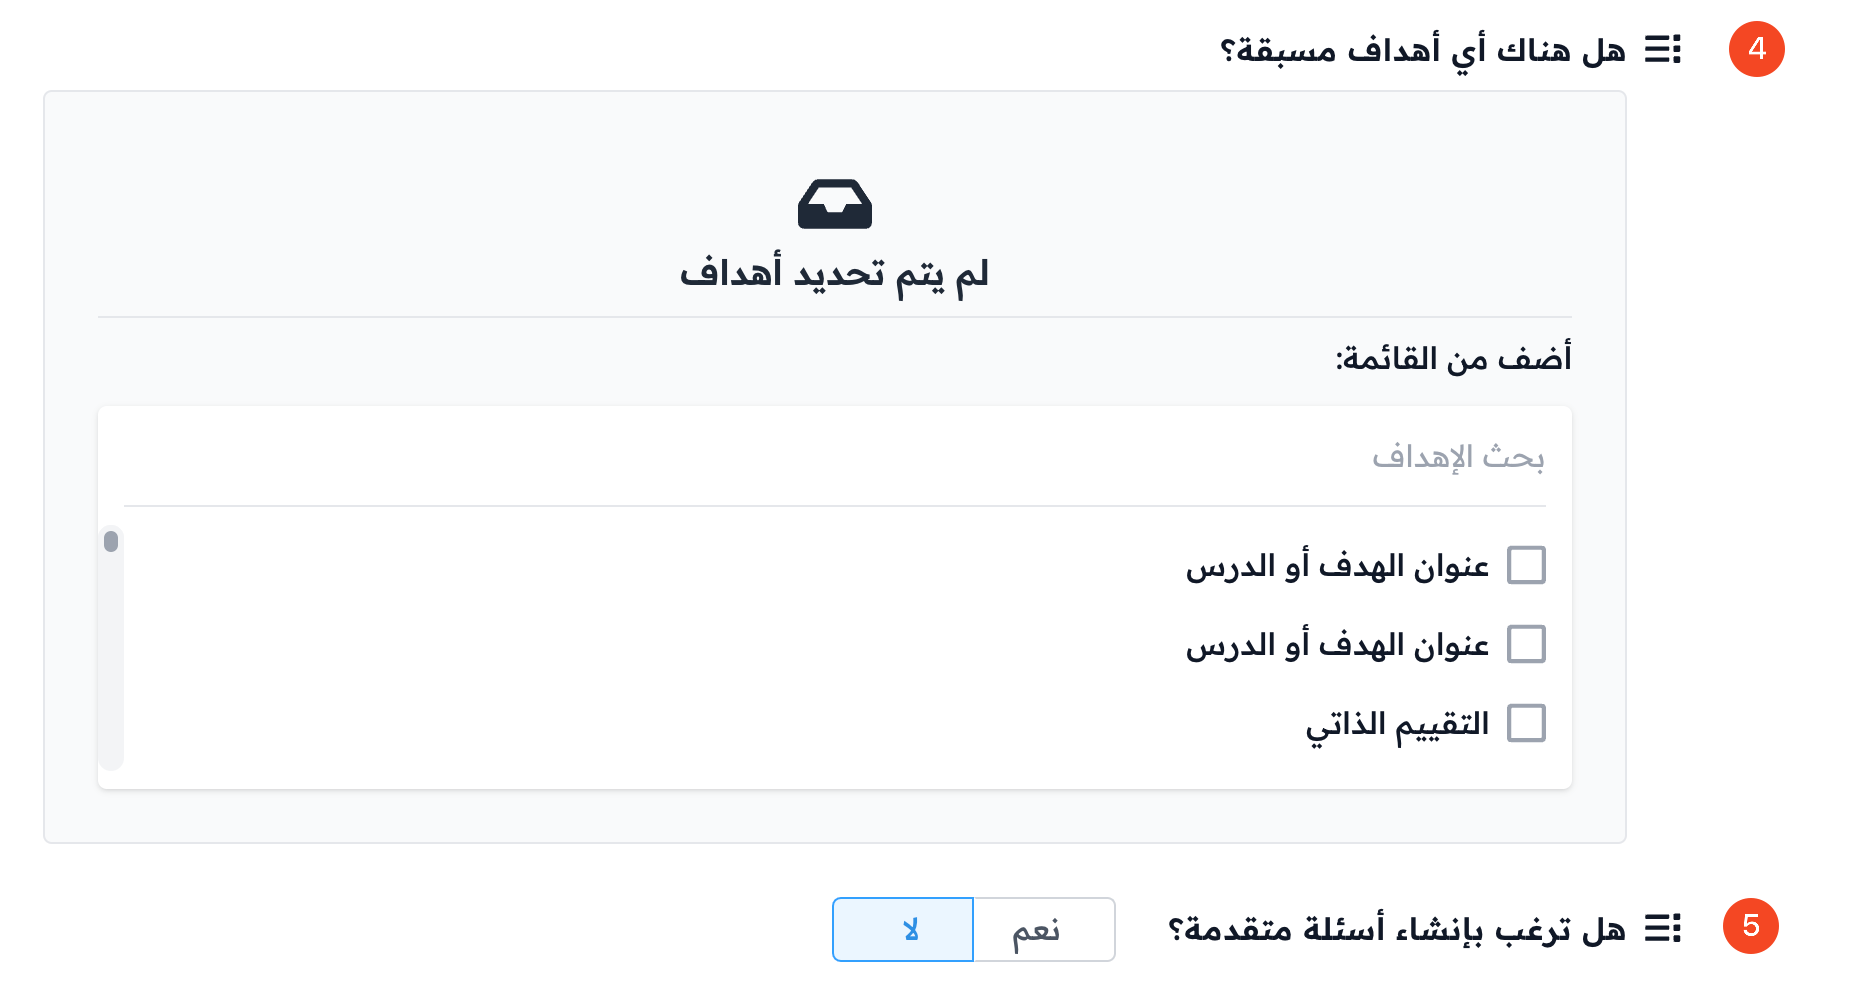
Link the target to other targets from Are there any prerequisite targets?.
-
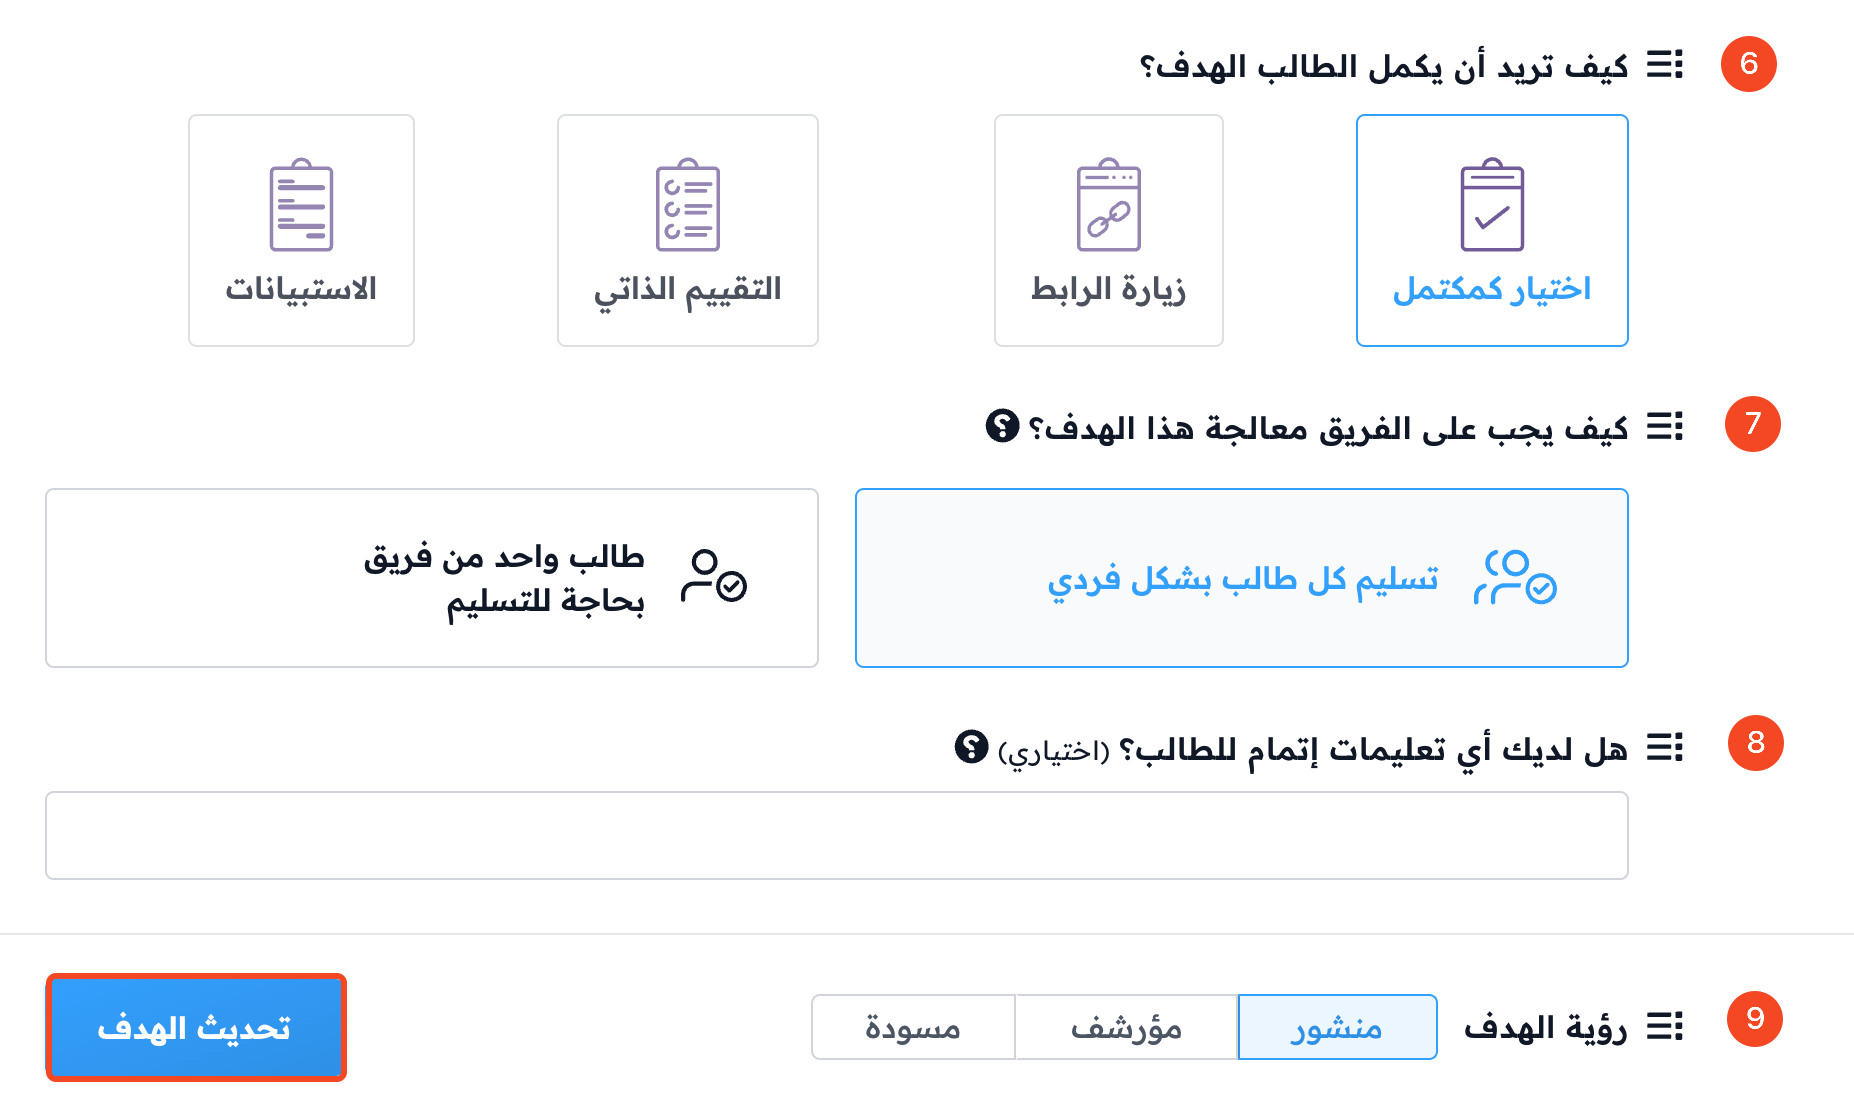
Change how students complete the target from How do you want the student to complete the target?: Simply mark the target as completed., Visit a link to complete the target., Self-evaluation or Quiz., Submit a form to complete the target., or Advanced questions reviewed by coach.
-
Change how teams handle the target from How should teams tackle this target?.
-
Add instructions for students in Do you have any completion instructions for the student?. These instructions show close to where students complete the target.
-
Change the Target Visibility: Live, Archived or Draft.
When you finish, click Update Target to save.
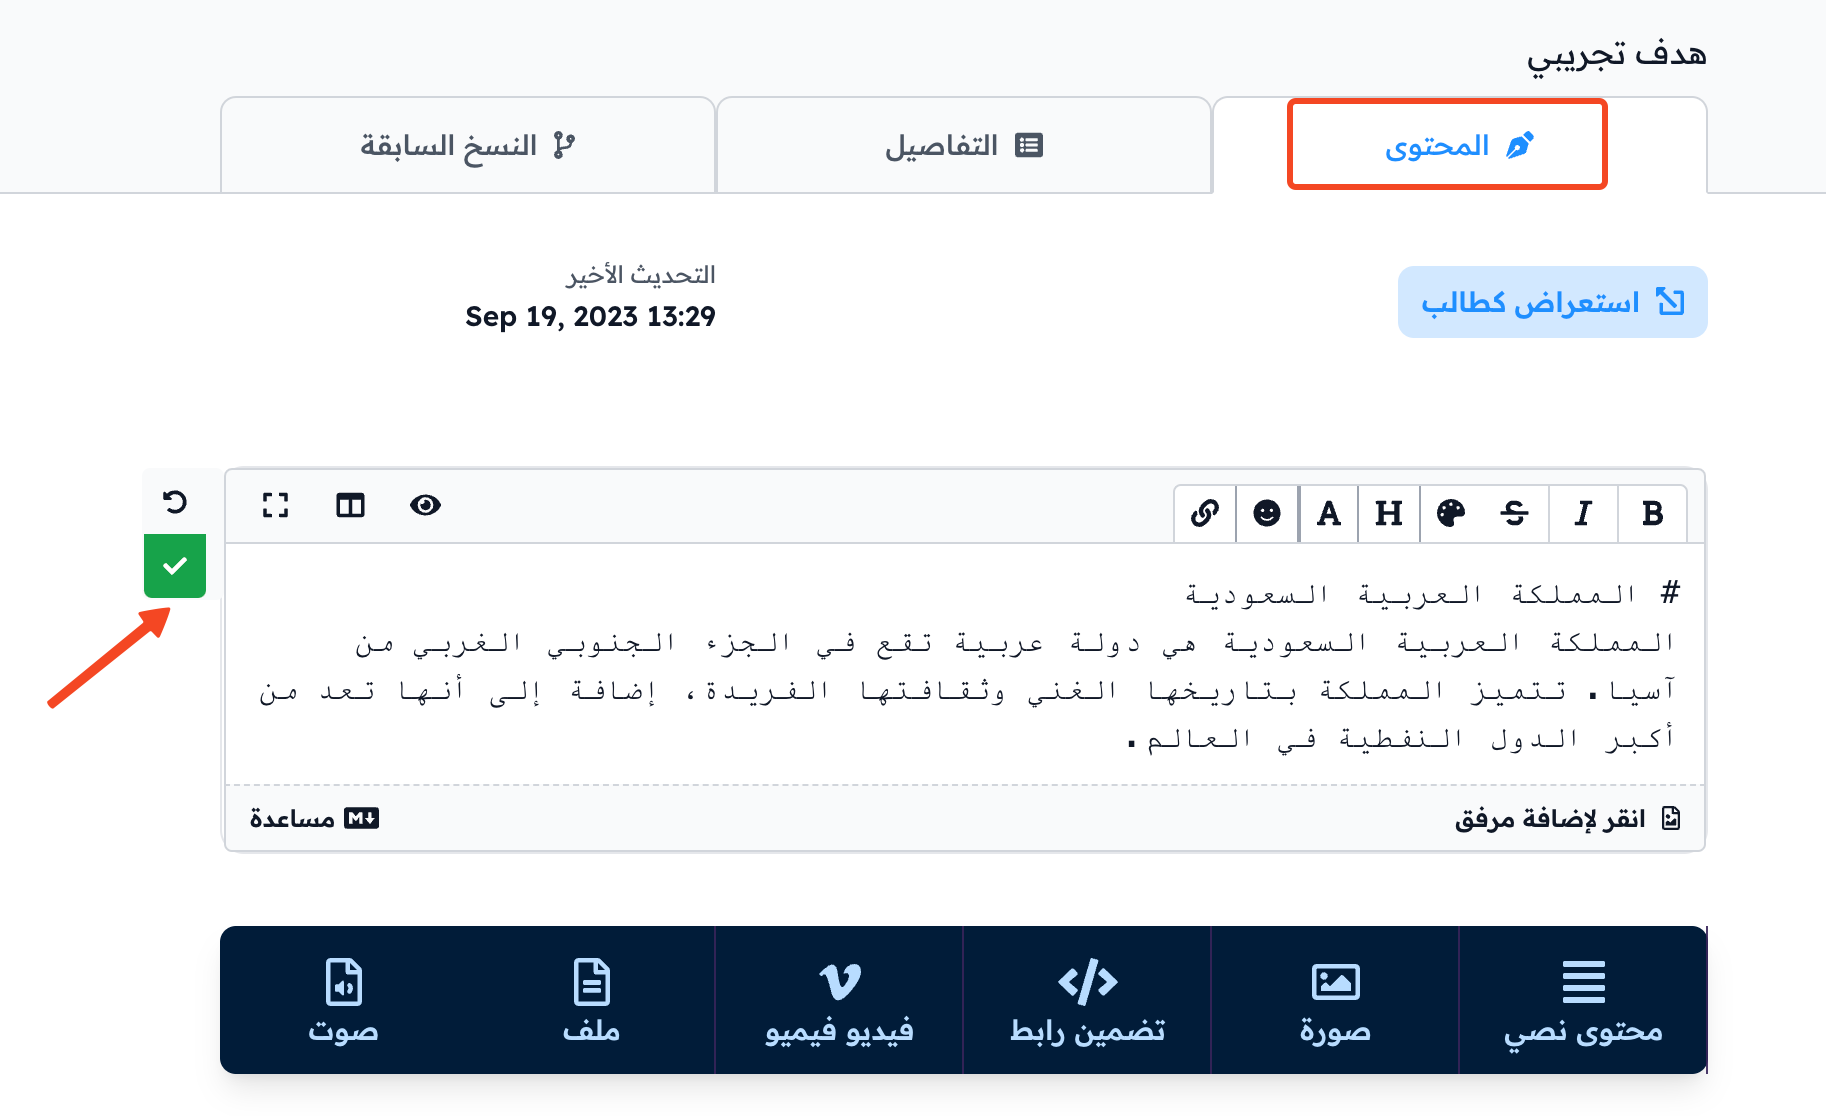
Content tab
From the target's Content tab you can edit the lesson content. After each change, click the save check mark  to save it.
Versions tab
From the target's Versions tab you can:
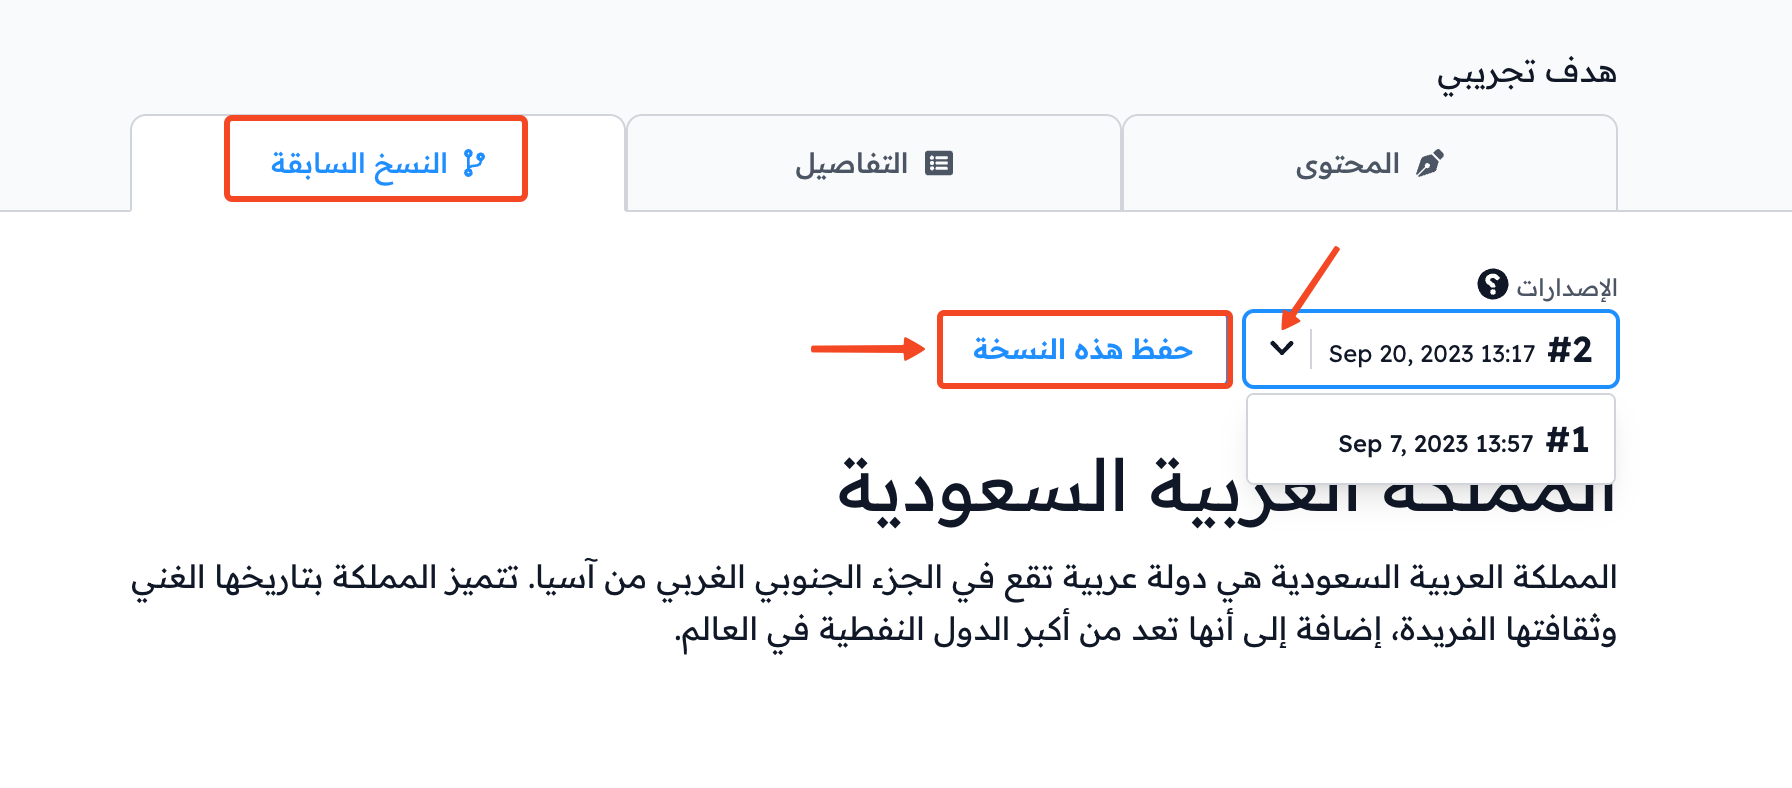
- Save a copy of the target content by clicking Save this version.
- Browse earlier versions of the content, and restore any of them when you need to.