Embed a file from Microsoft 365
You can show a file from Microsoft 365 (Word, PowerPoint or Excel) inside your course content, so your students can see it without leaving your platform. This article is for platform admins.
Steps to embed a Microsoft 365 file in a course
Start from the file you want to share in Microsoft 365, such as a presentation:
-
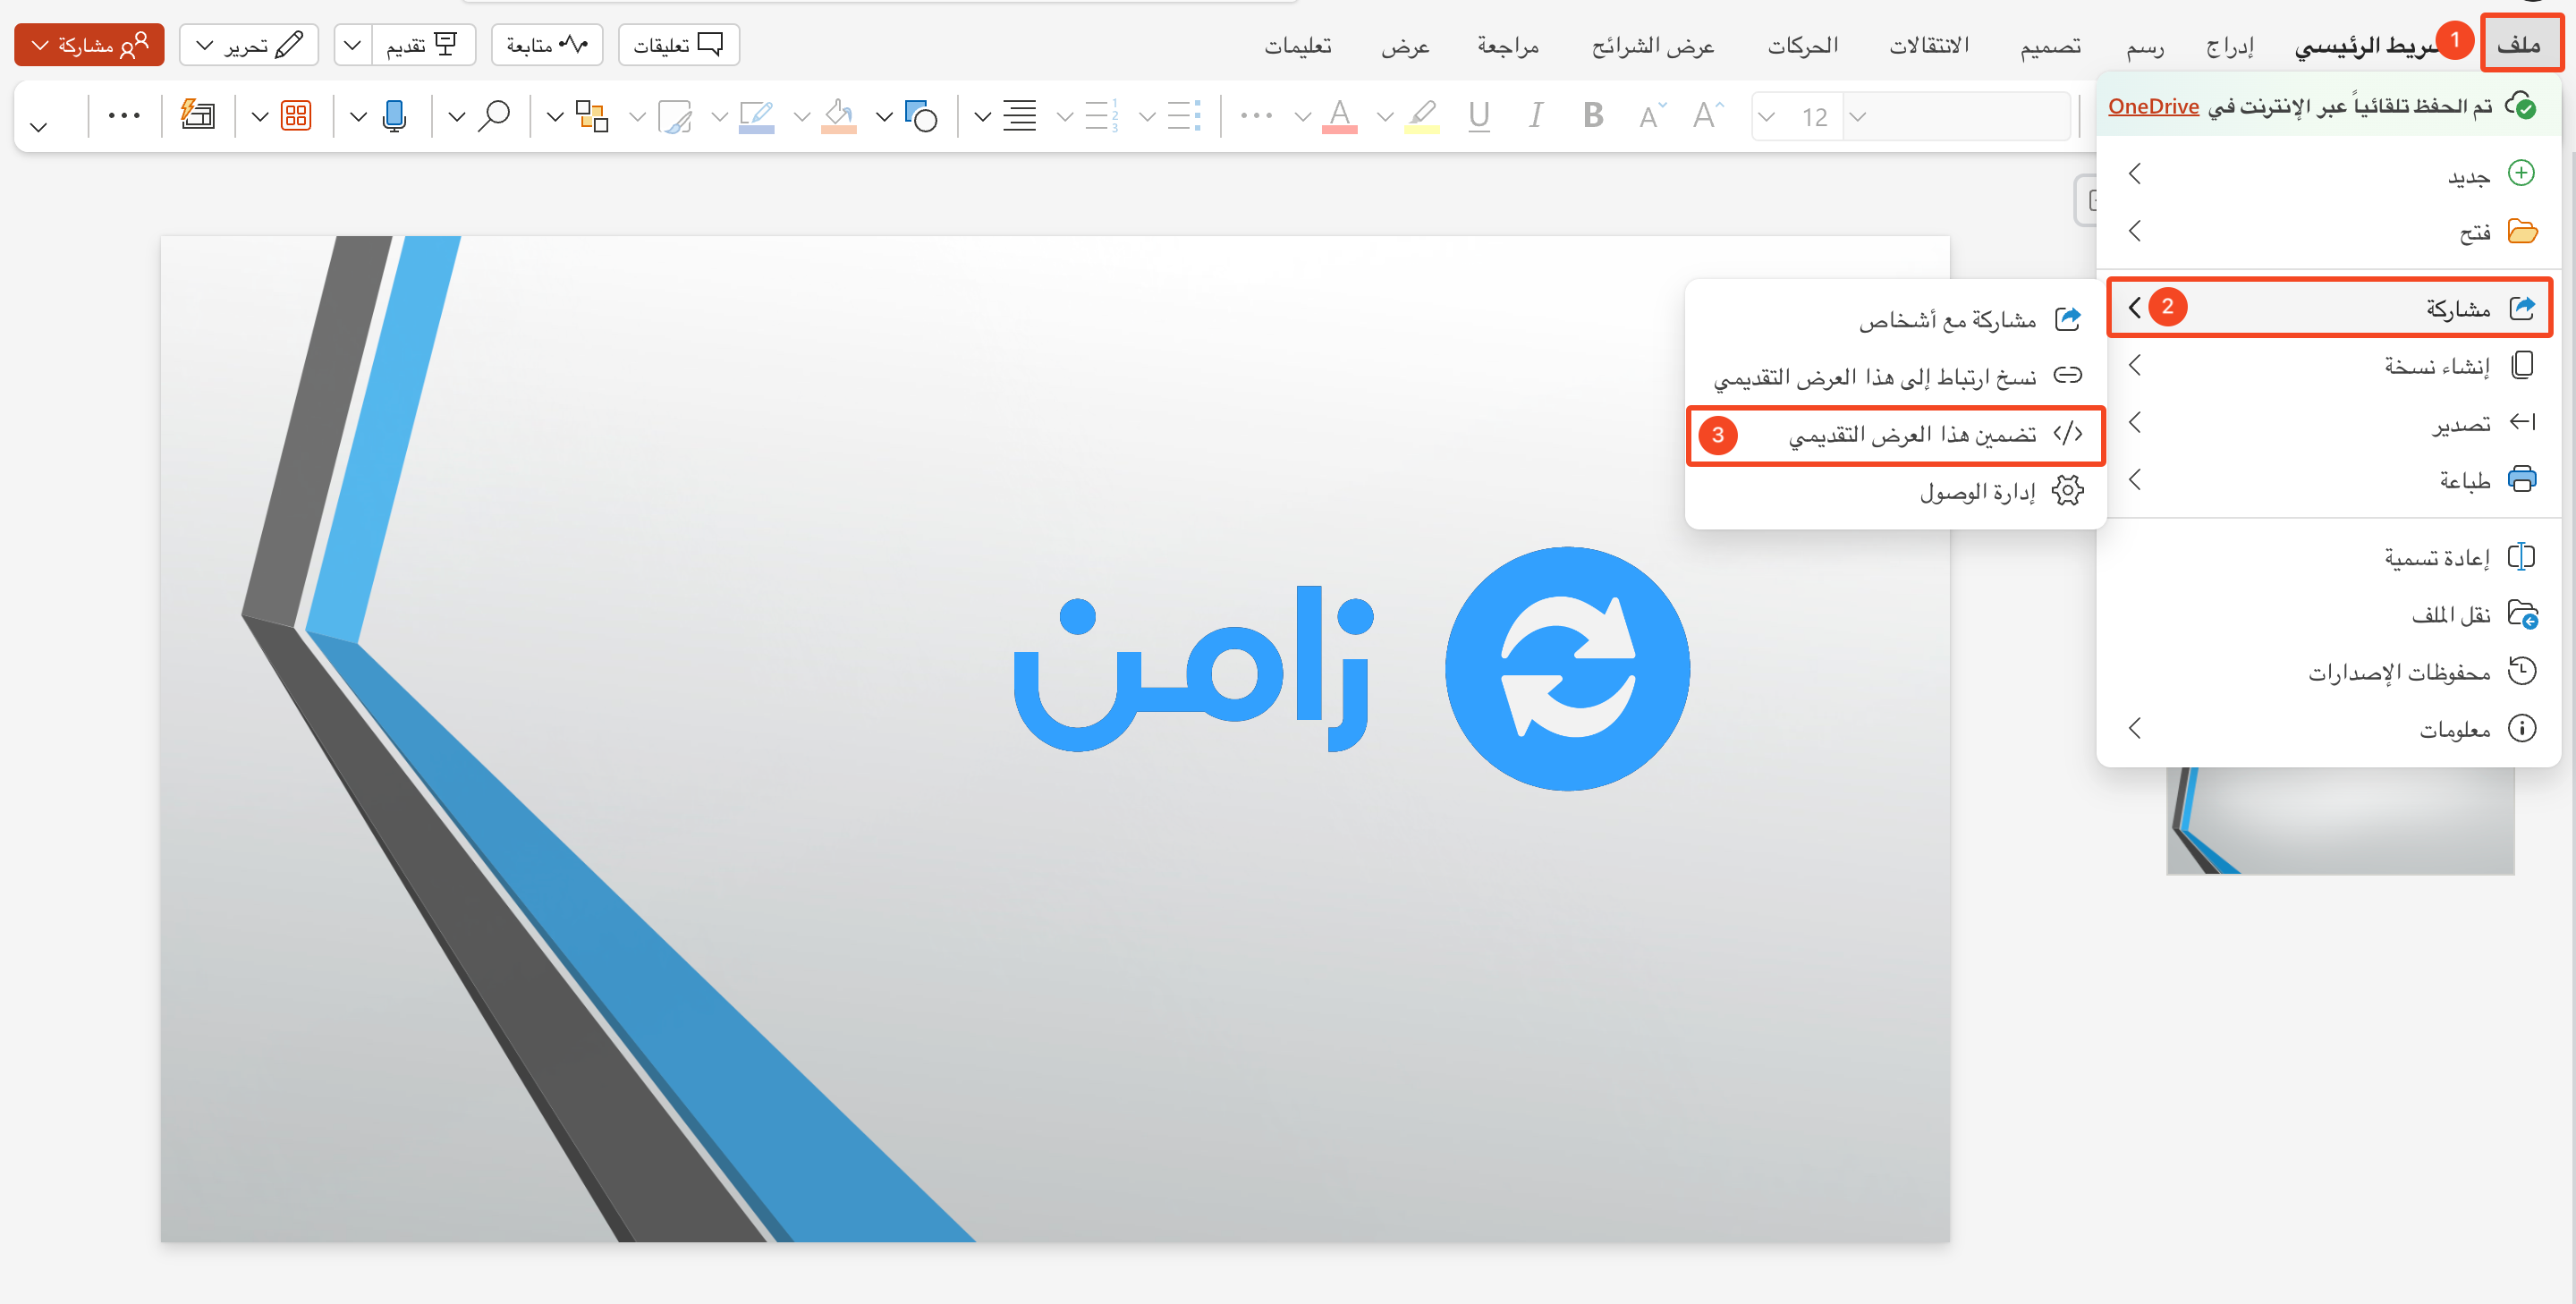
Click File in the top bar.
-
Choose Share.
-
Click Embed this presentation.
-
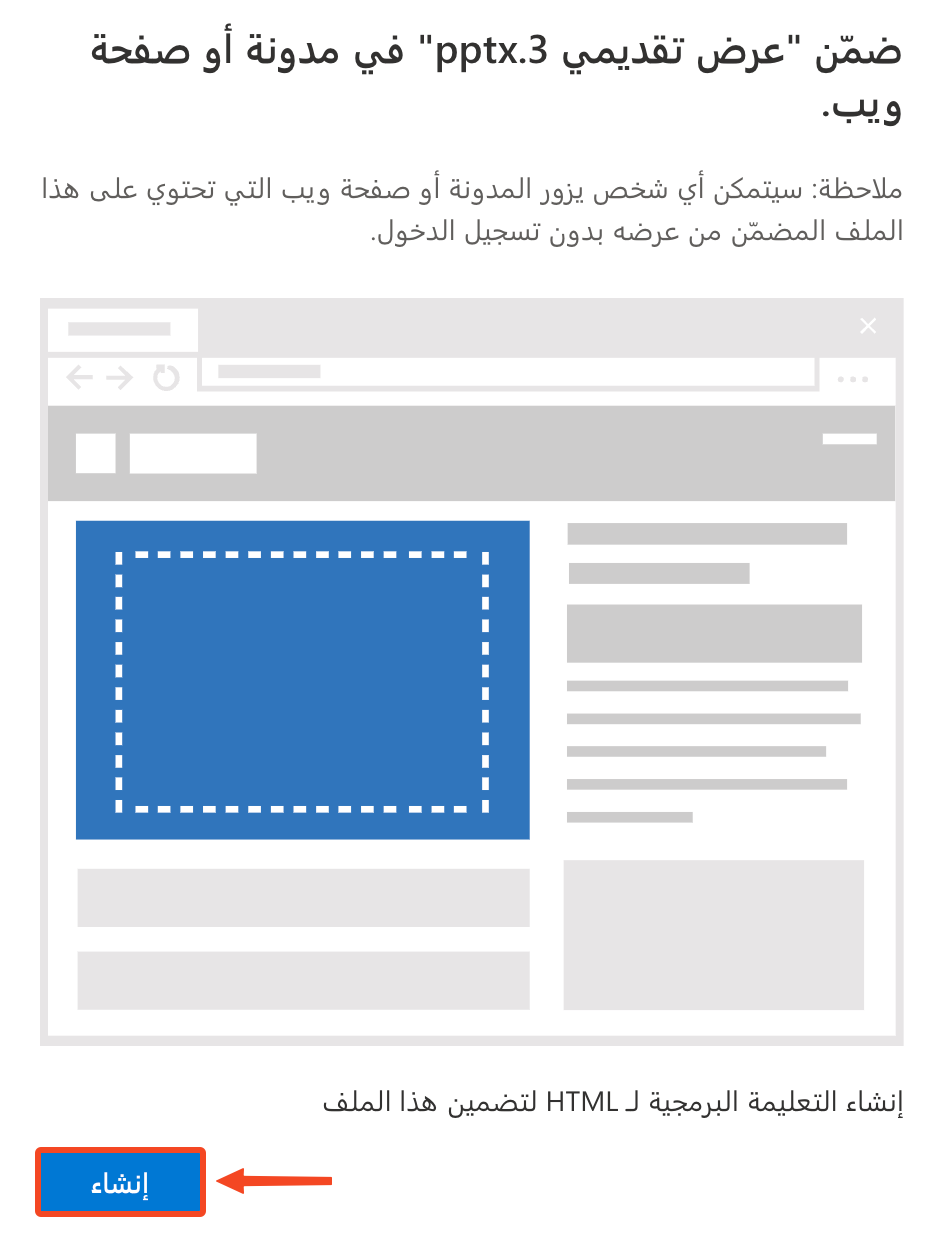
Click Generate at the bottom of the pop-up window.
-
Click Copy at the bottom of the pop-up window, then go to your platform.
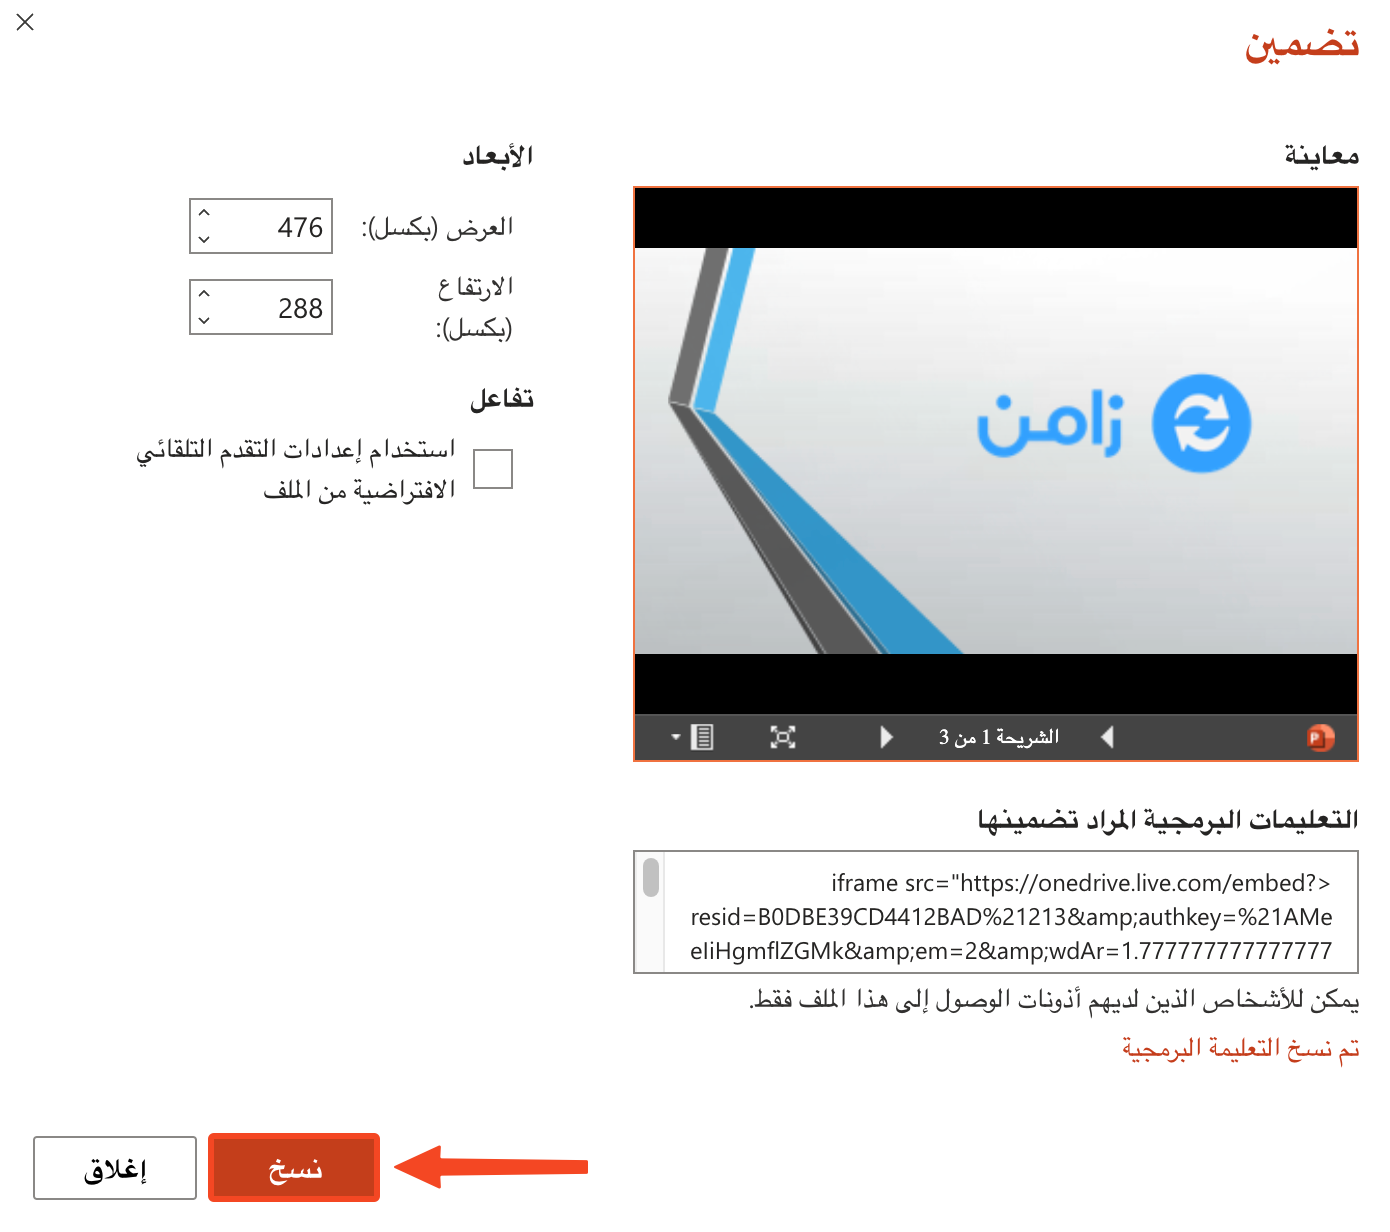
-
Go to the Courses page, then click Edit Curriculum on the course.
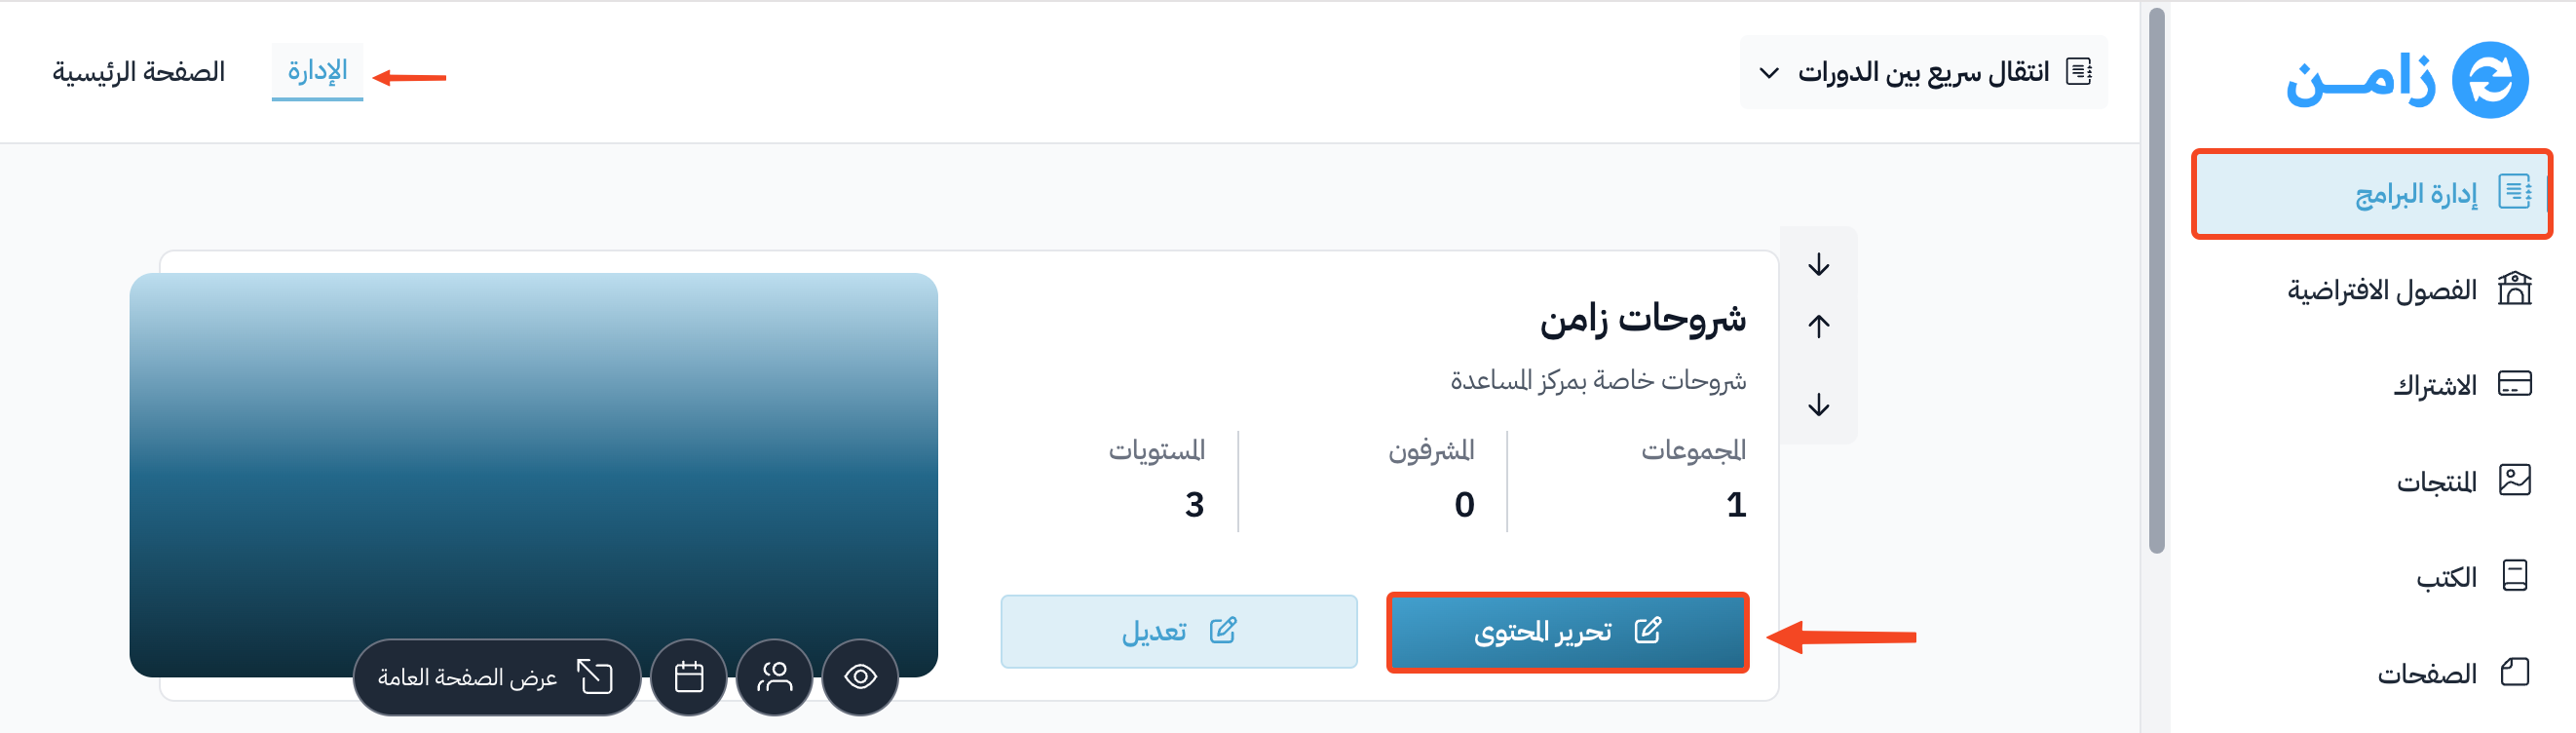
-
On the Curriculum page, click the edit button next to a target you already have, or click Create target to make a new one.
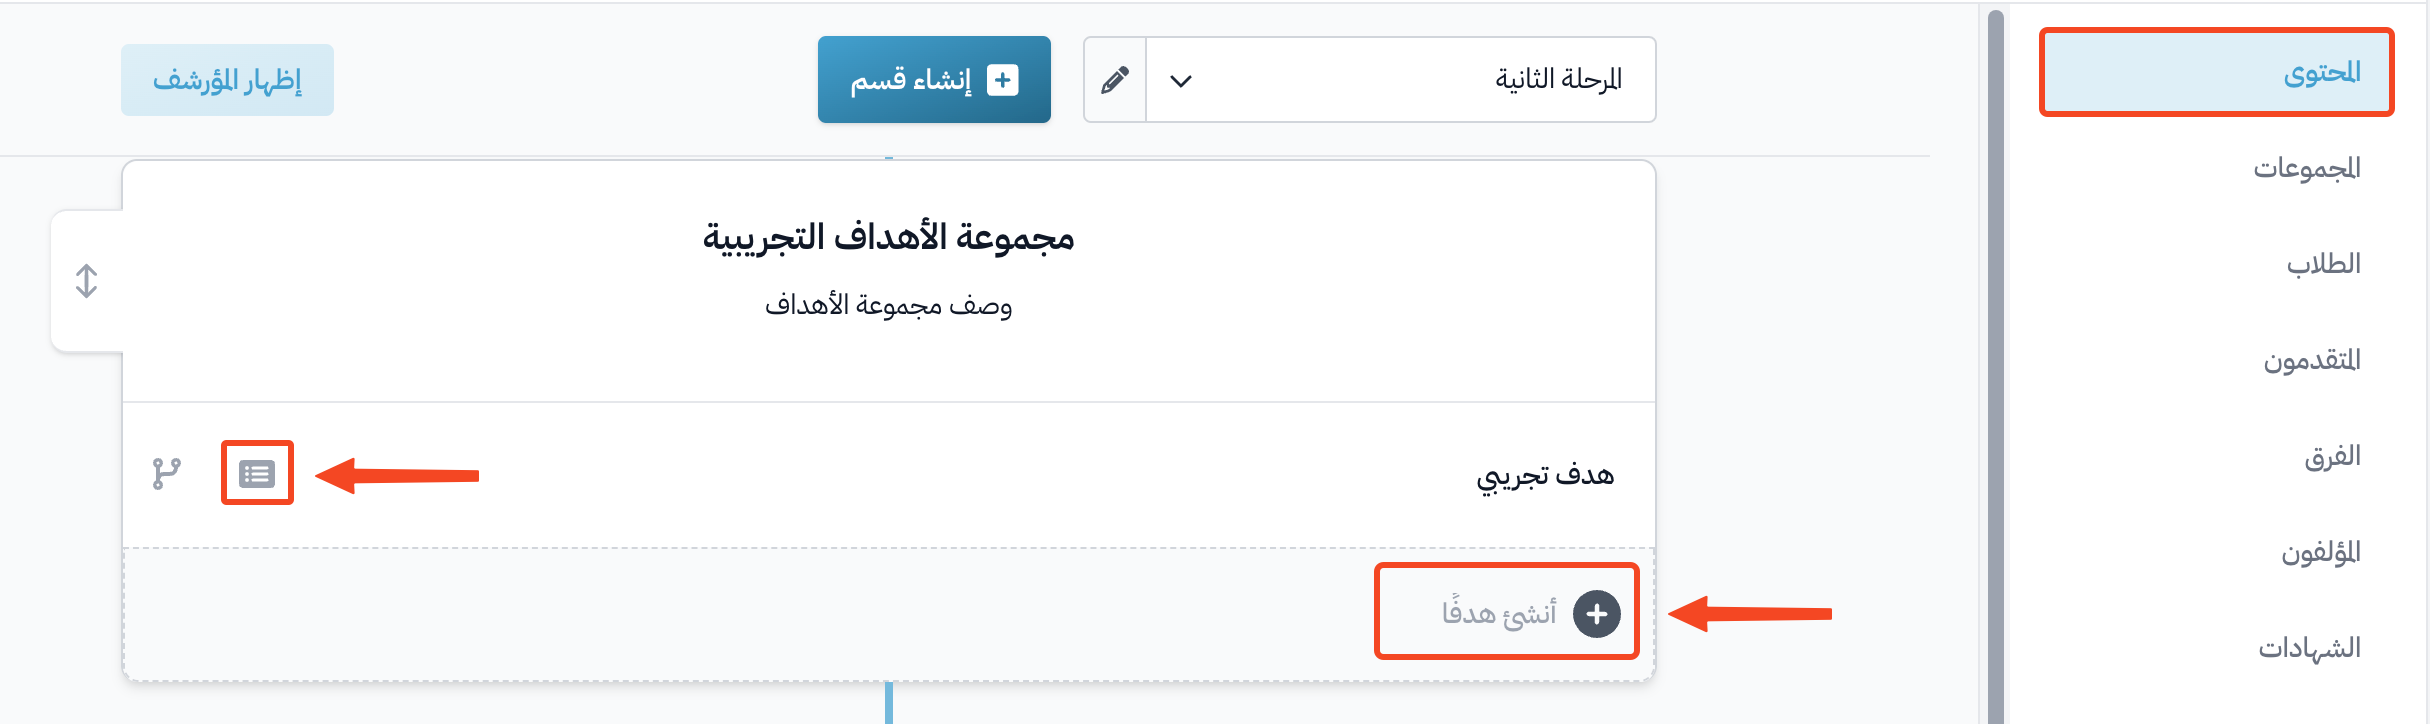
-
In the target's Content tab, click Embeded Link.
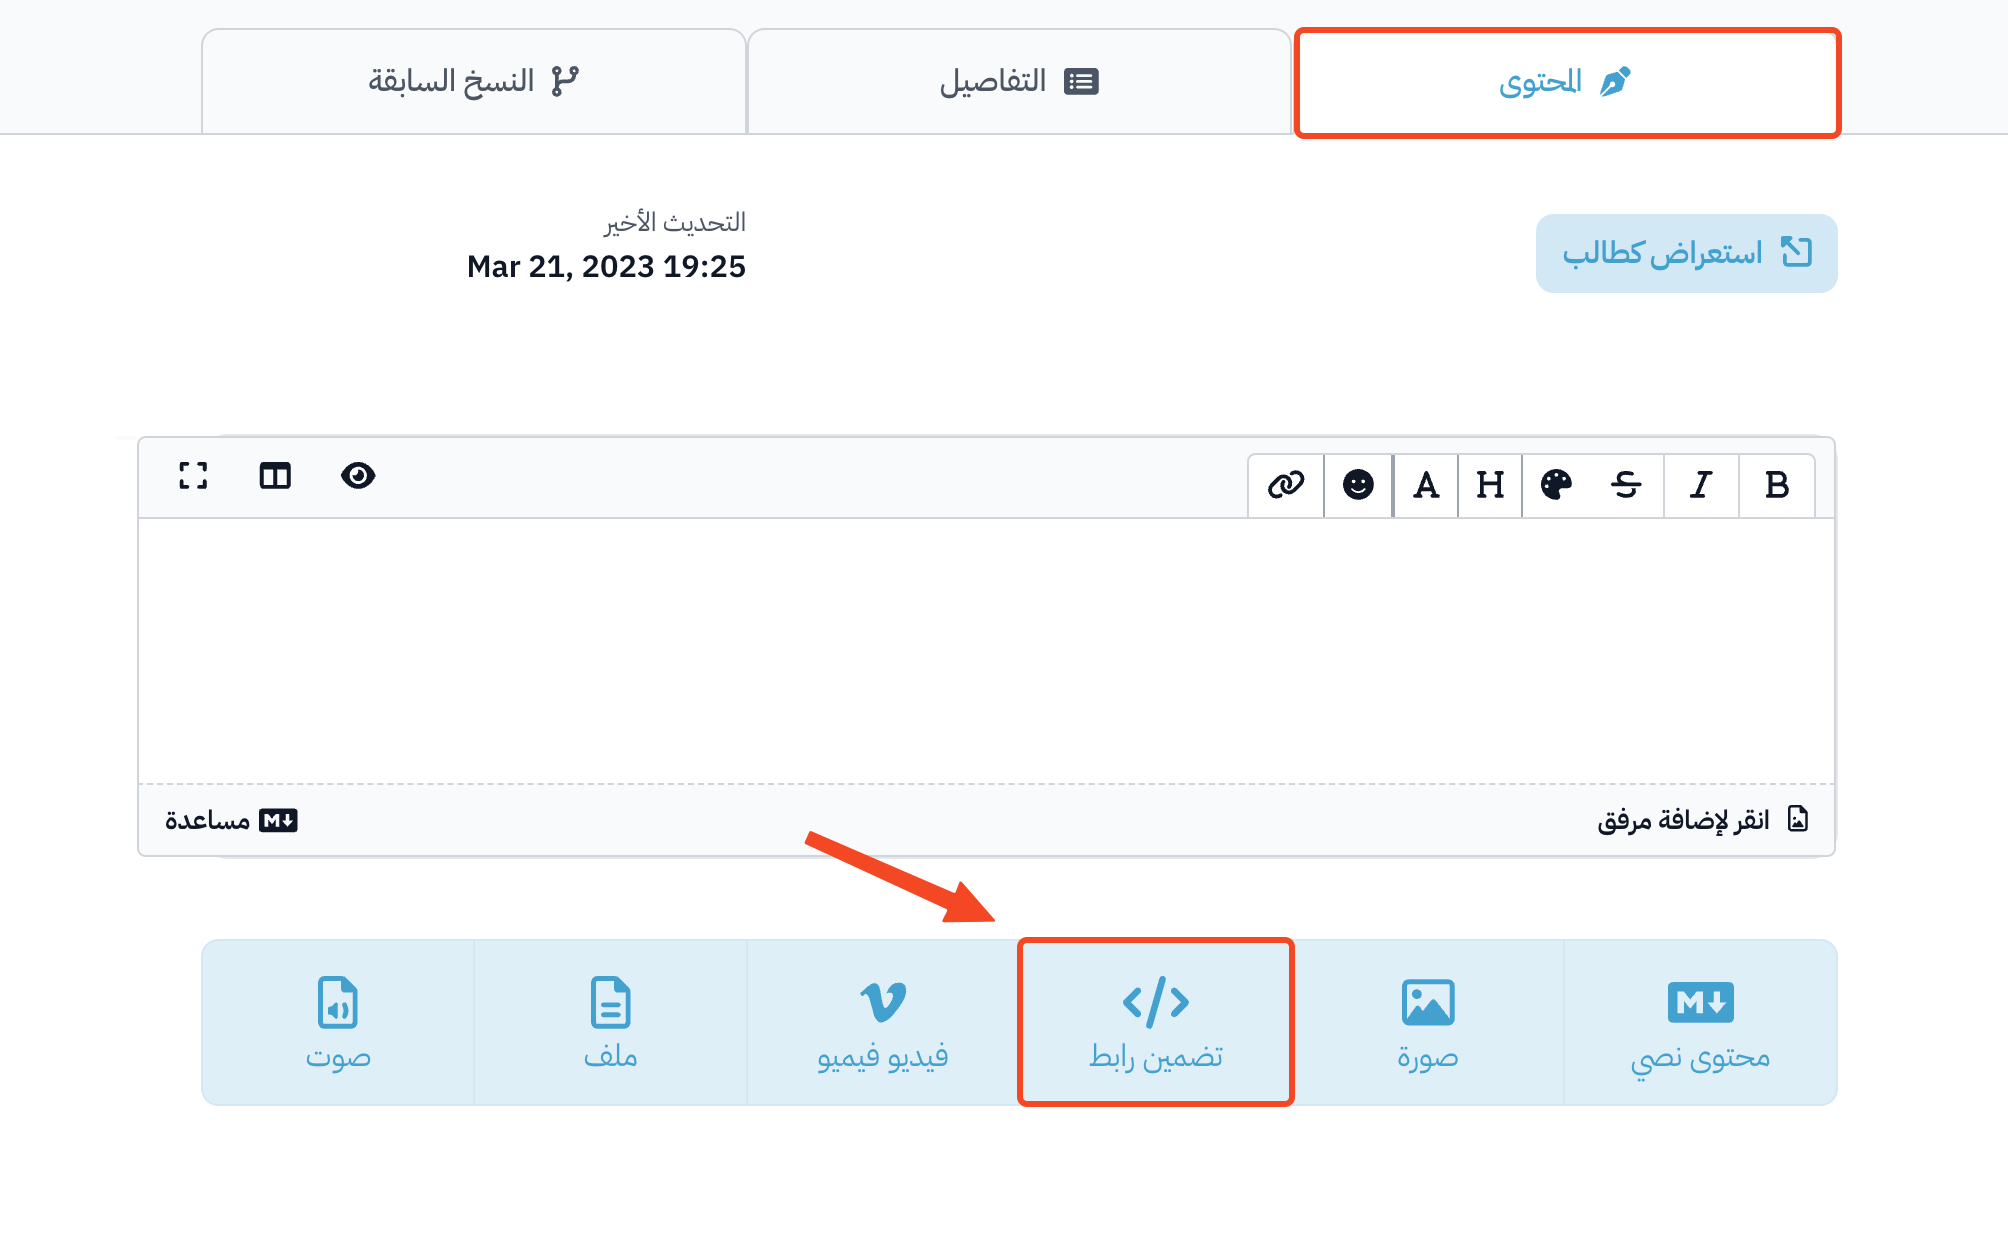
-
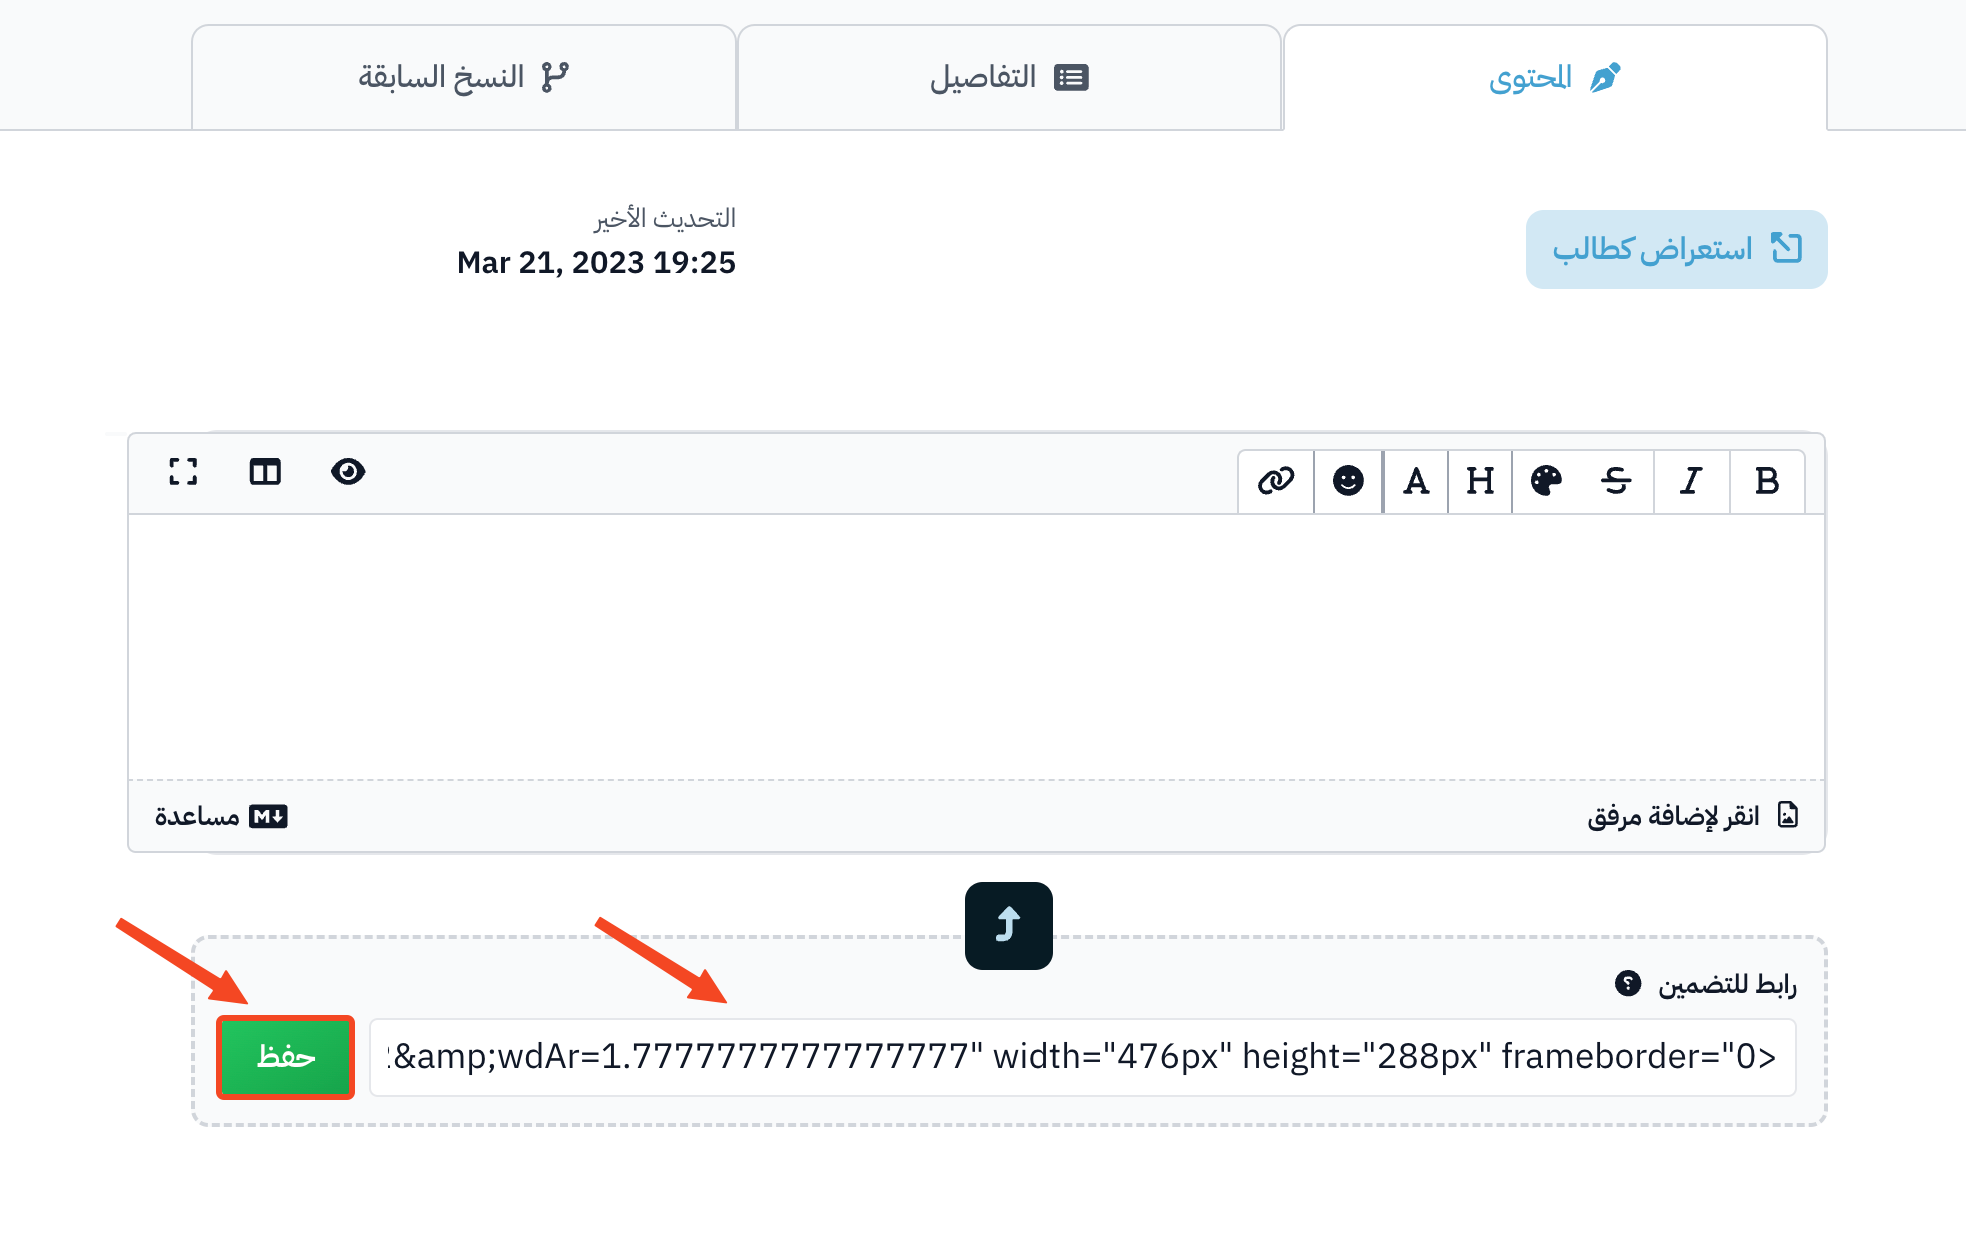
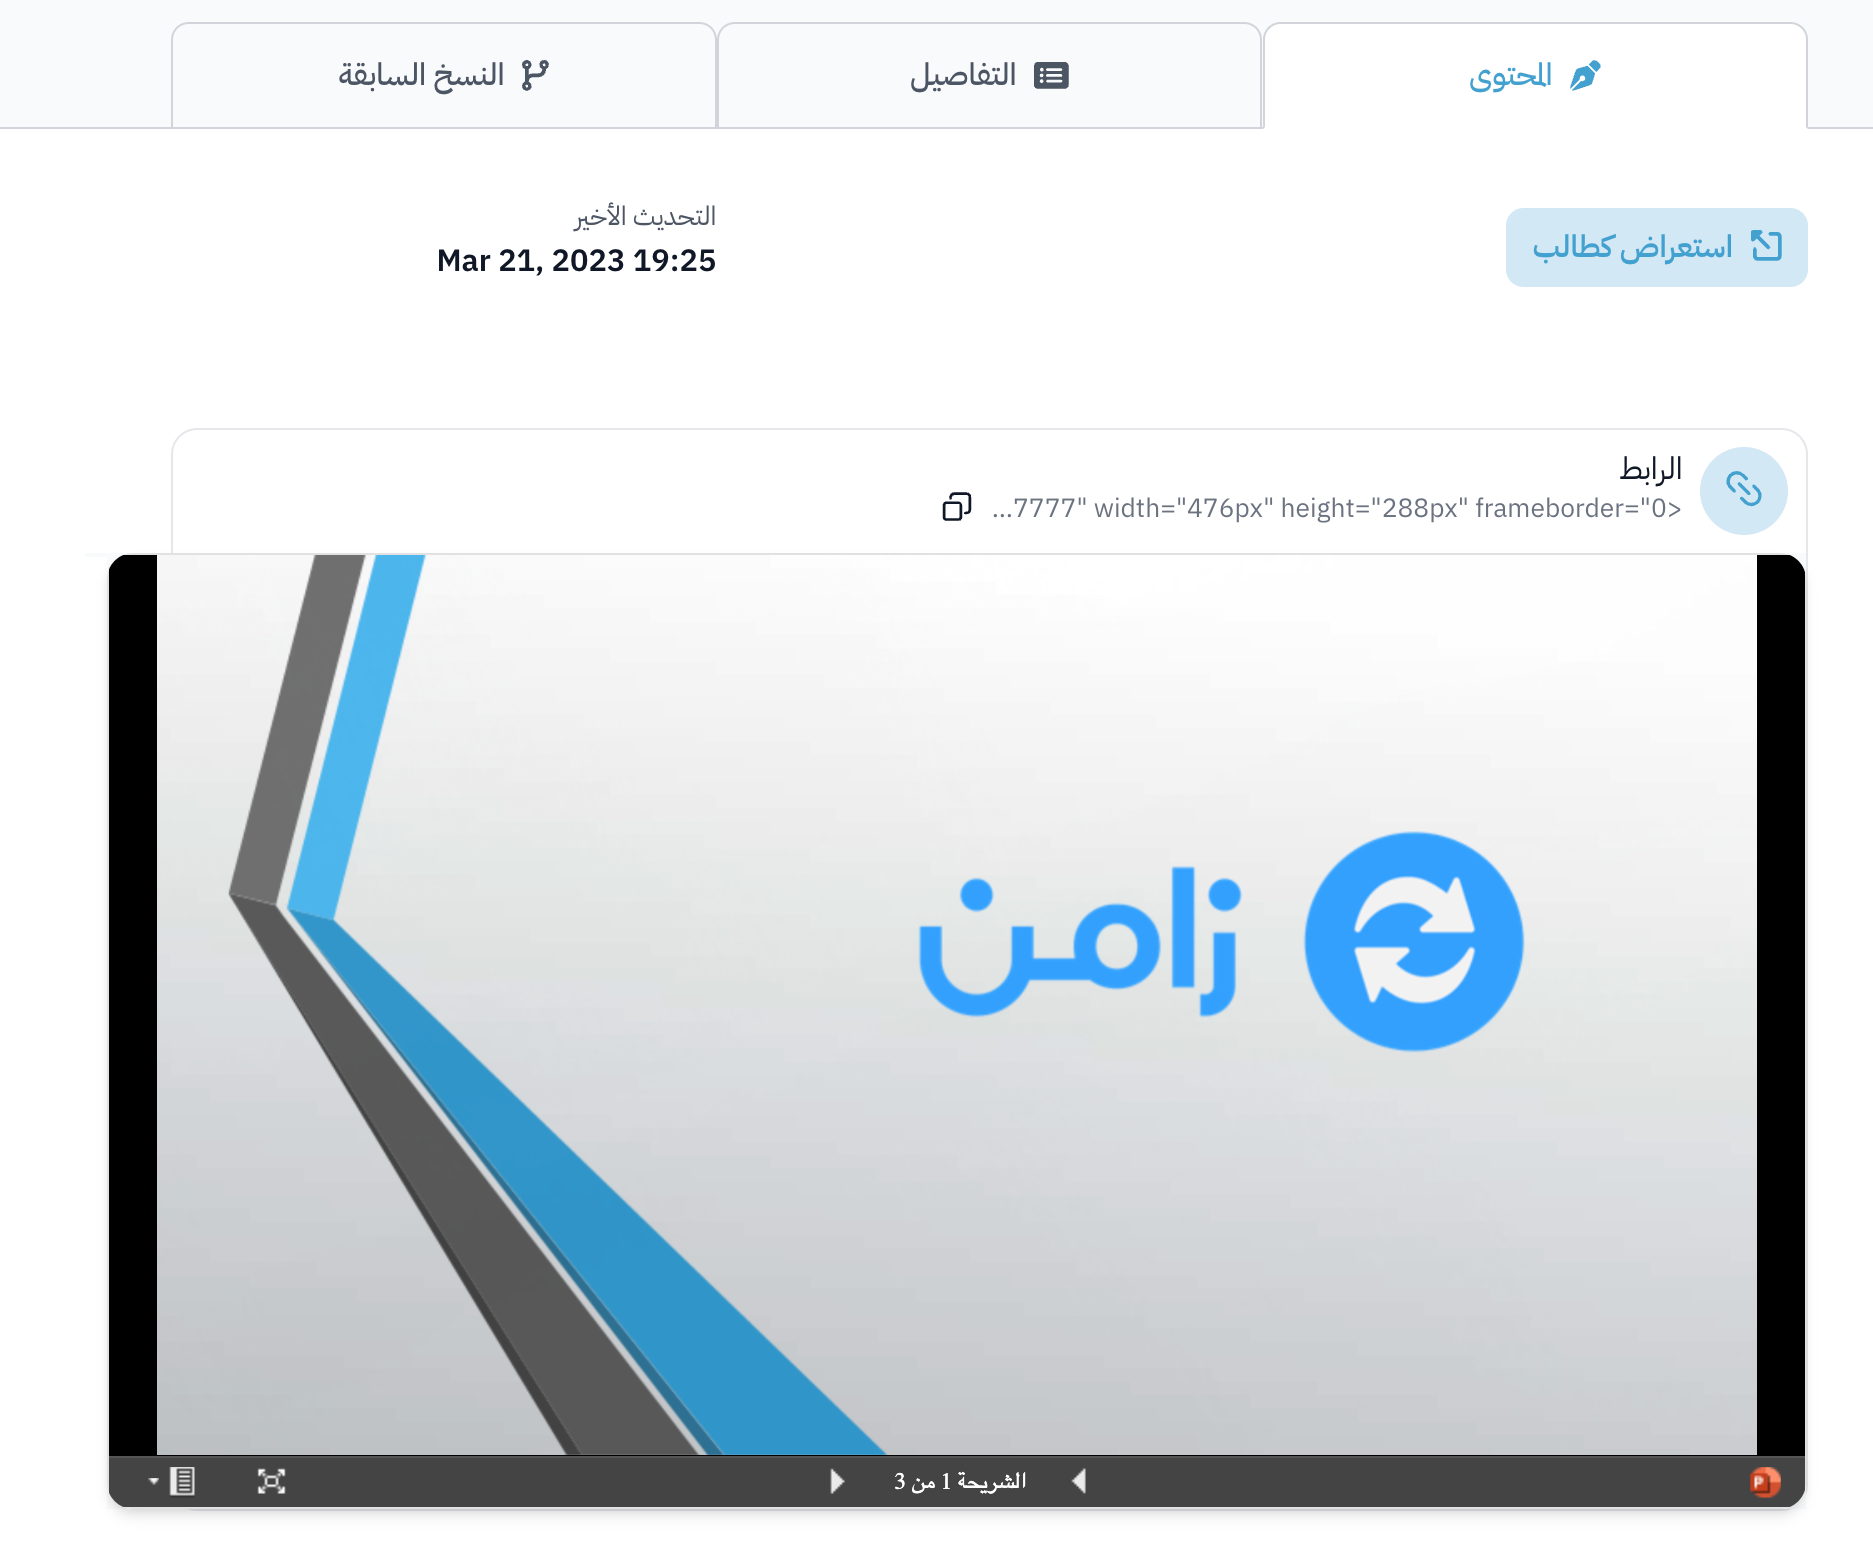
Paste what you copied in the URL to Embed field, then click Save.