Issue course certificates
Create a certificate for your course, set where the student's name and details show on it, then issue it to students automatically when they complete the course, or by hand. These steps are for the platform admin.
Steps to create the certificate
-
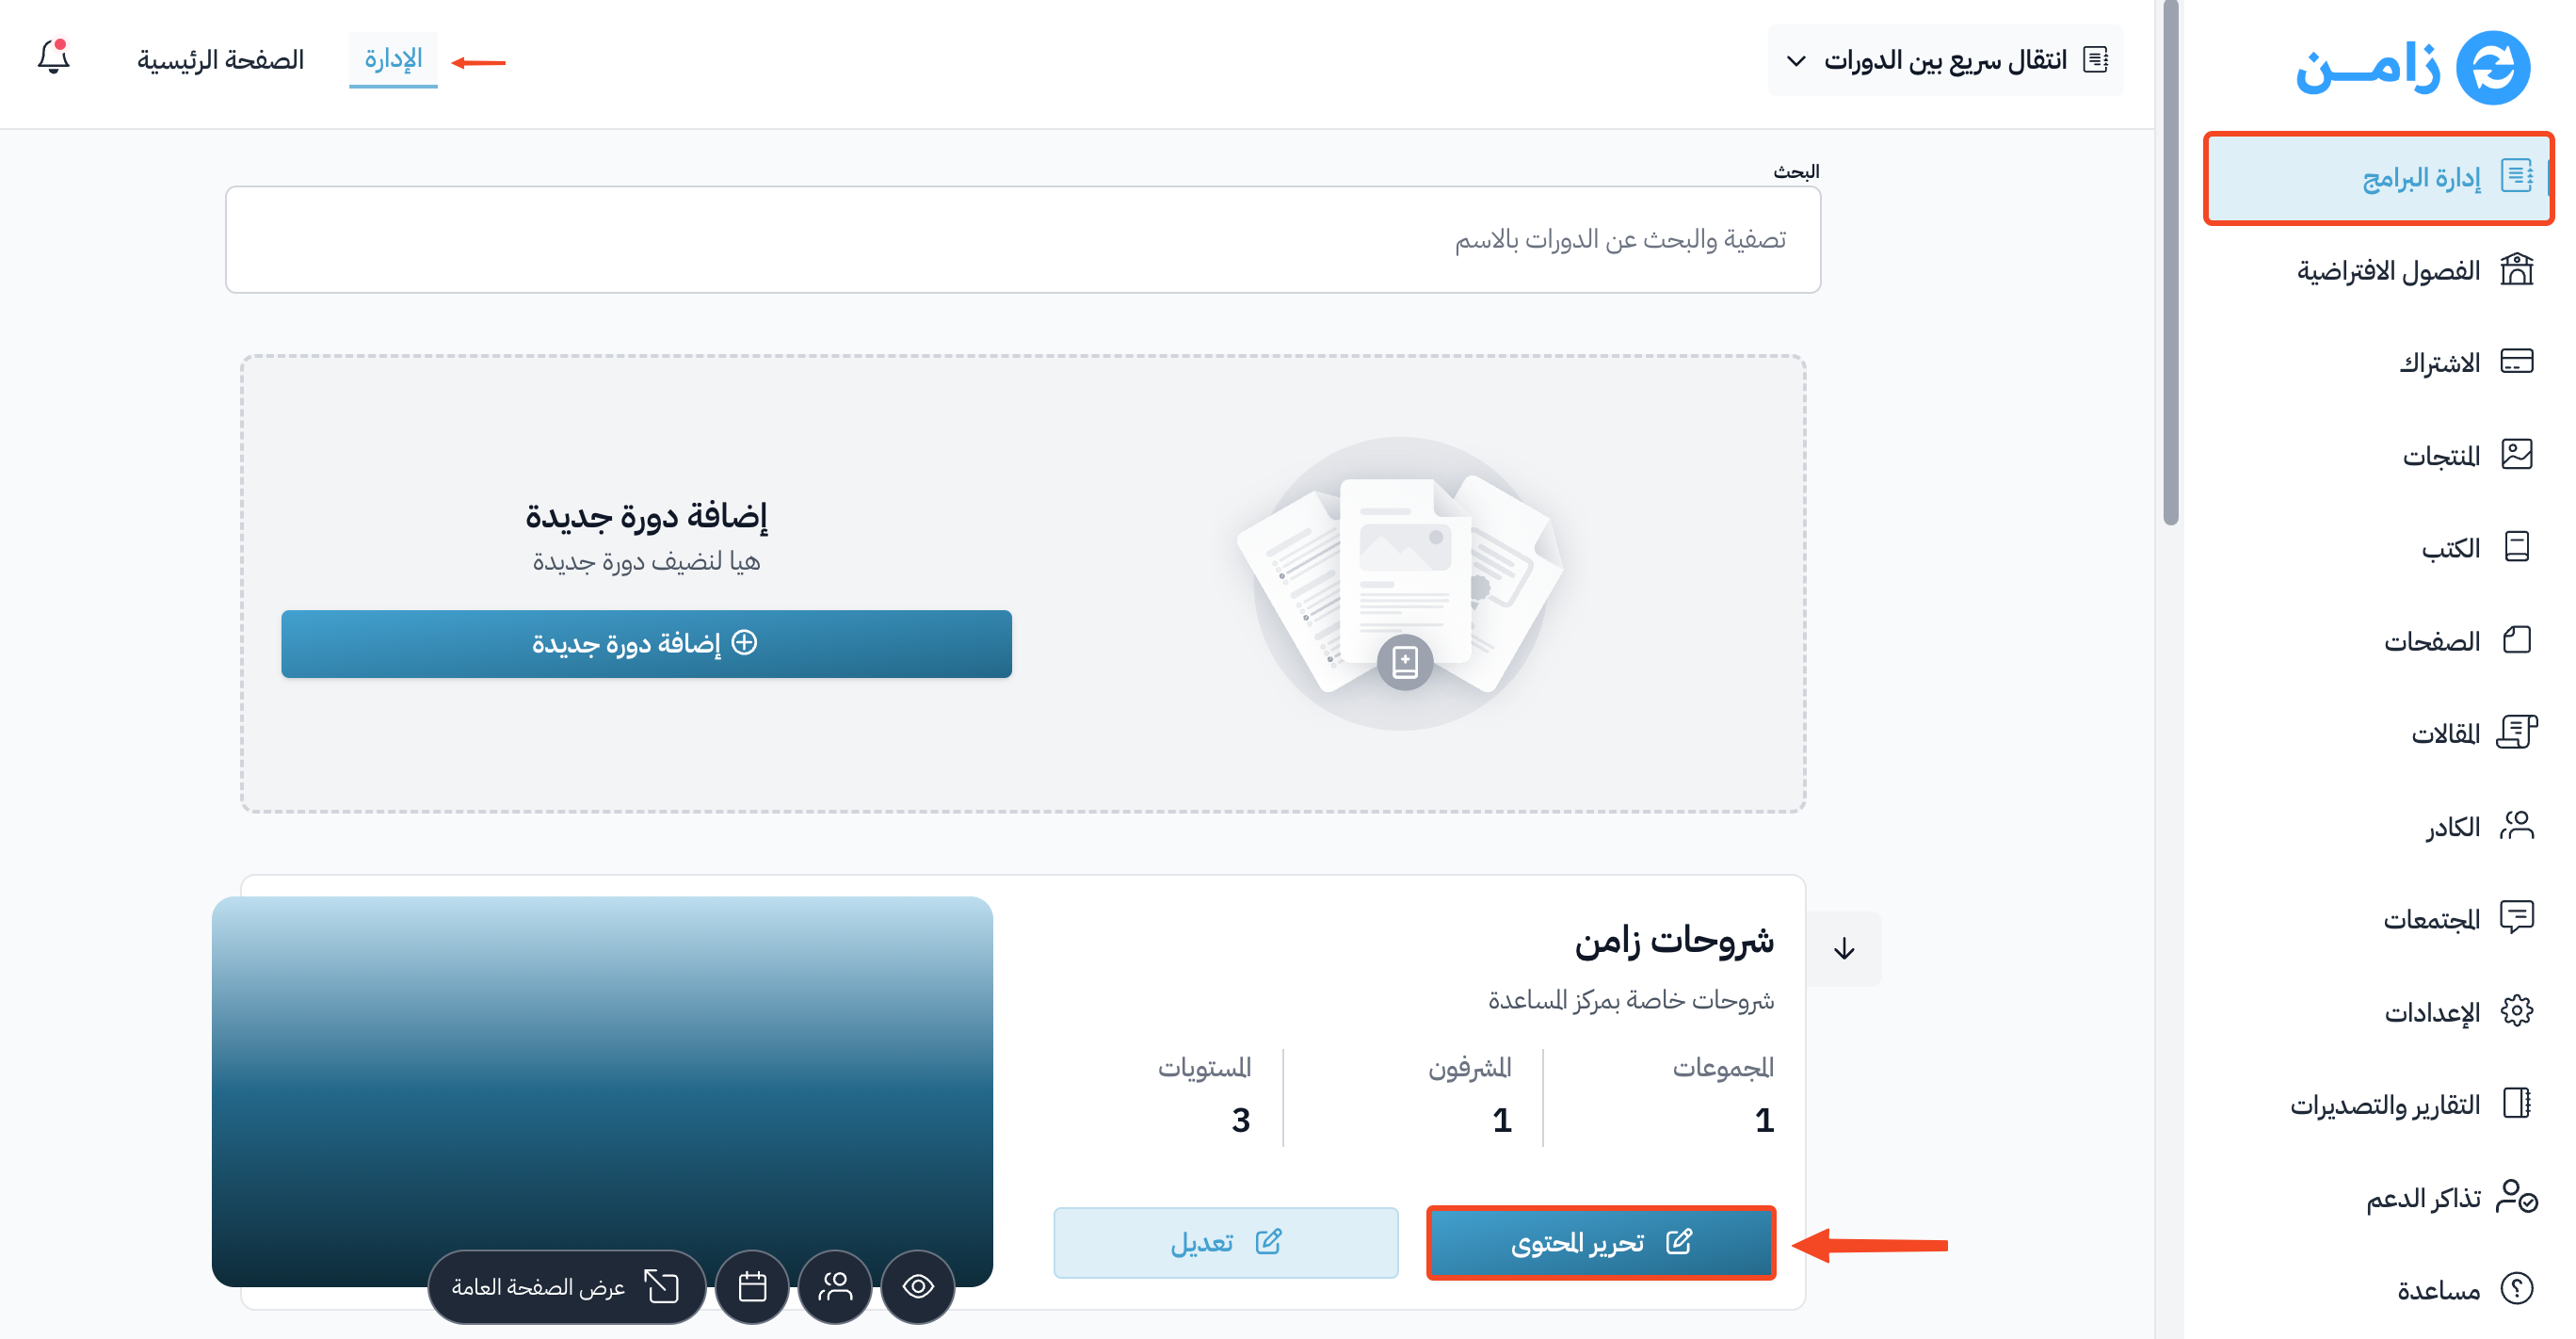
From Courses in the dashboard, click Edit Curriculum for the course you want to issue a certificate for.
-
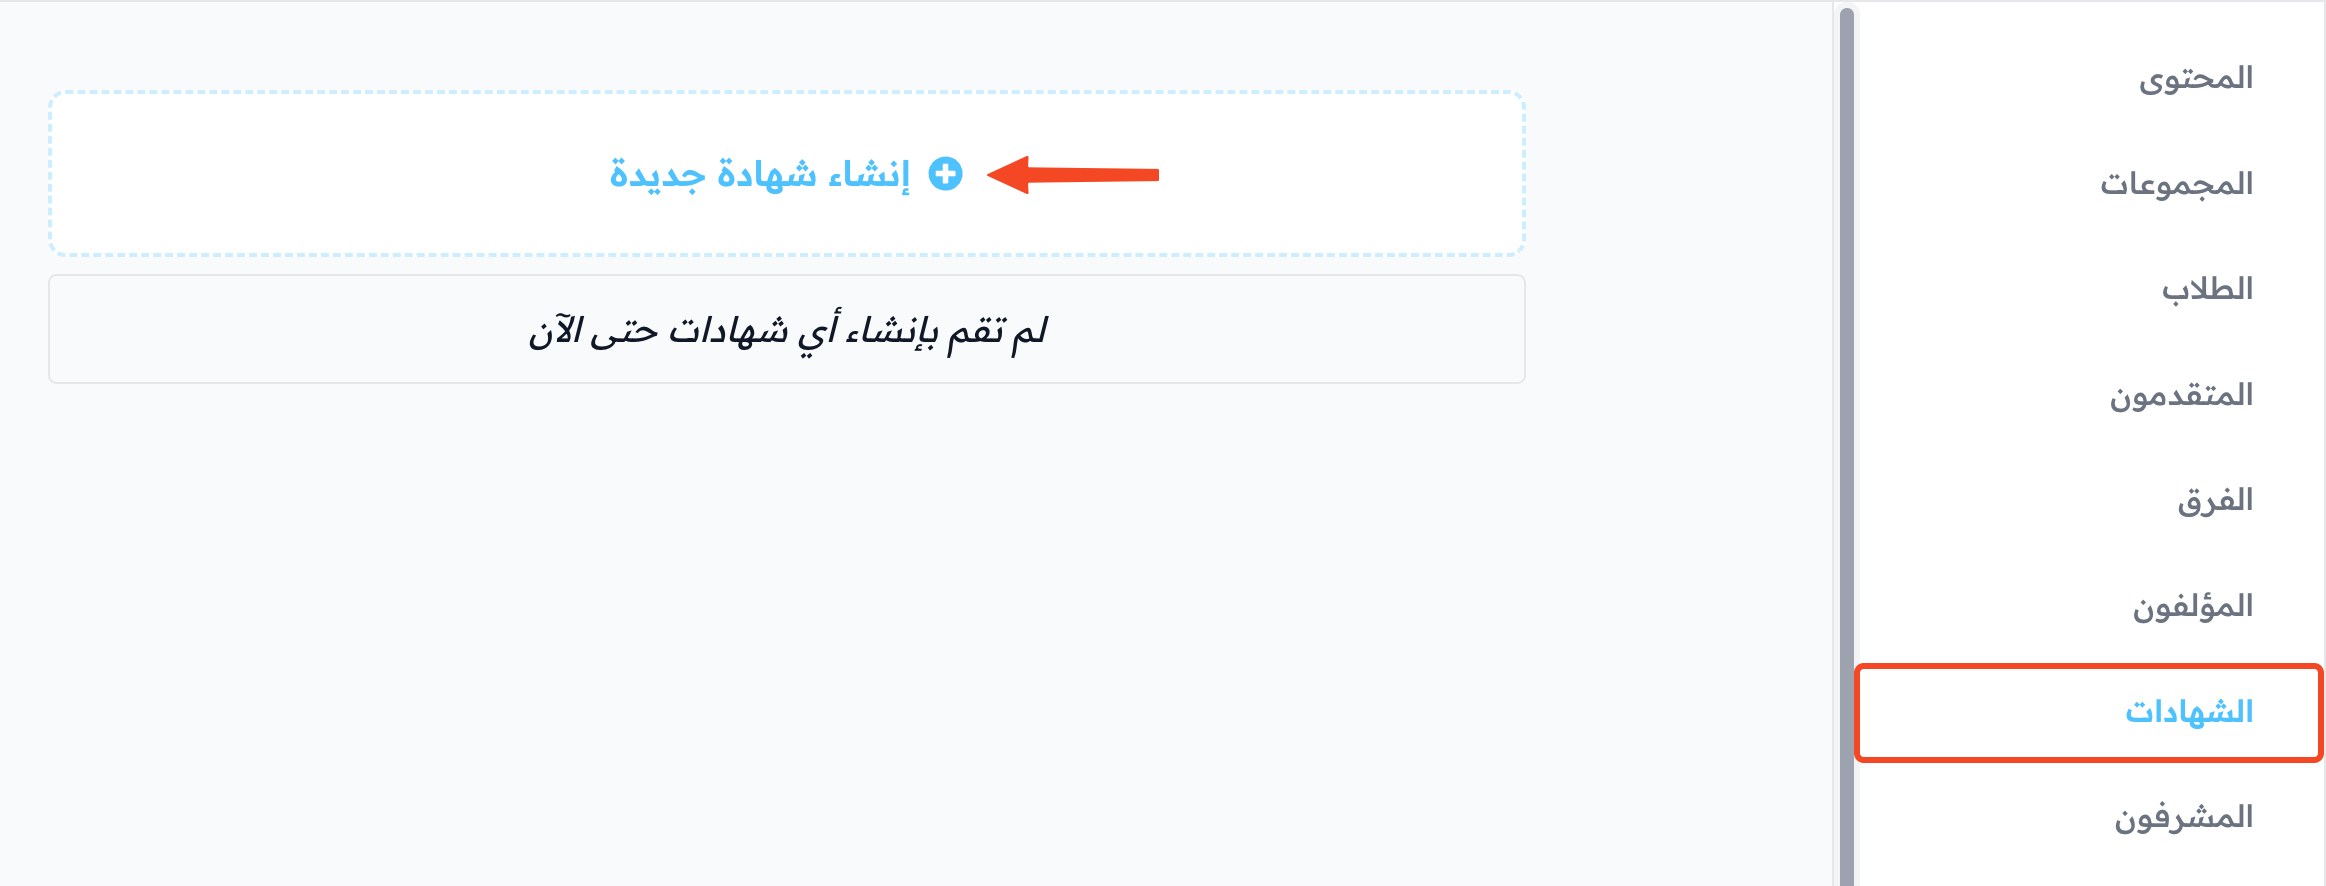
Go to the Certificates page, then click Create New Certificate.
-
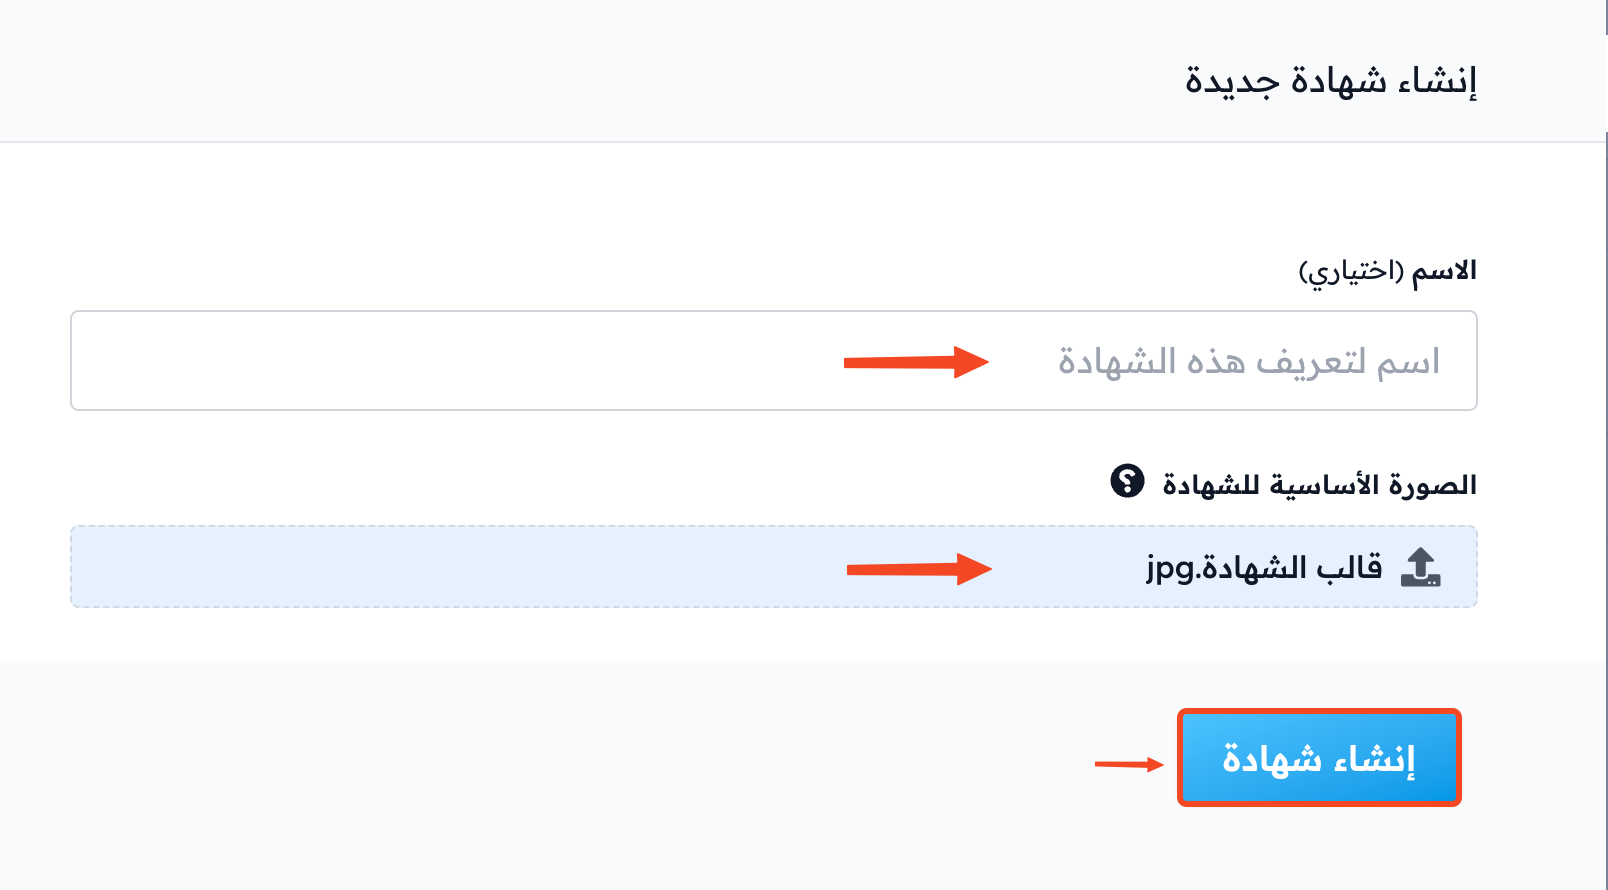
Create the certificate:
- Type a name to identify the certificate in the Name field.
- Upload the certificate image in the Certificate Base Image field. The image must have the space of a full line to write the student's name.
- Click Create Certificate.
-
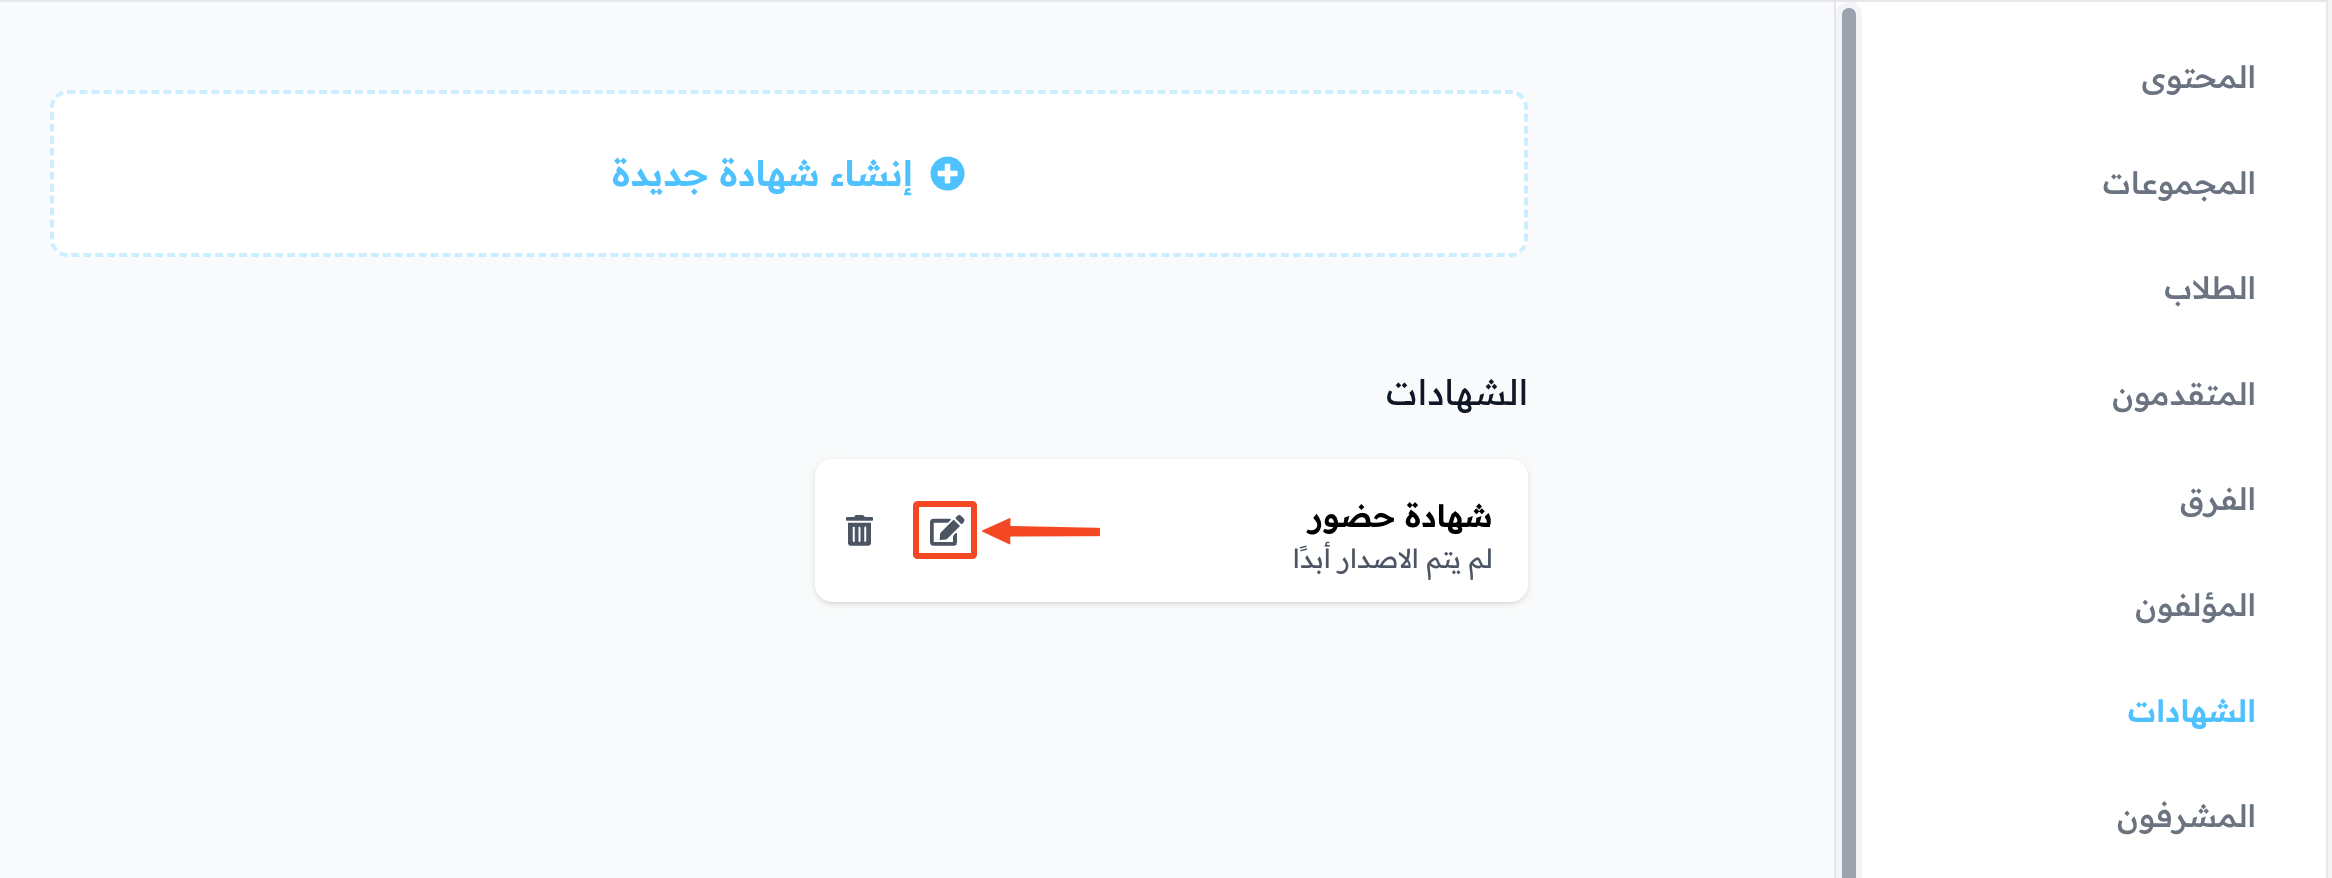
To change the certificate, click its name in the table, or click the ⋯ (Actions) button at the end of its row, then click Edit.
-
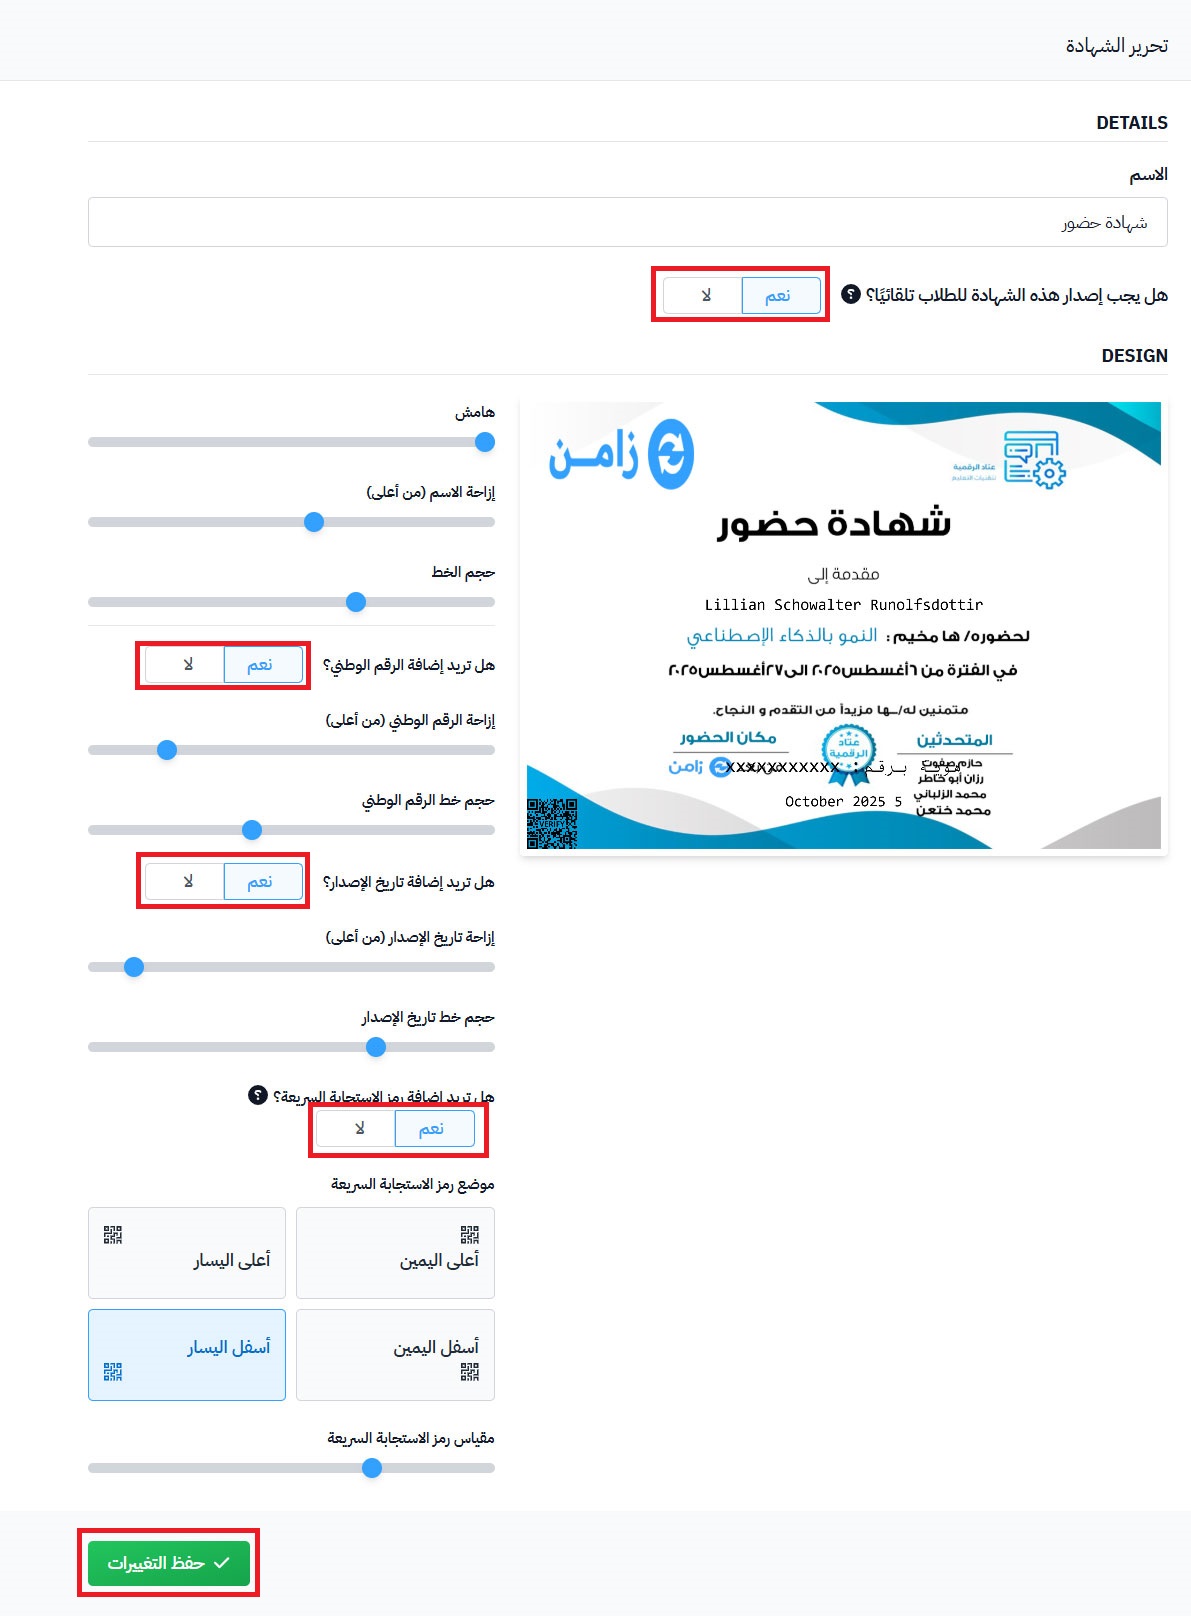
Change the certificate as you like:
- You can change the certificate Name.
- Choose whether to issue the certificate automatically or not, with the Issue this certificate automatically option.
- Change the place and size of the student's name with Name Offset (from top) and Font Size.
- To add the student's national ID, turn on Show national ID, then change its place and size.
- To add the issue date, turn on Show issue date, then change its place and size.
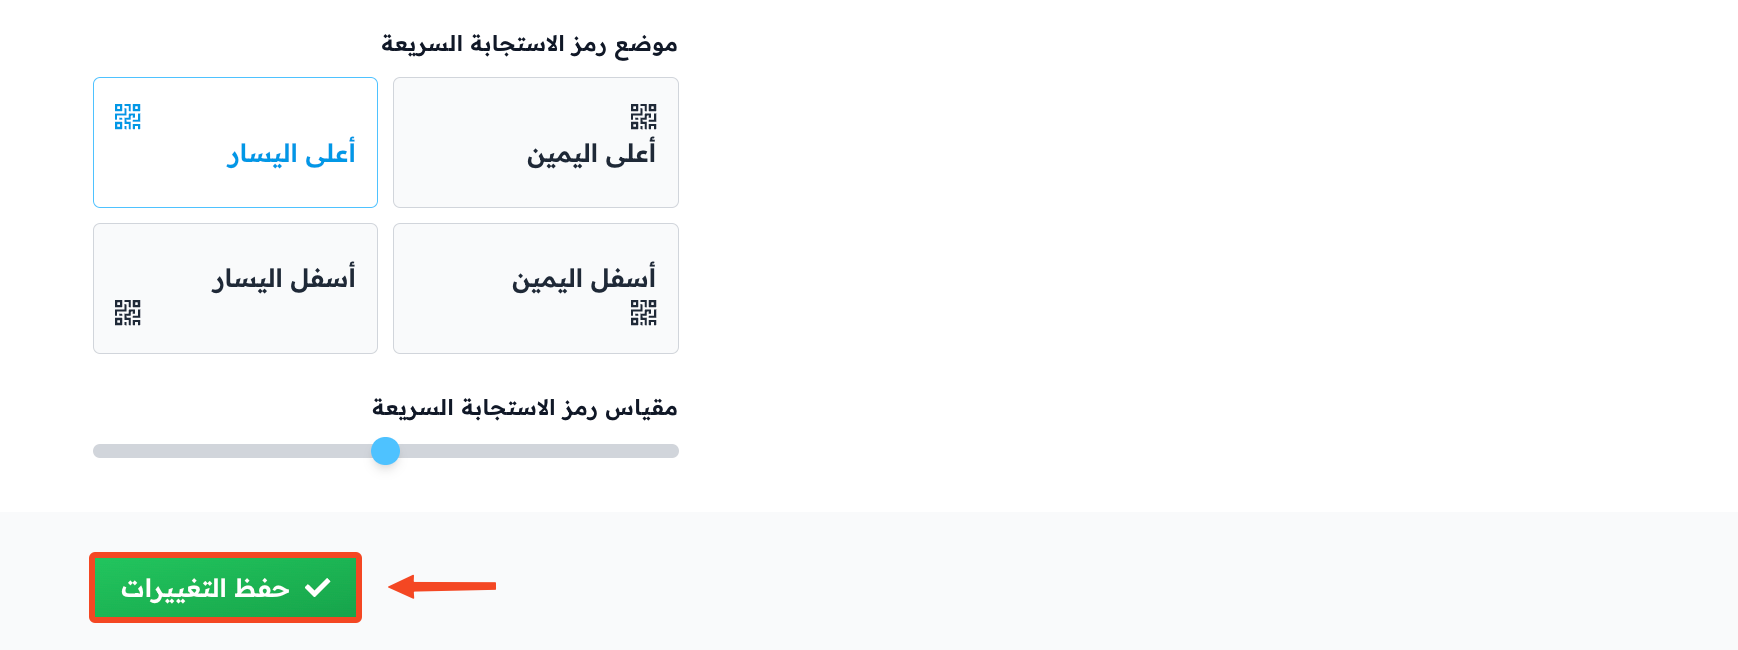
- To add a QR code, turn on Show QR code, then choose the QR Code Position and change the QR Code Scale.
- Click Save Changes.
A course can have many certificates, but only one of them can be issued automatically. Automatic issue works only if the course has at least one milestone target.
Send the certificate
If you turned on automatic issue, the certificate is issued when the student completes the course.
If the certificate is not issued automatically, follow these steps:
-
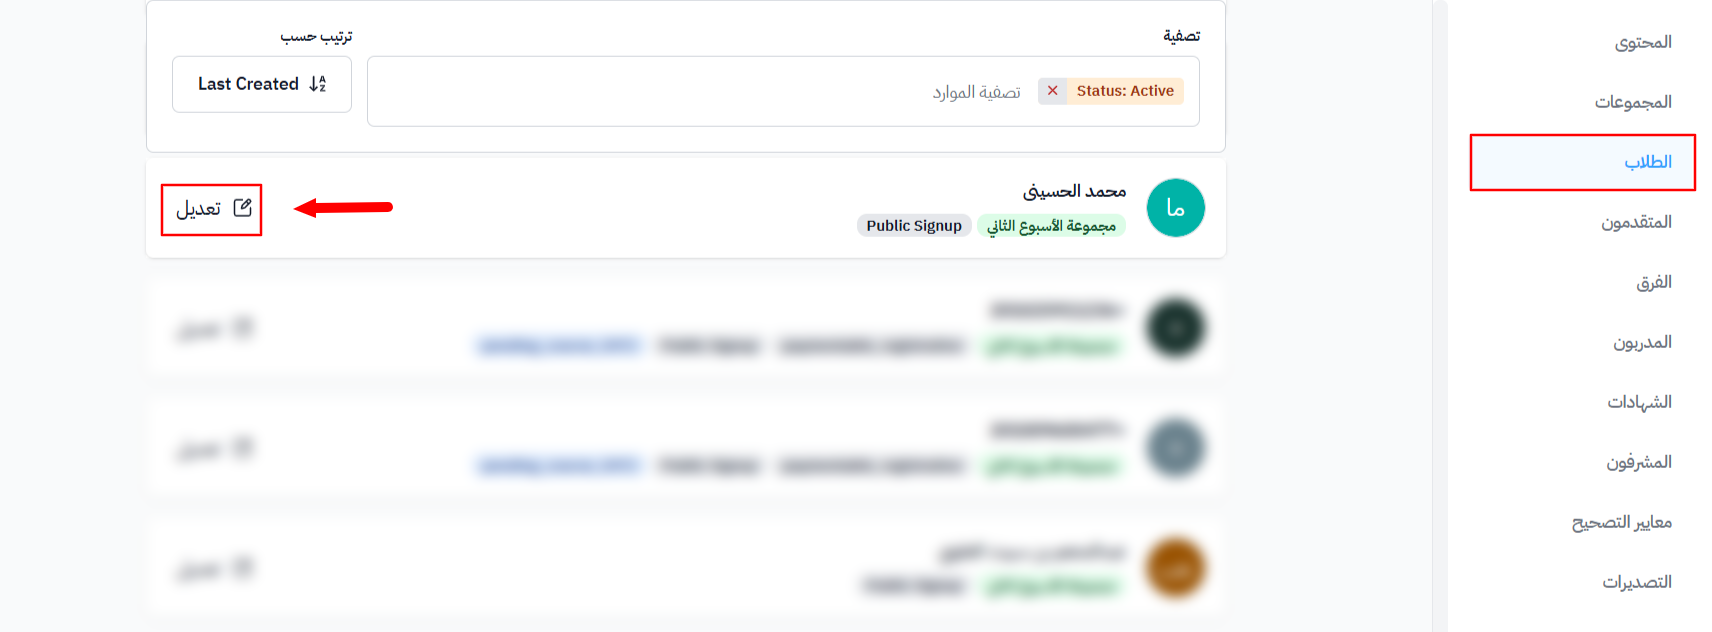
Go to the Students page of the course.
-
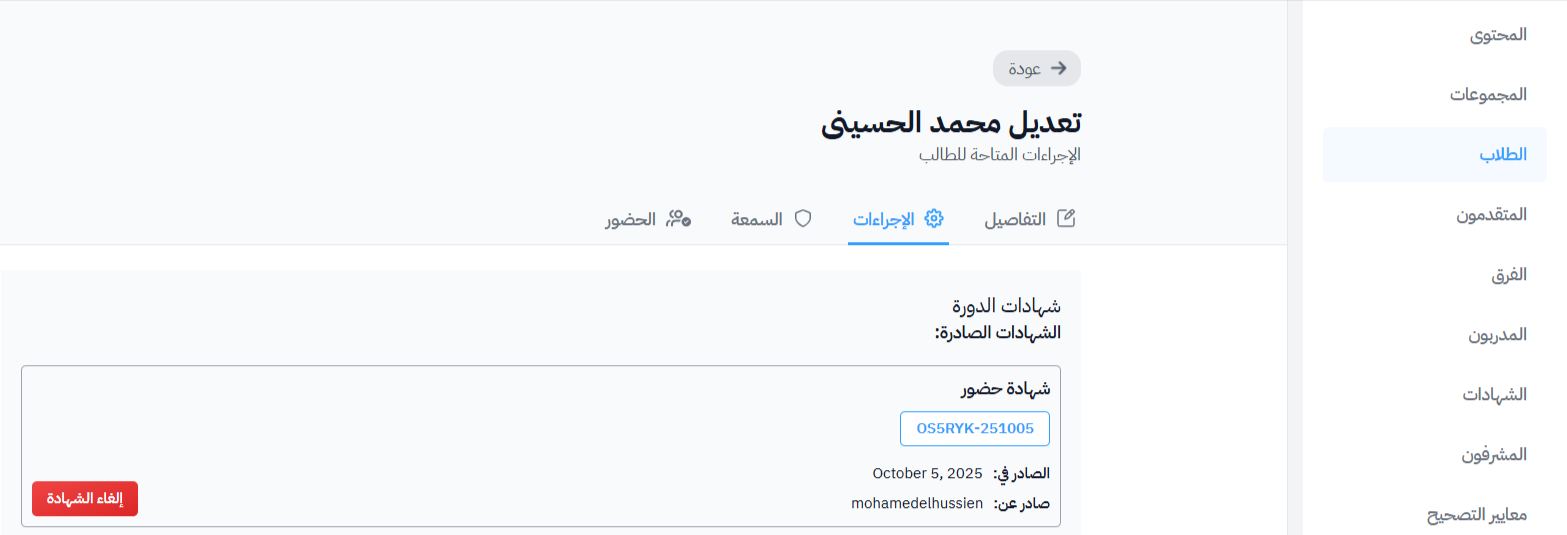
Find the student you want to send the certificate to, and click Edit.
-
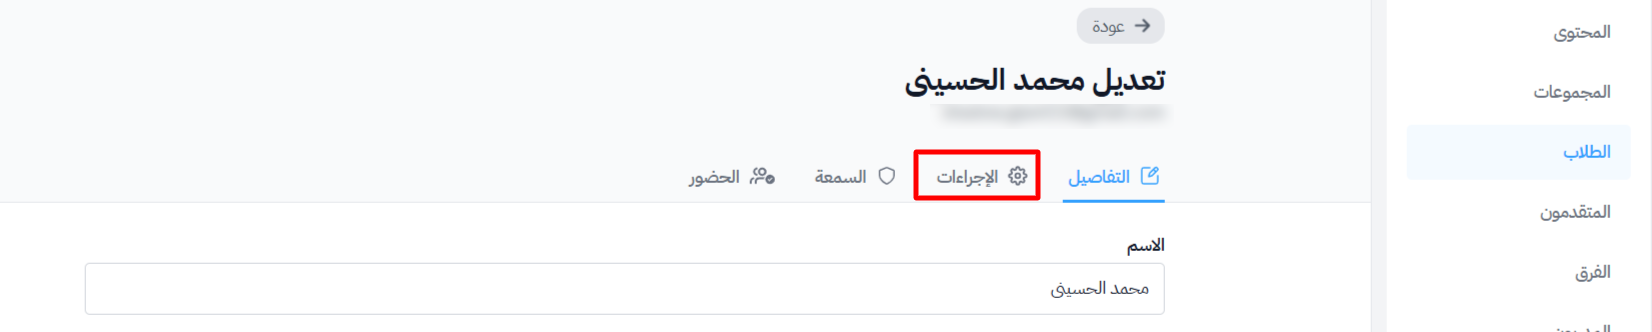
Click the Actions tab.
-
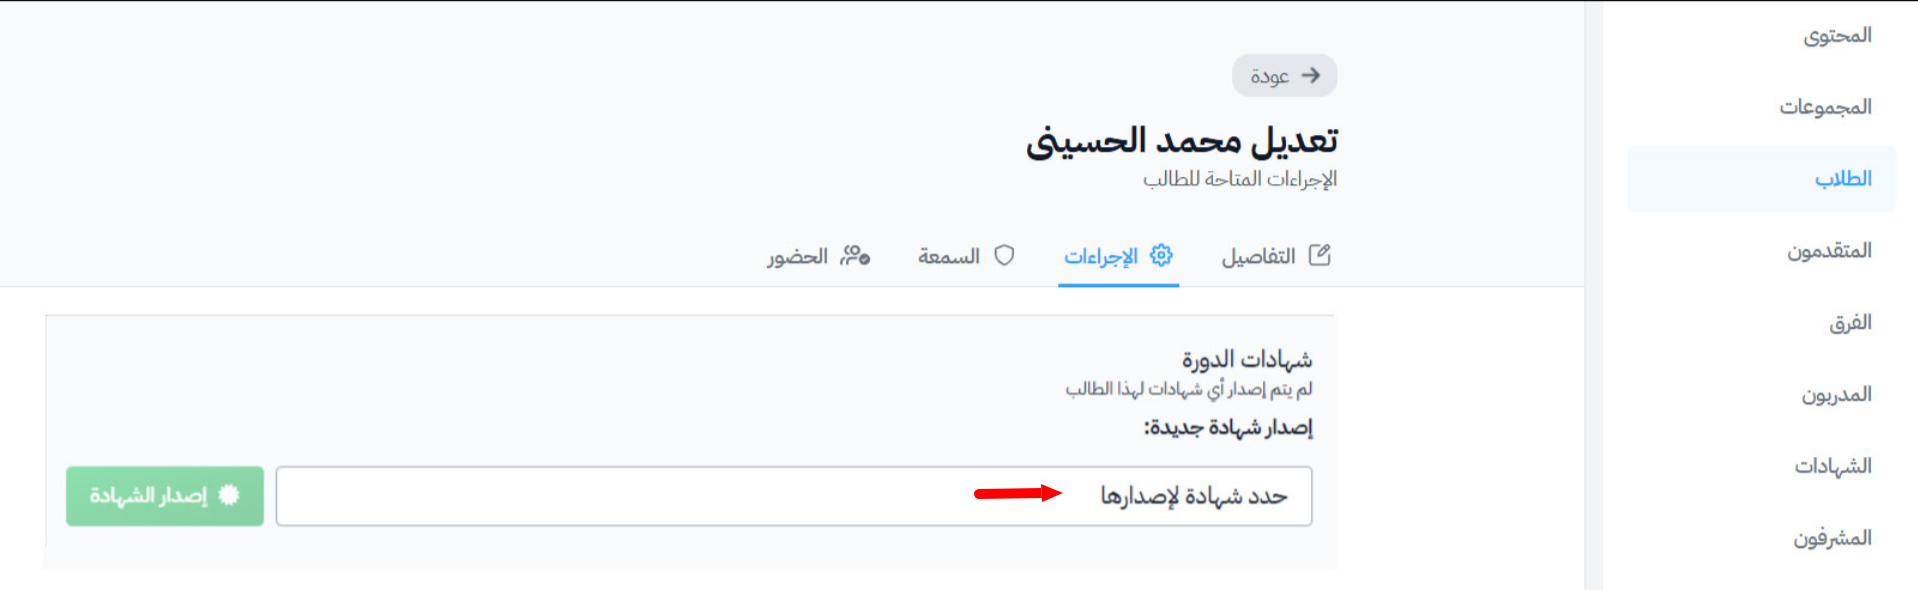
Choose the certificate in the Select a certificate to issue field.
-
Click Issue Certificate.
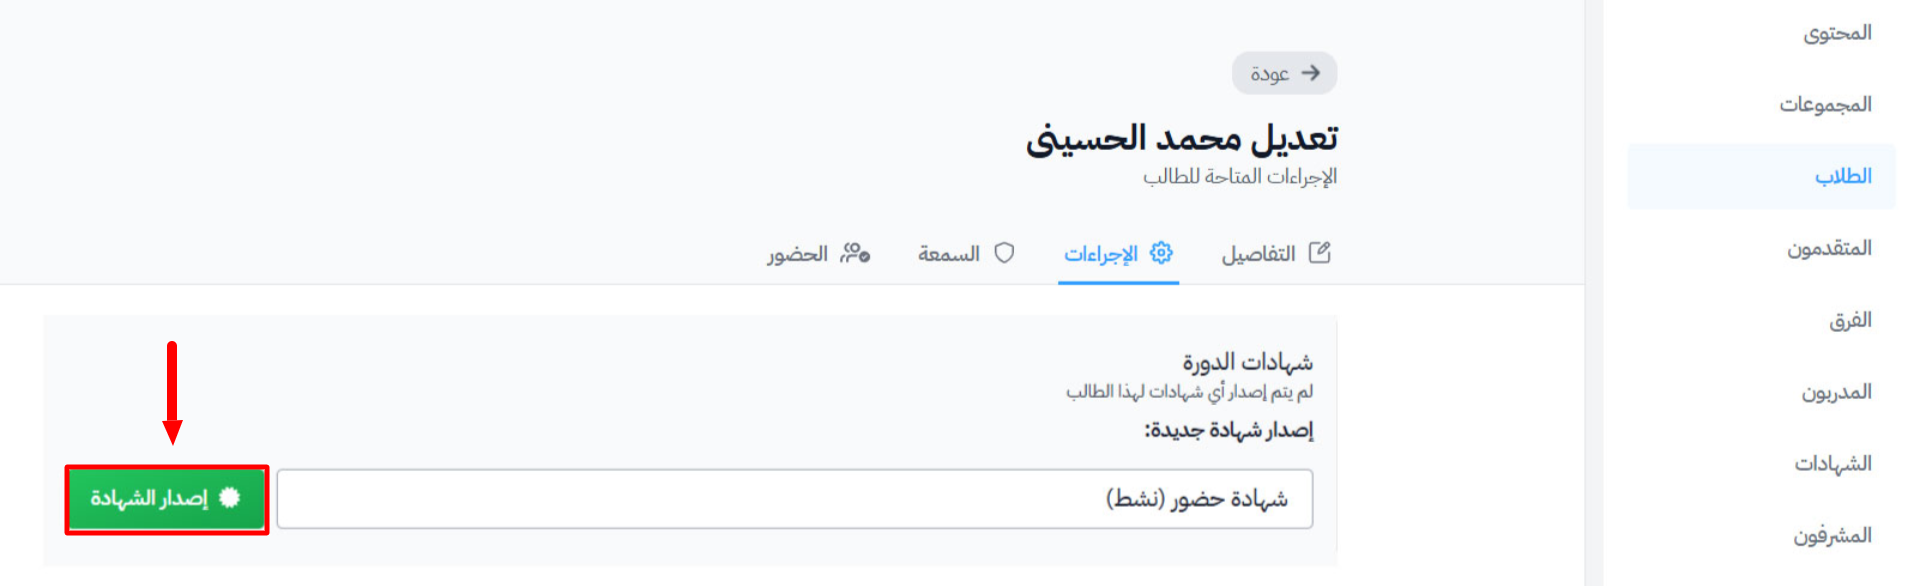
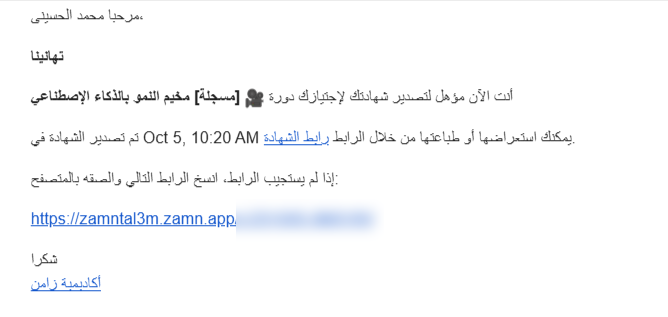
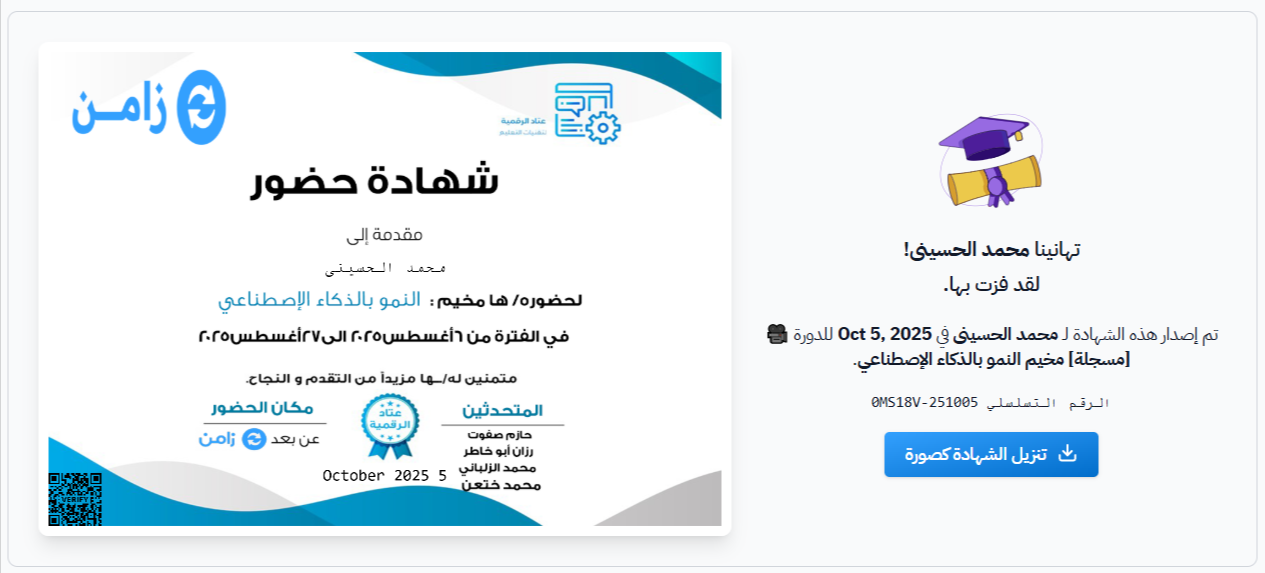
The certificate is sent in an email to the student.