Create a community (forum) on your platform
A community (forum) is a place for talk and discussion. Members can add topics for discussion, and reply to topics in the communities they can access.
Steps to create a community
-
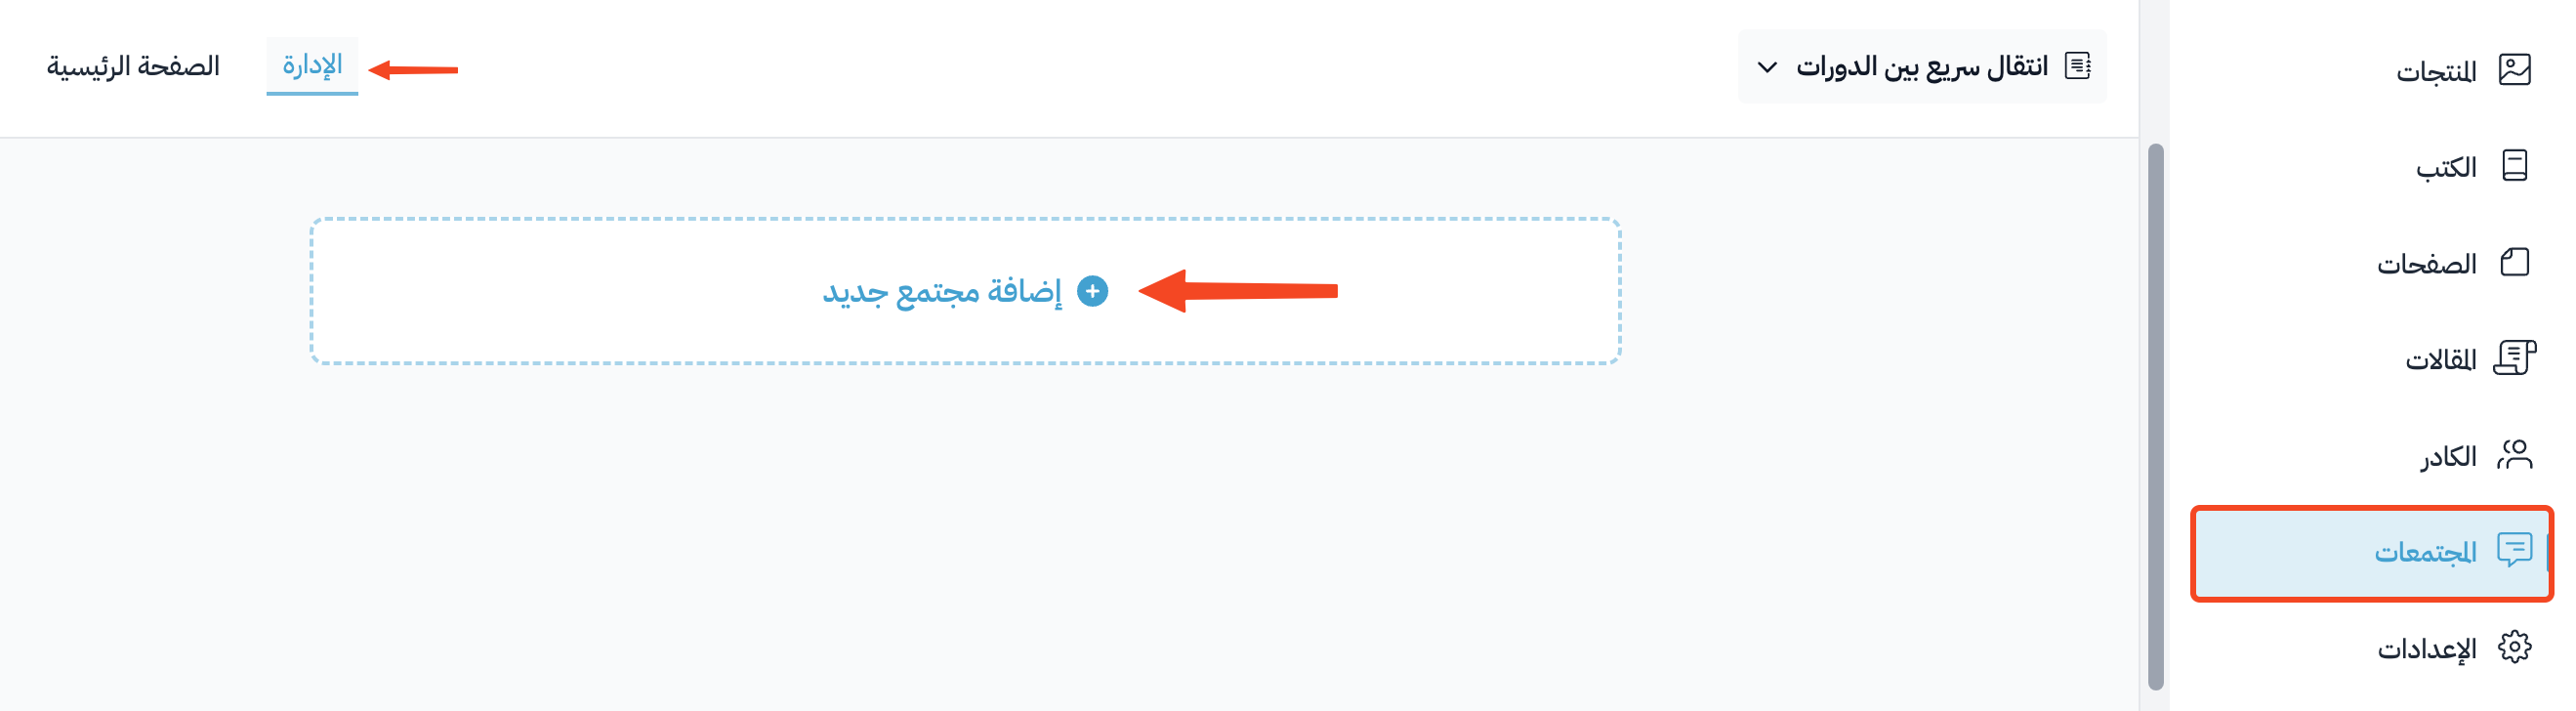
From the dashboard, click Communities, then click Add New Community.
-
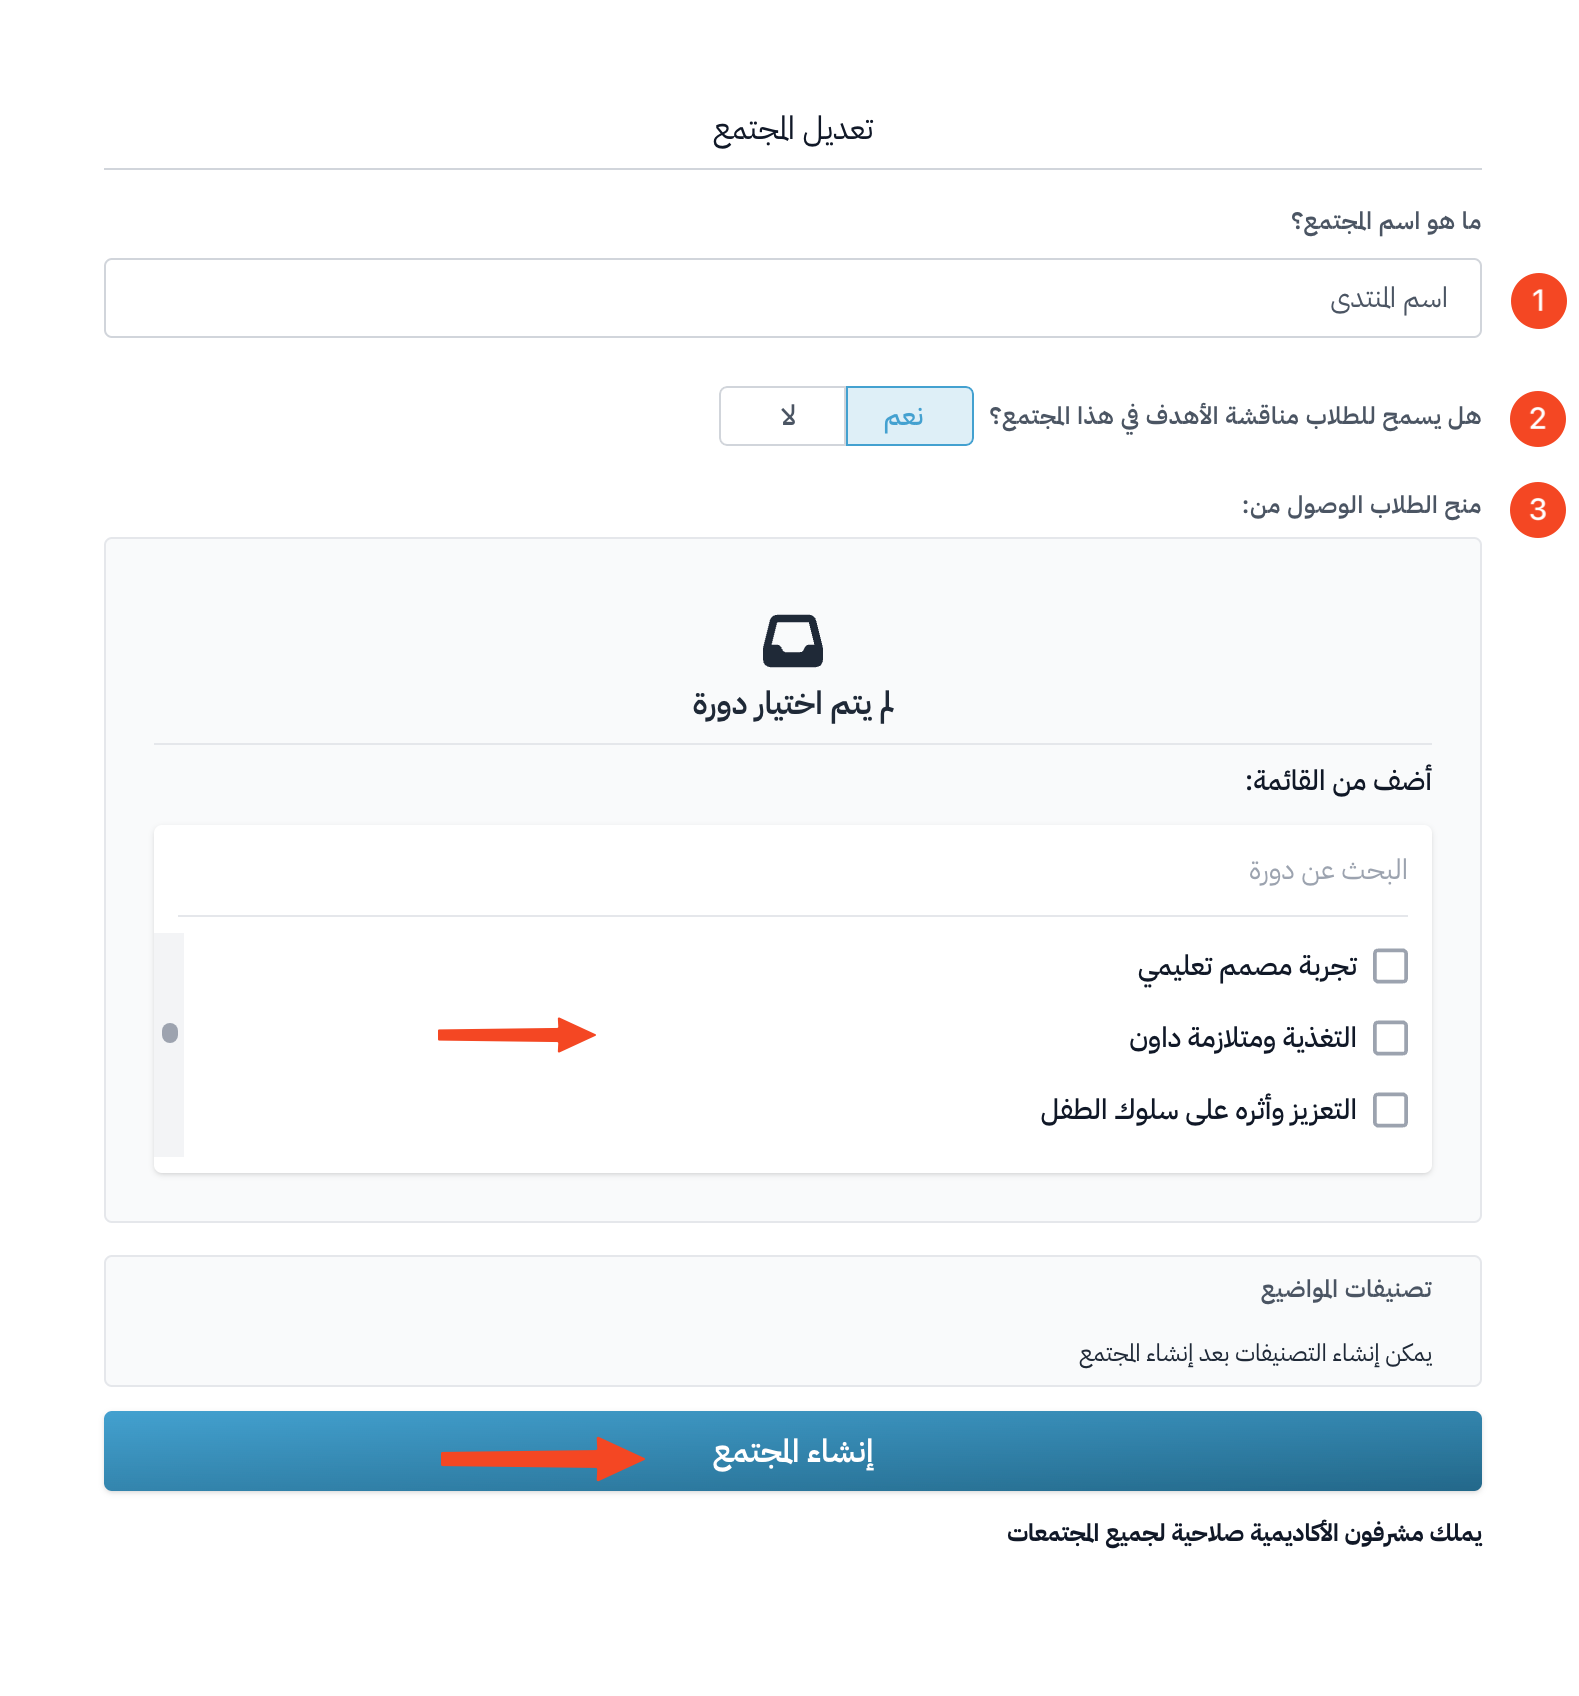
Type the name of the community in the What do you want to call this community? field.
-
Choose Yes or No for the question: Should students be allowed to discuss targets in this community?
-
Under Give access to students from:, select the courses whose students can access the community. You can click Select All to select all courses.
-
Click Create Community.
Coaches in your platform have access to all communities.
Add topics to a community
-
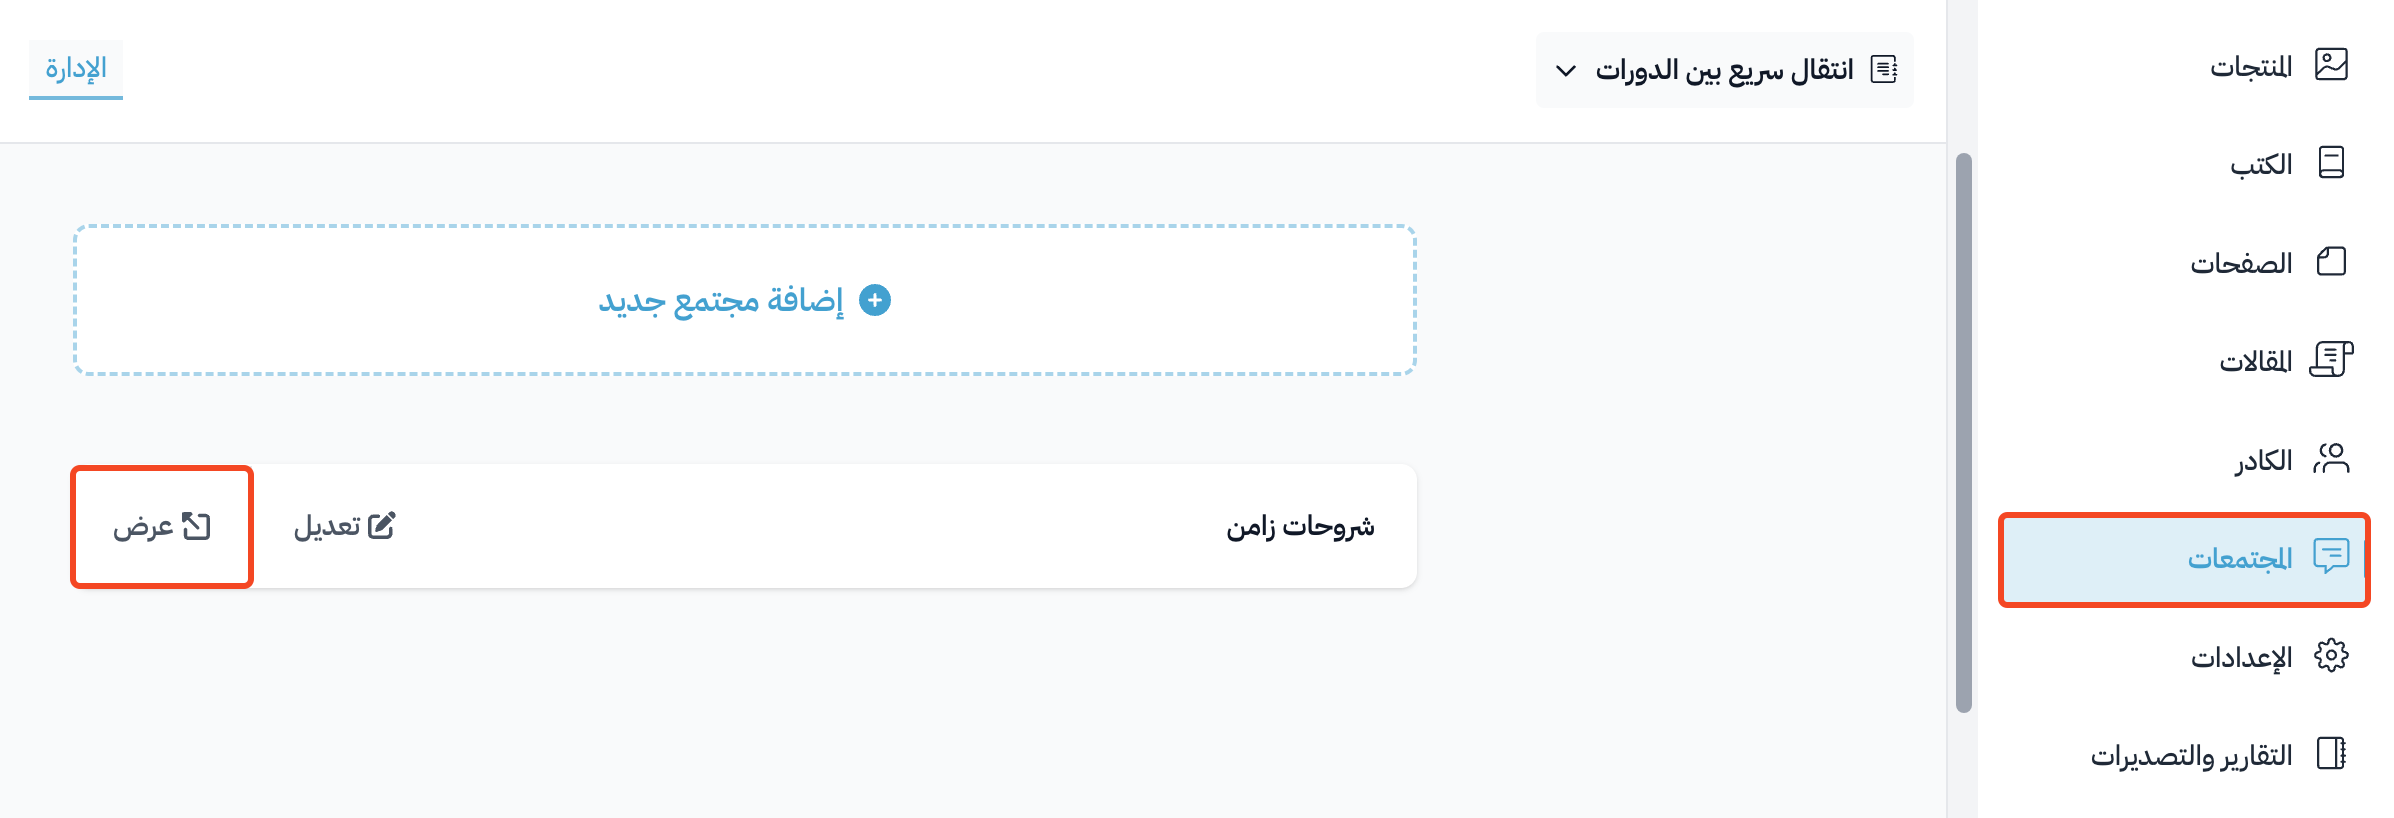
On the Communities page, click the ⋯ (Actions) button at the end of the row of the community you want to add a topic to, then click View. The community opens in a new tab.
-
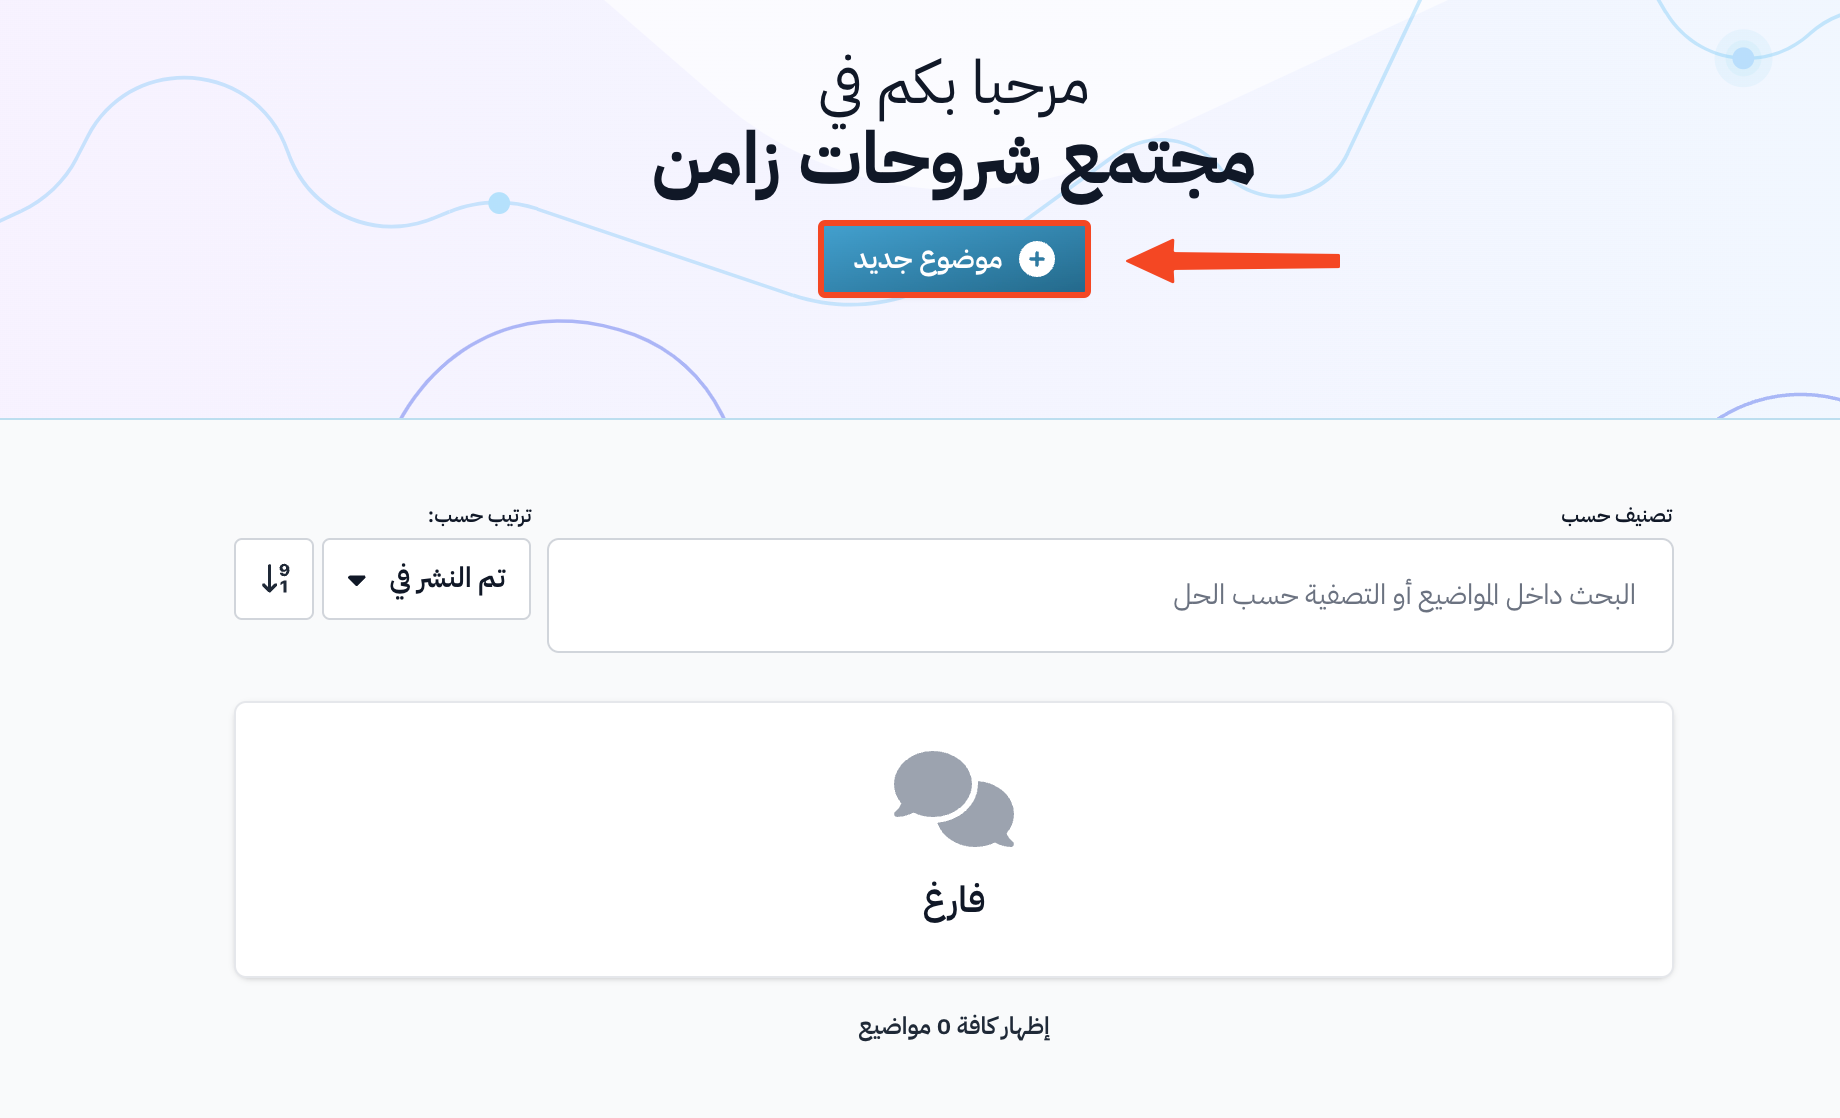
Click New Topic.
-
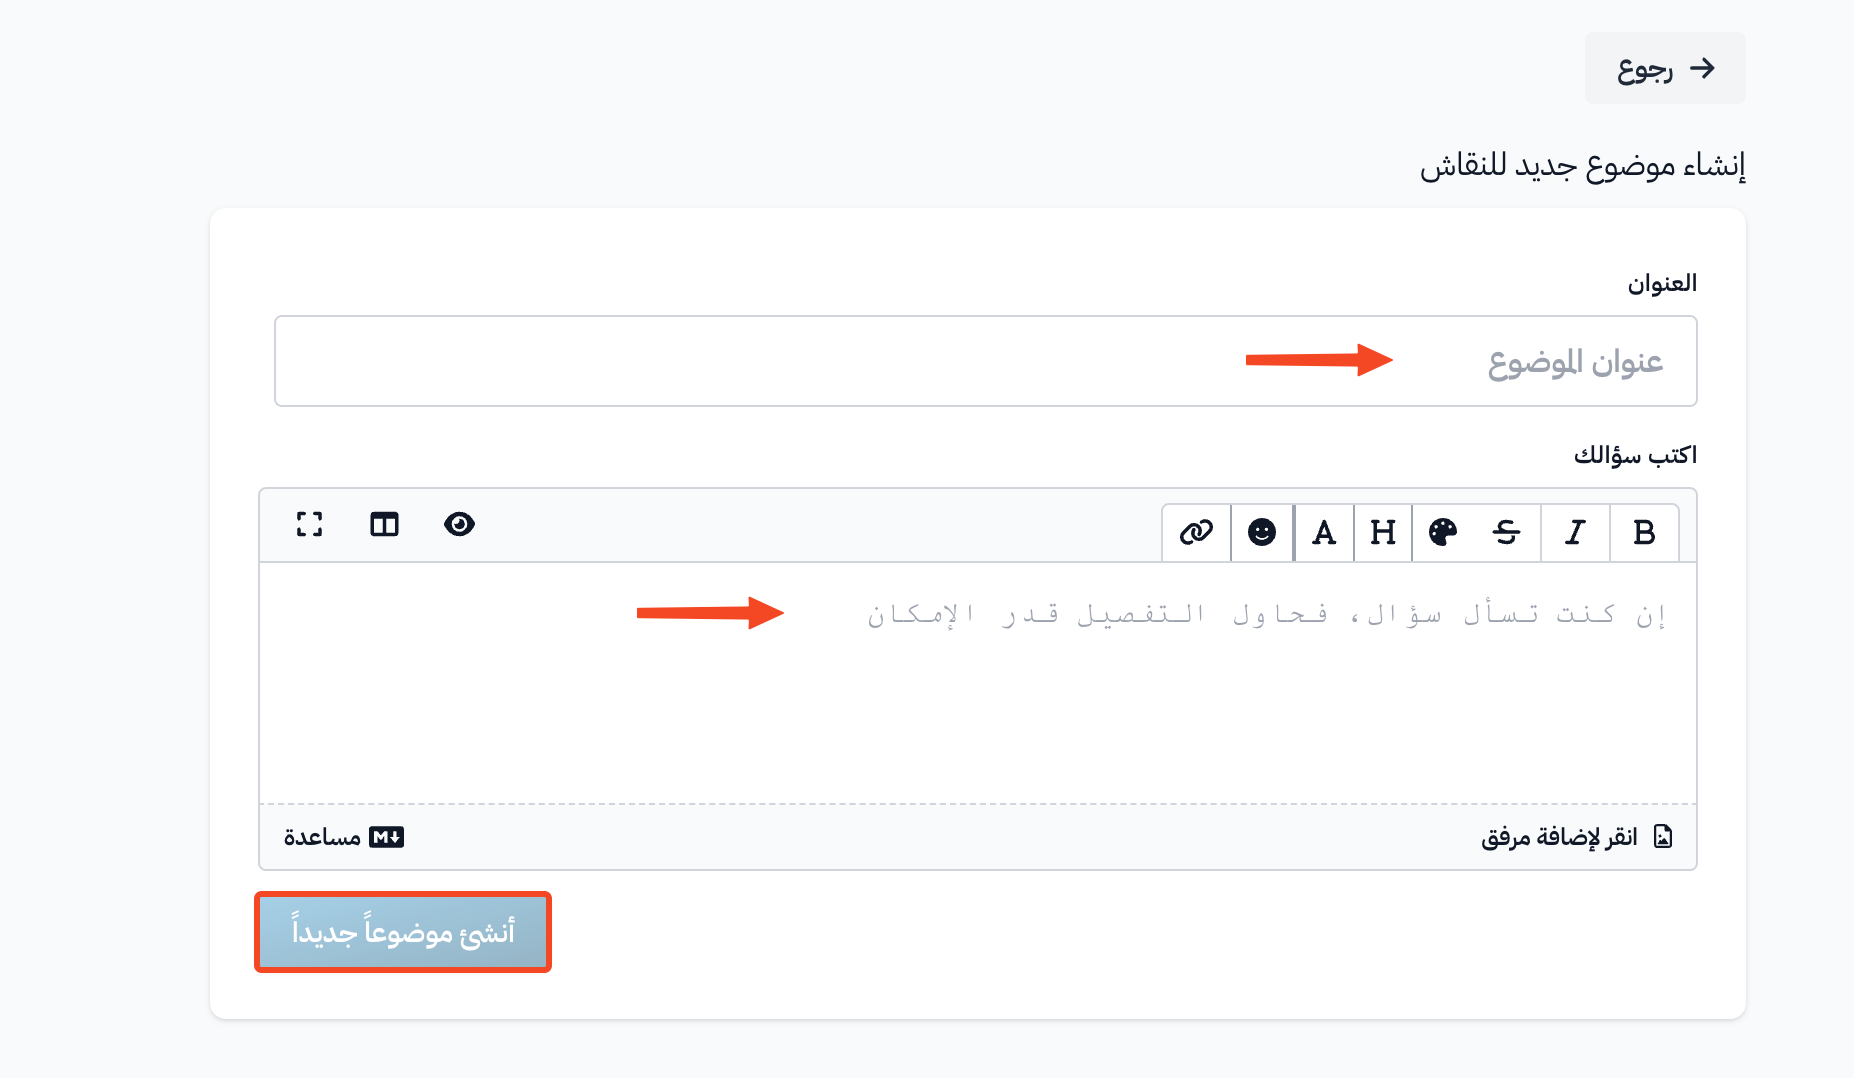
Type the topic title in the Title field.
-
Write the topic content in the Body field.
-
Click Create Topic.
The new topic shows on the community page.
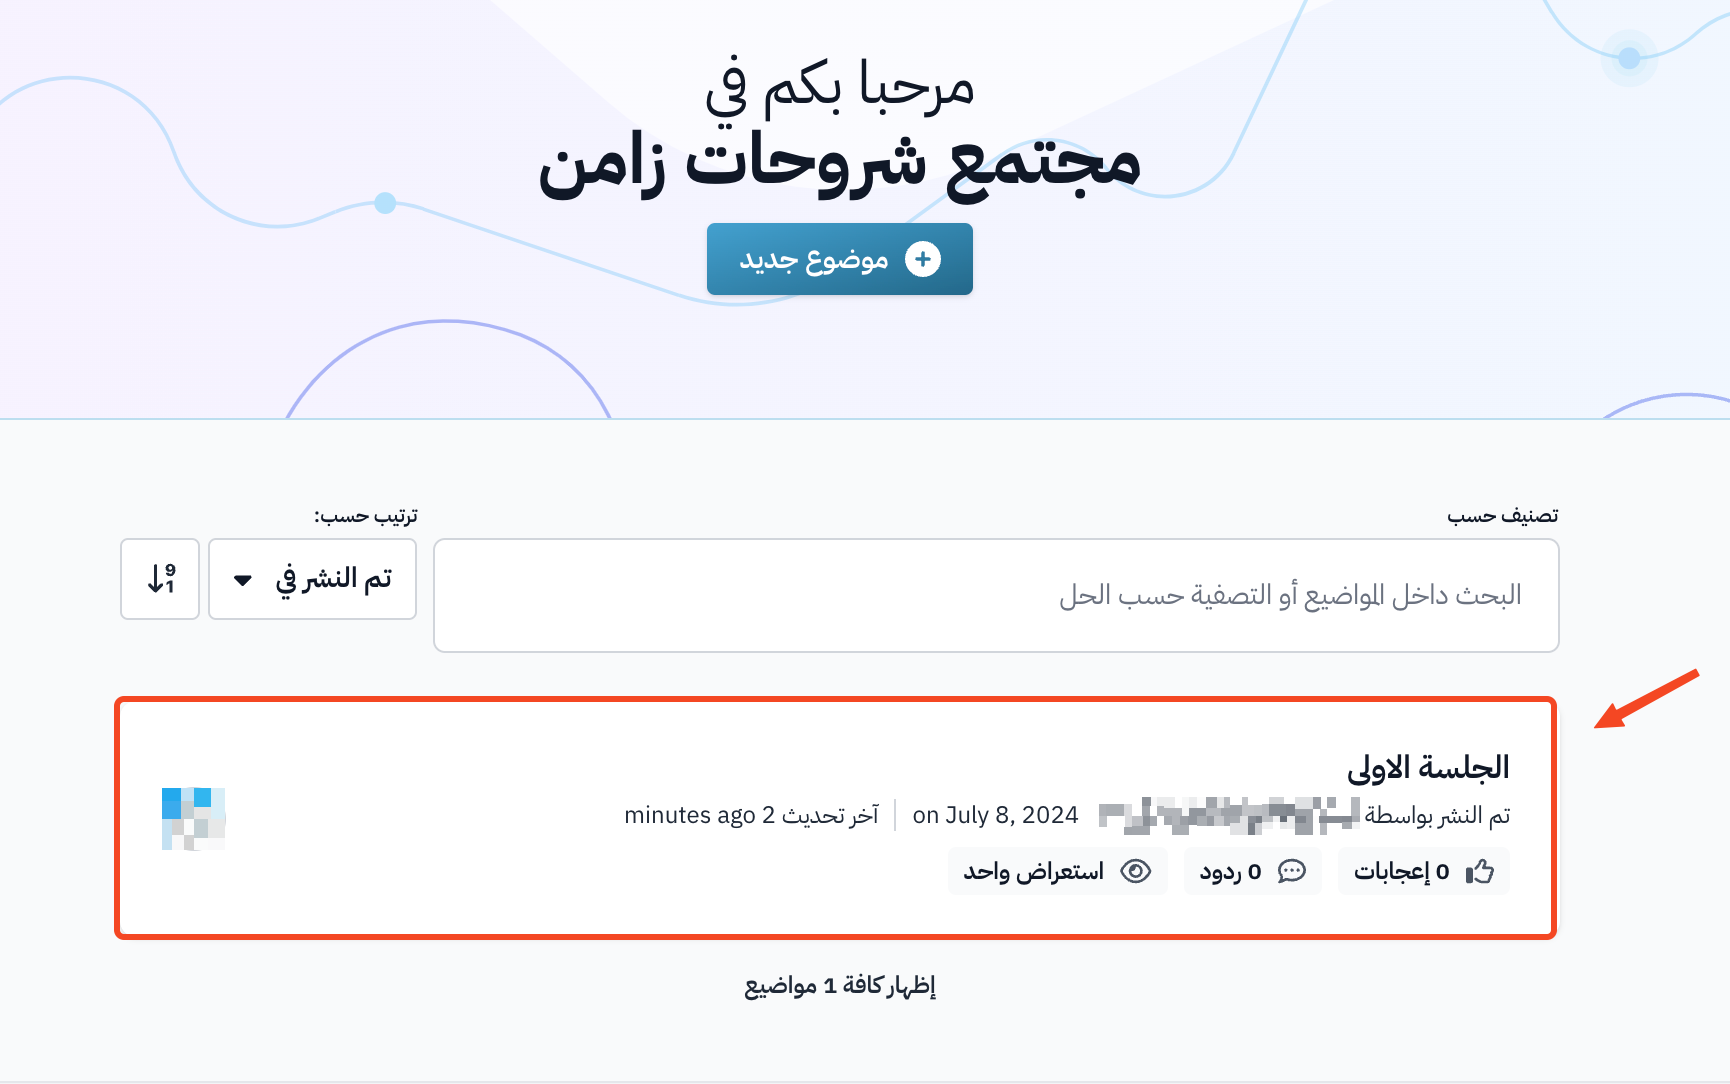
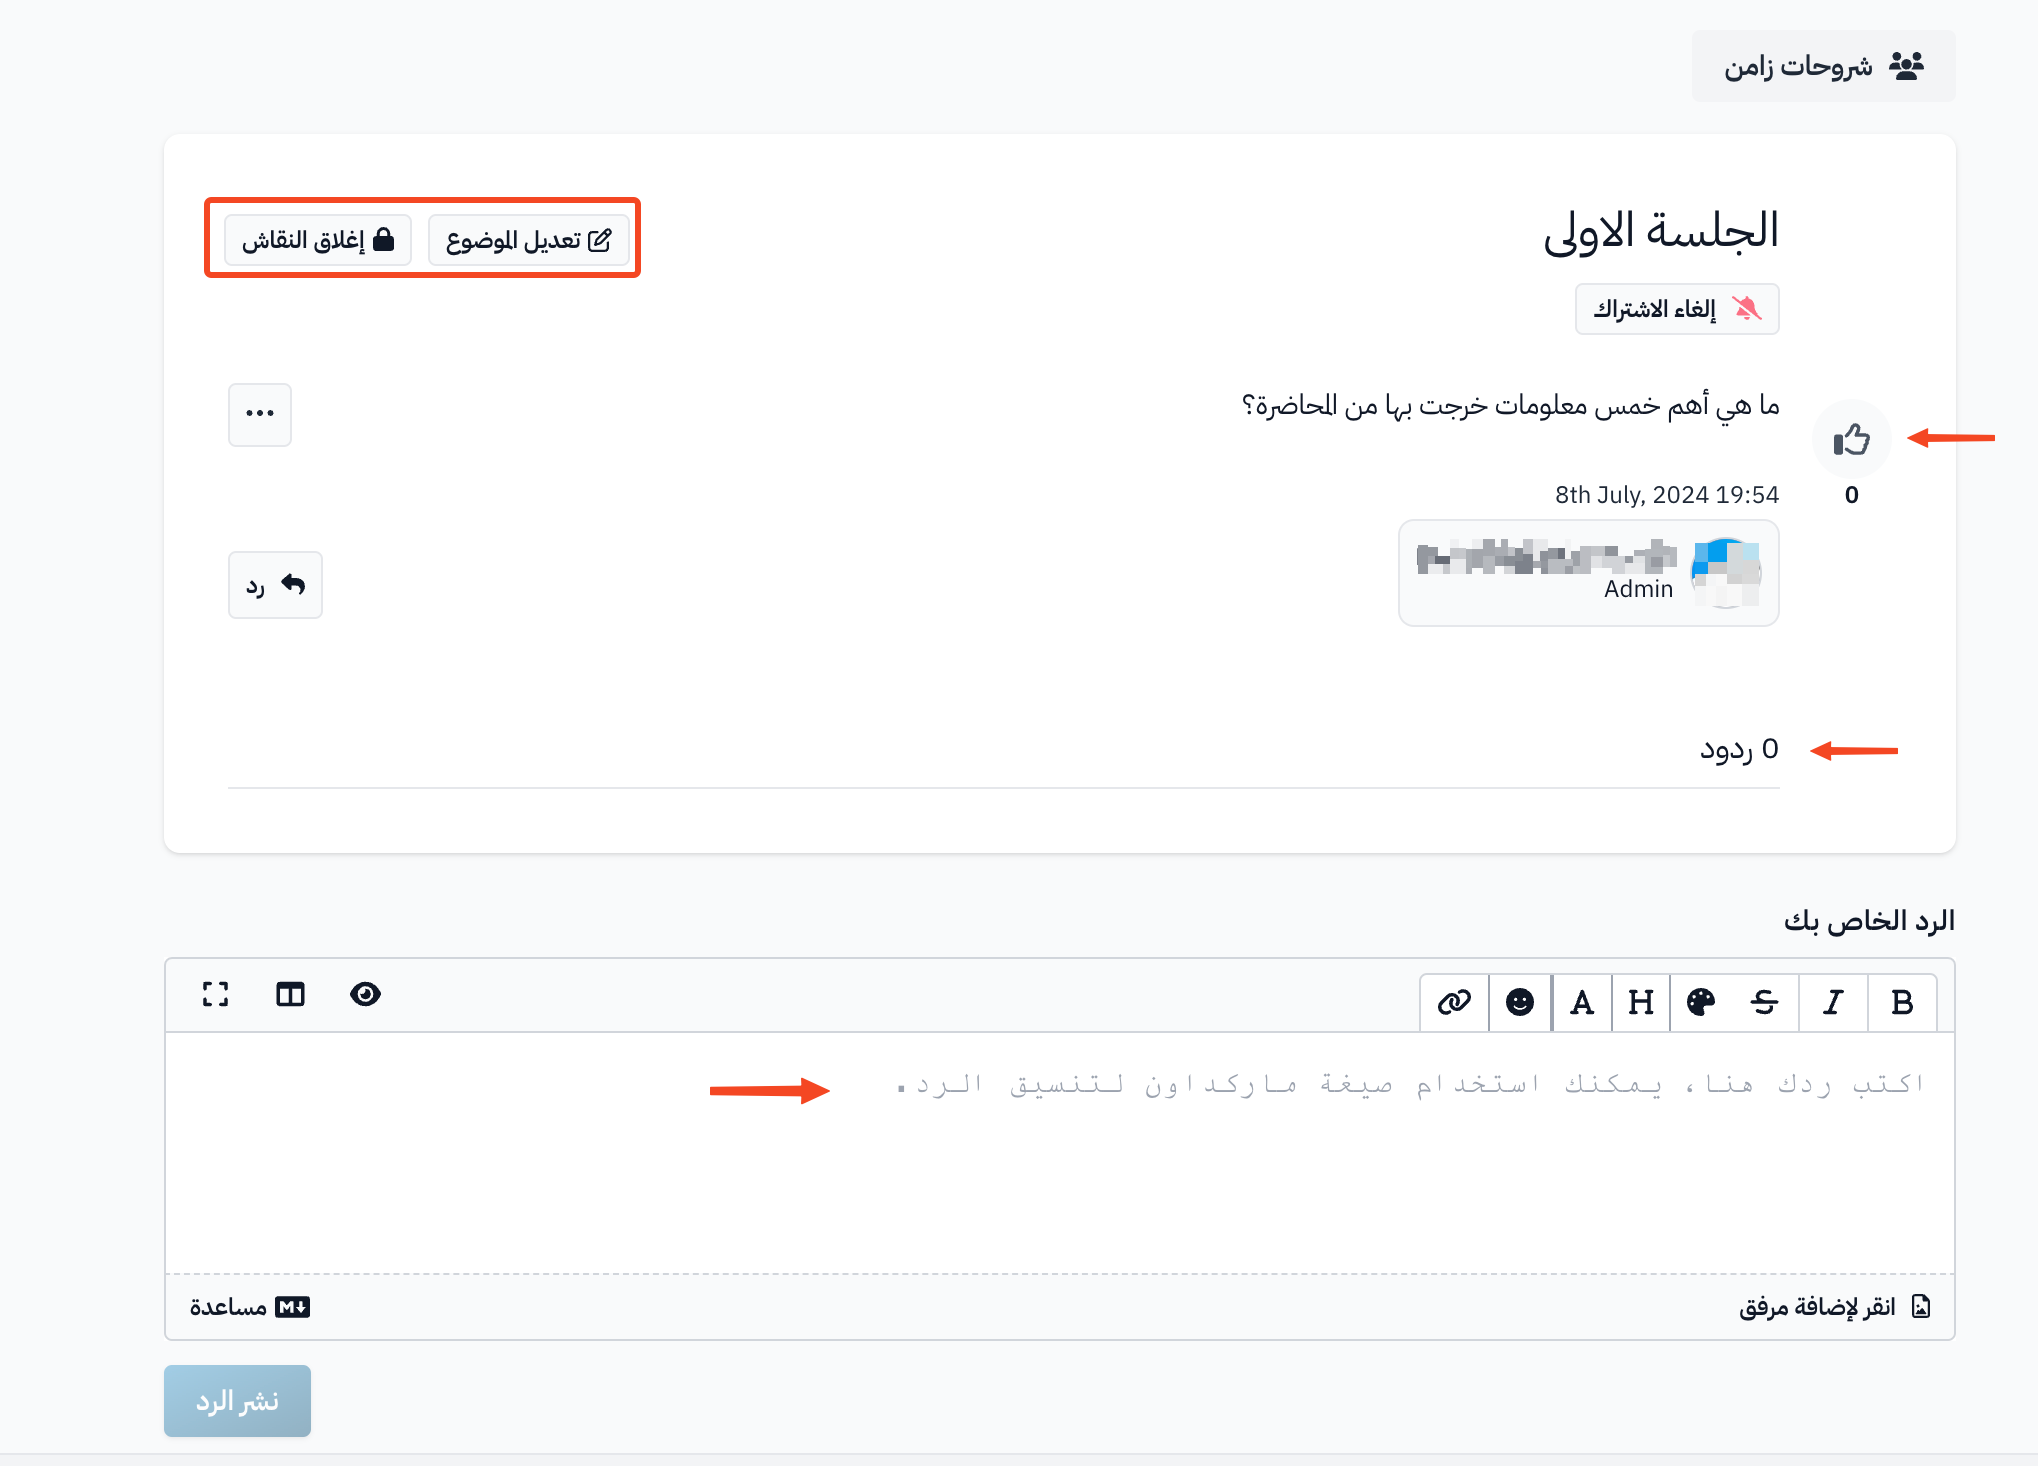
When you open the topic, you can:
- Edit the topic by clicking Edit Topic.
- Close the discussion by clicking Lock Topic. No new replies can be posted after that.
- See the likes, comments and replies.
- Write your own reply.