Add and manage coaches
You can add coaches to your platform to follow up with students and review their submissions. This article shows how to add a new coach, and how to deactivate or reactivate a coach.
Steps to add a new coach
-
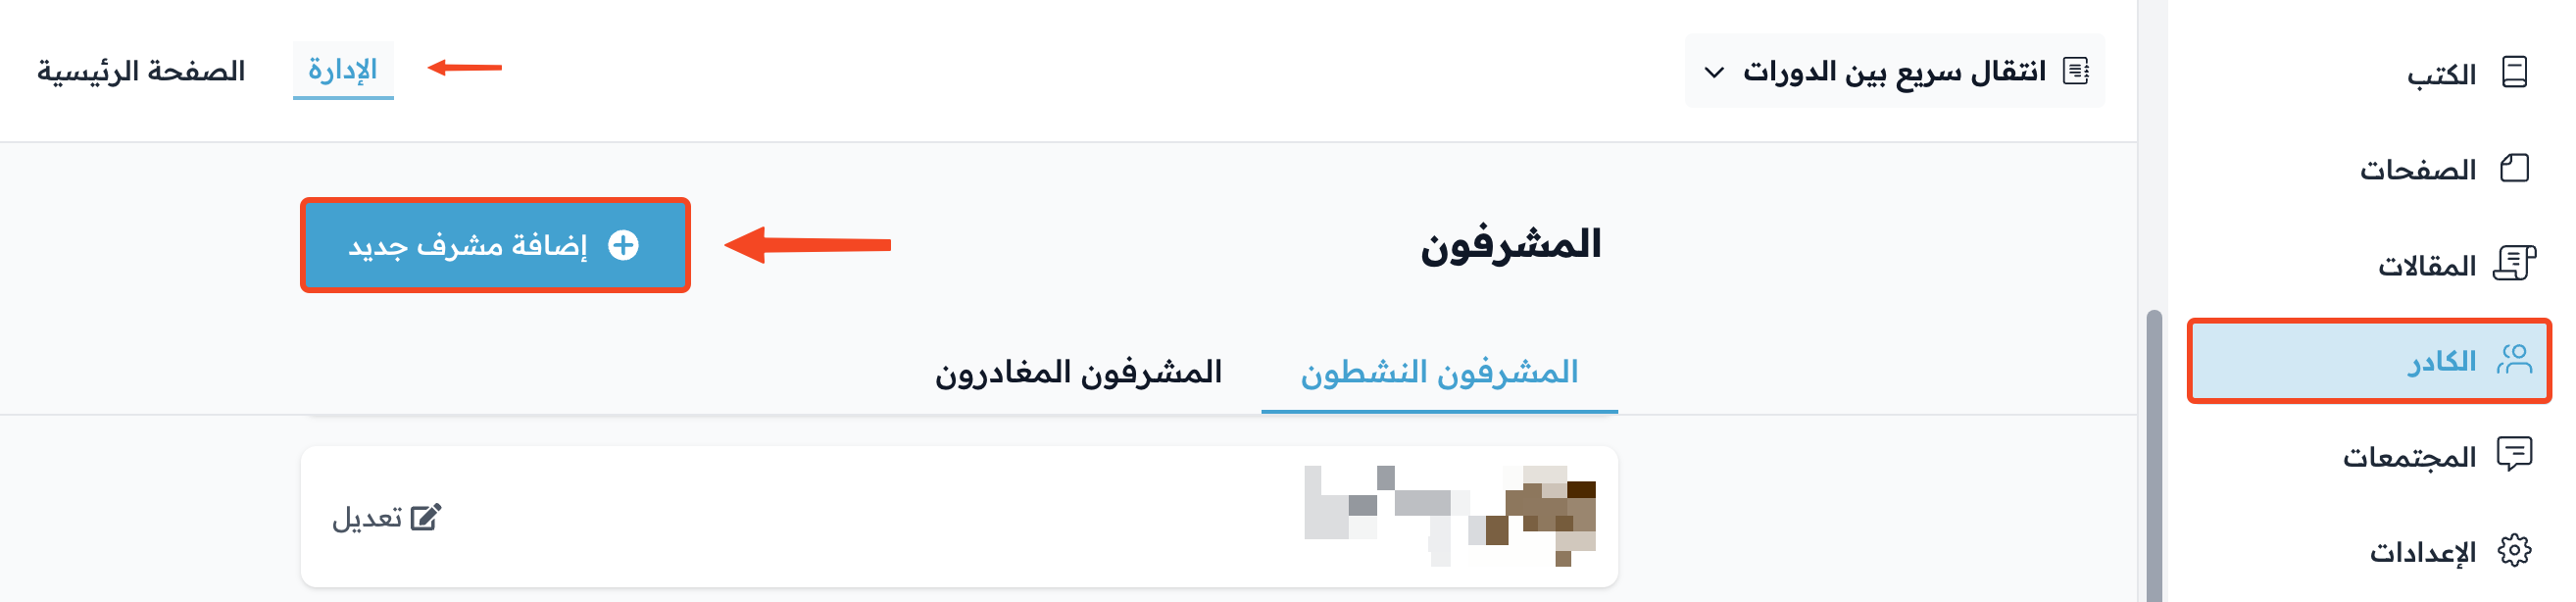
From the dashboard, click Coaches, then click Add New Coach.
-
Enter the coach's details. Fields marked with * are required:
- Name: the coach's name.
- Email: the coach's email address.
- Title: the coach's job title.

-
You can also enter these optional details:
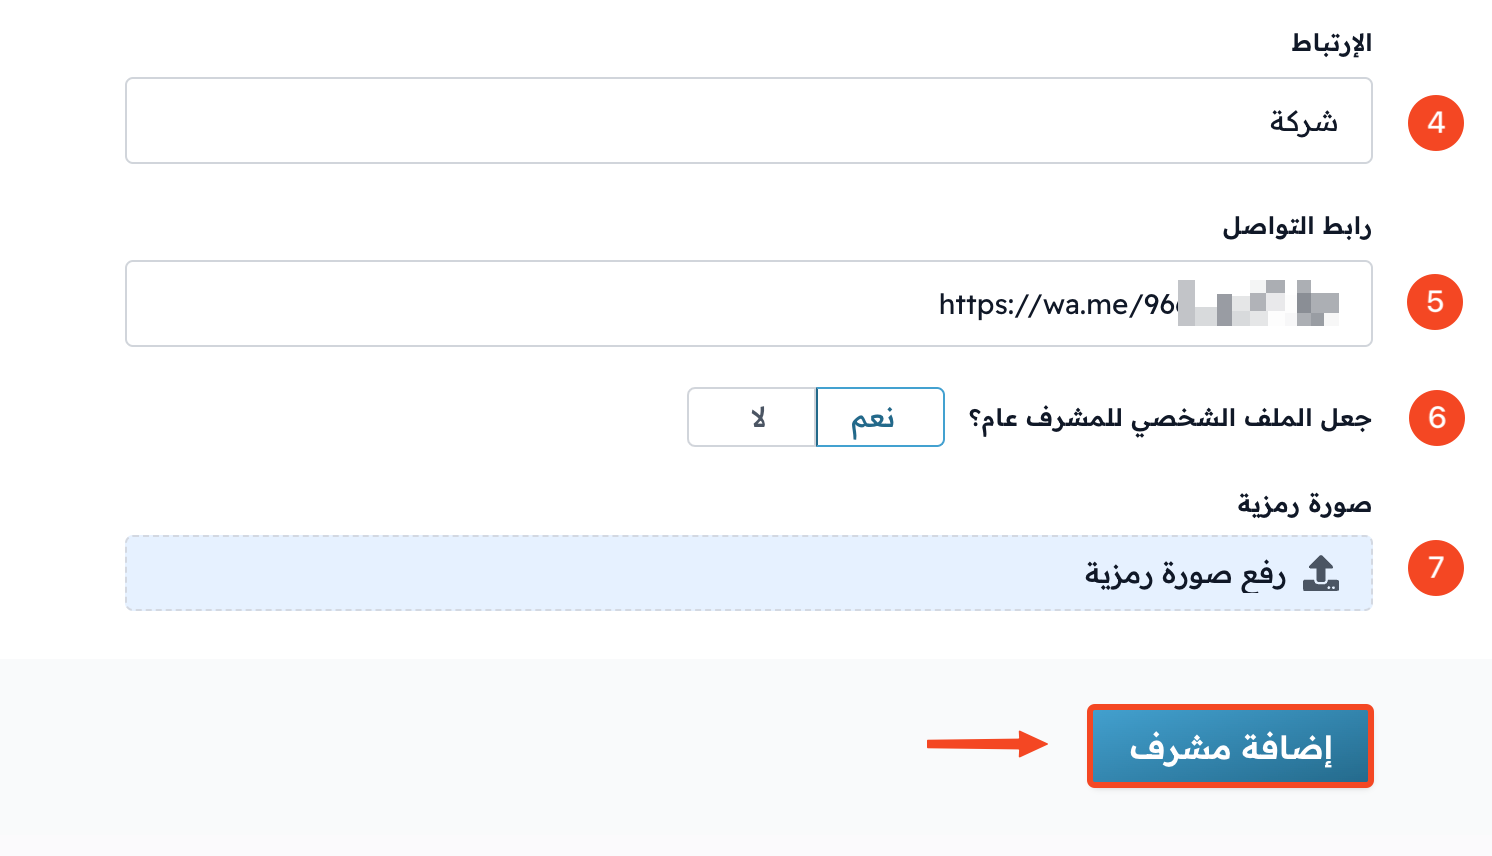
- Affiliation: where the coach works, like a company or a university.
- Connect Link: a link students can use to contact the coach, like a WhatsApp link or a social media account.
- Public coach profile: turn on this switch if you want the coach to show to students on the Coaches page of your platform.
- Avatar: click Upload an avatar to add a photo of the coach.
-
Click Add Coach.
Students can see the Connect Link only if the coach profile is public.
Steps to deactivate a coach
-
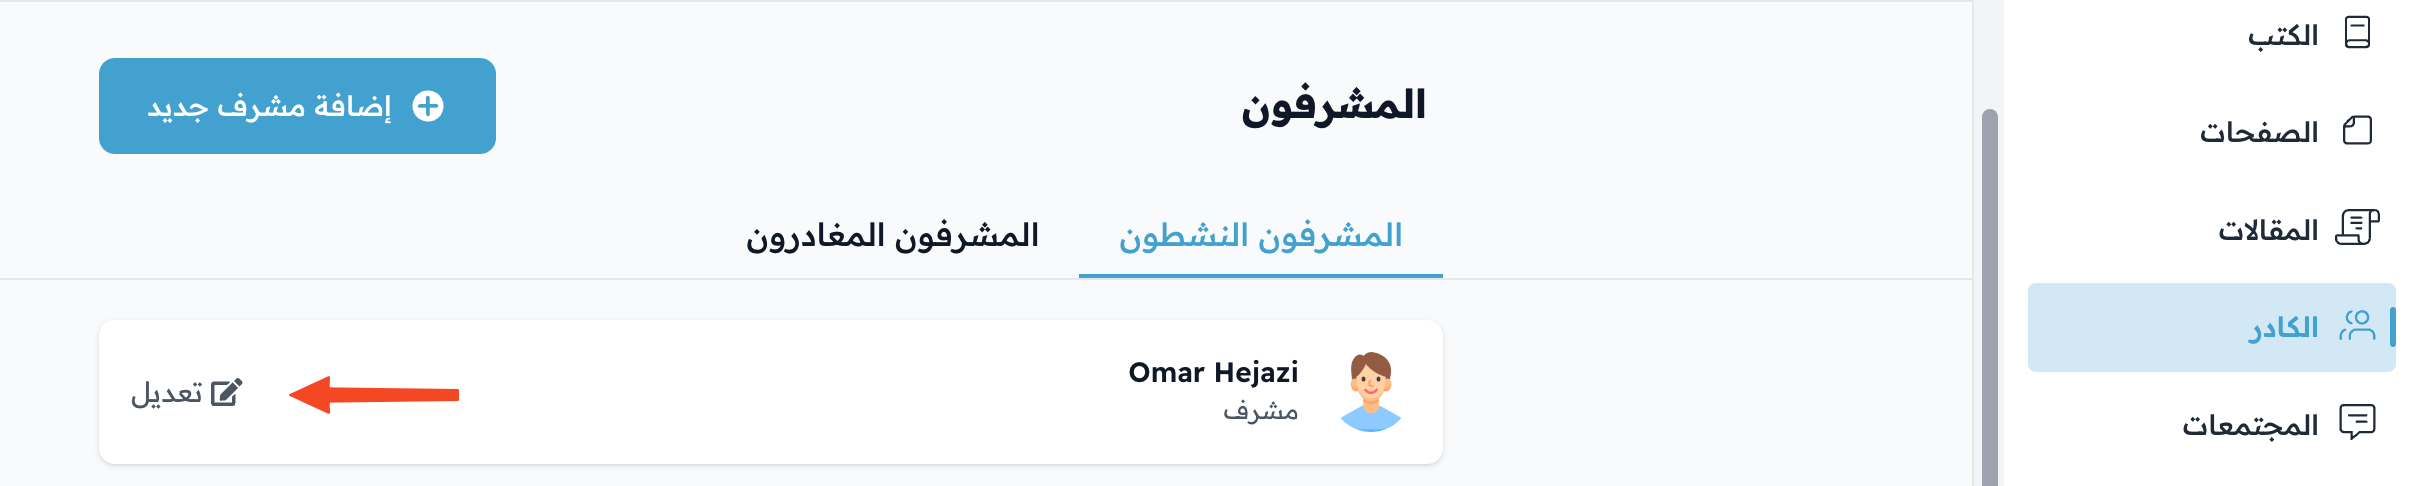
On the coaches page, click the ⋯ (Actions) button at the end of the row of the coach you want to deactivate, then click Edit. You can also click the coach's name.
-
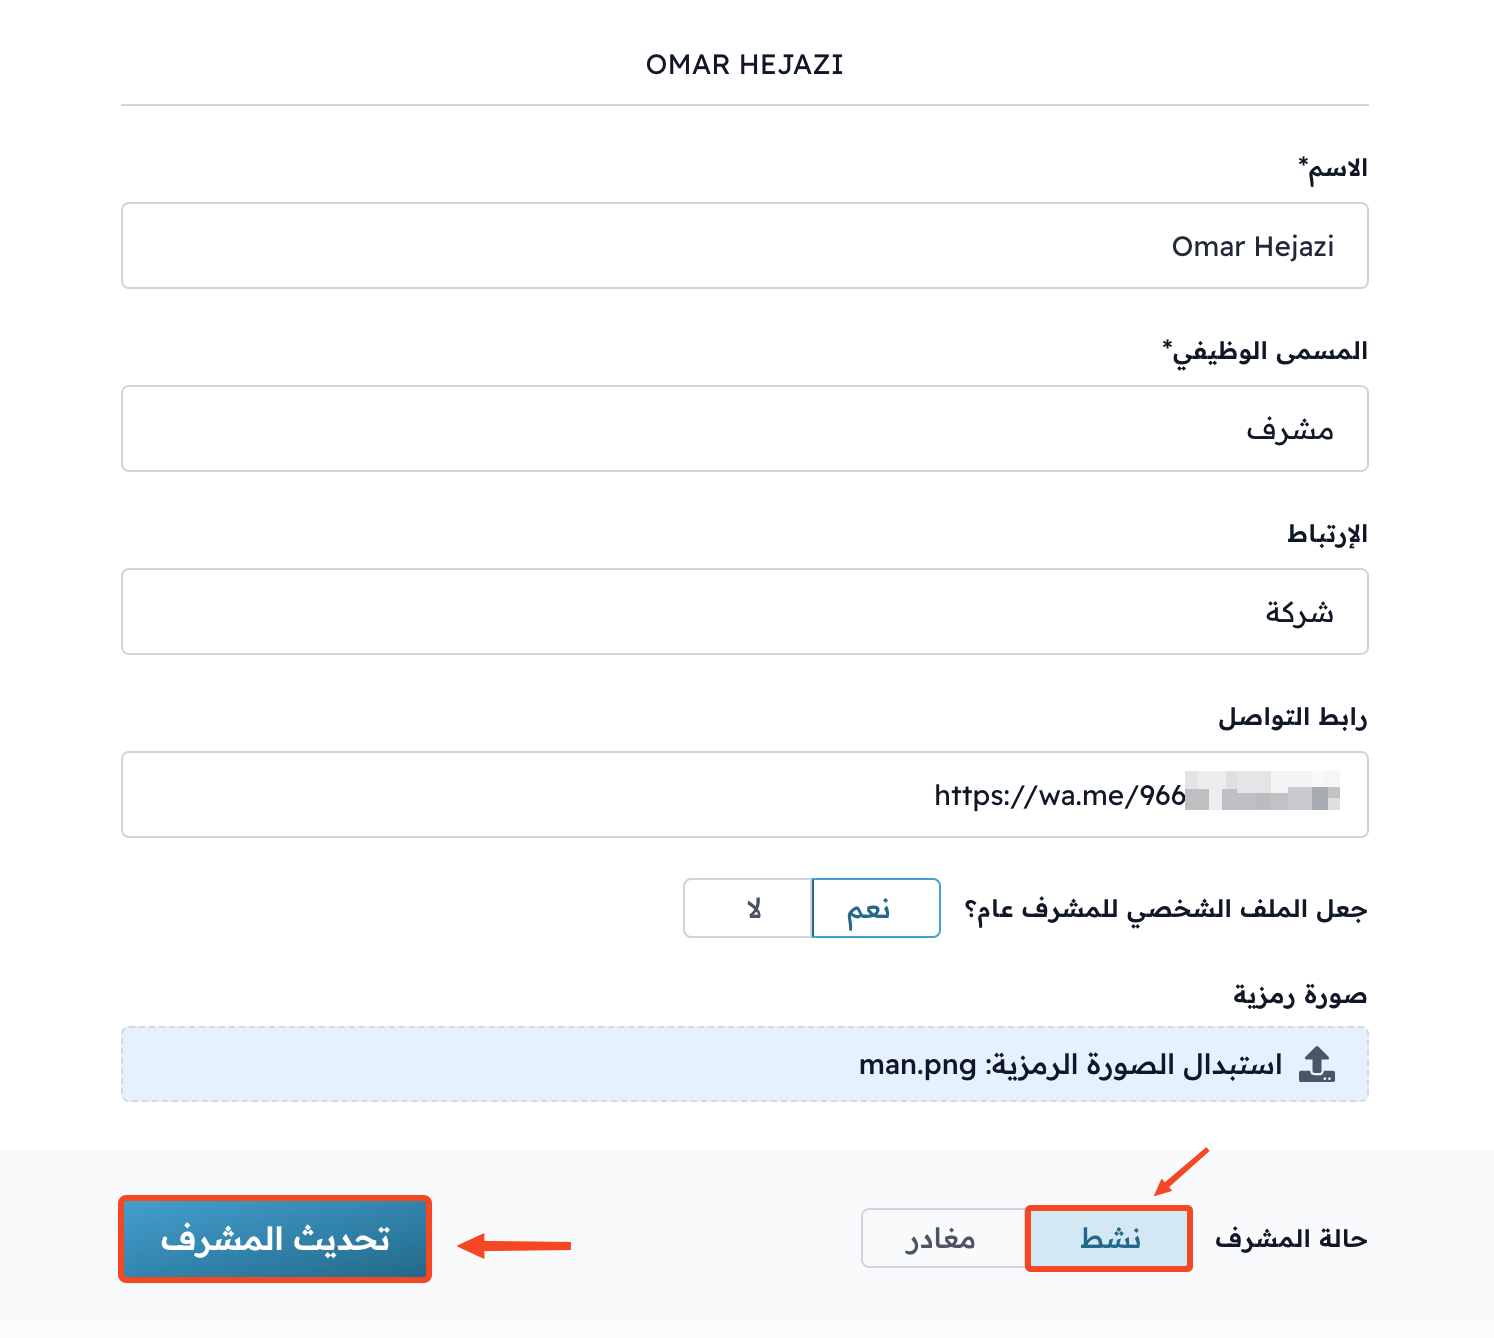
Choose Exited under Coach Status.
-
Click Update Coach to save the change.
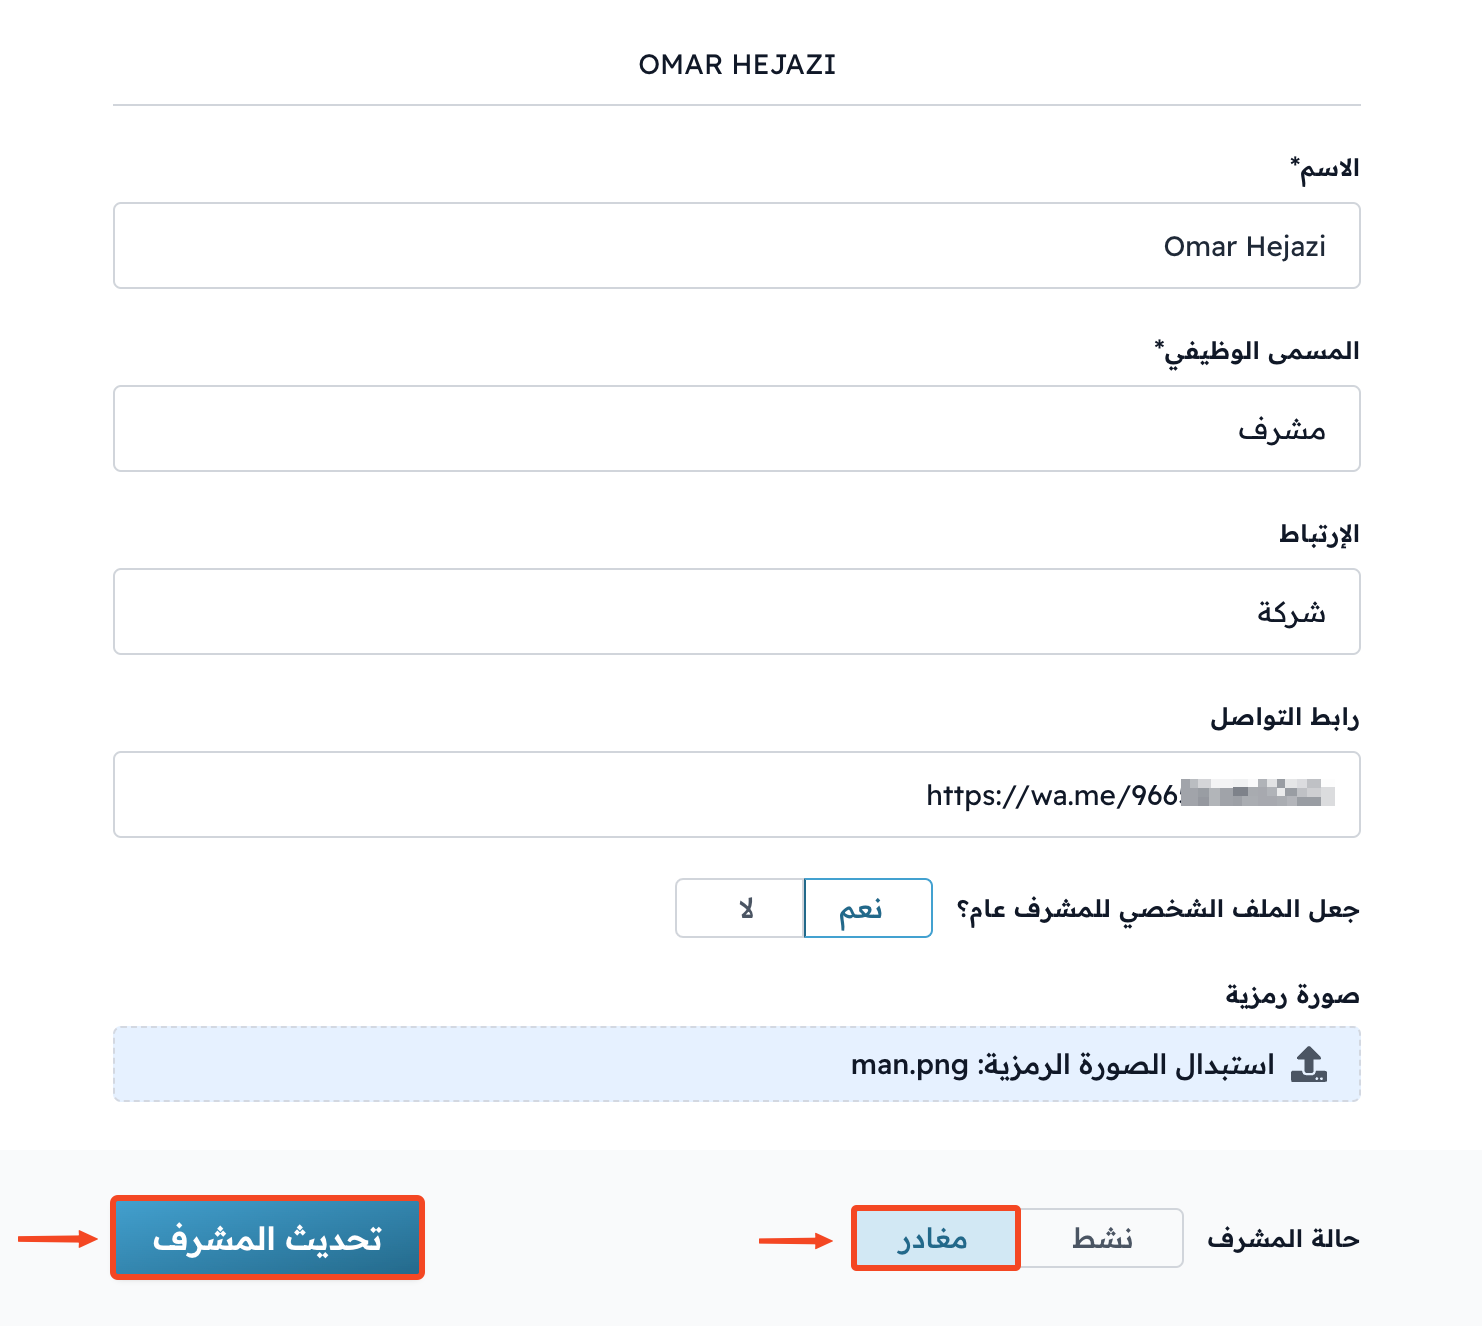
The coach stays in the list, and their status changes to Exited.
Steps to reactivate a coach
-
On the coaches page, click the ⋯ button at the end of the row of the coach you want to reactivate, then click Edit. Exited coaches show with the Exited status after the active coaches.

-
Choose Active under Coach Status.
-
Click Update Coach to save the change.