How to create a diploma
A diploma is a structured program of courses that leads to a diploma certificate. You split the diploma into sections, and add one or more courses to each section. These steps are for platform admins.
Steps to create a diploma
-
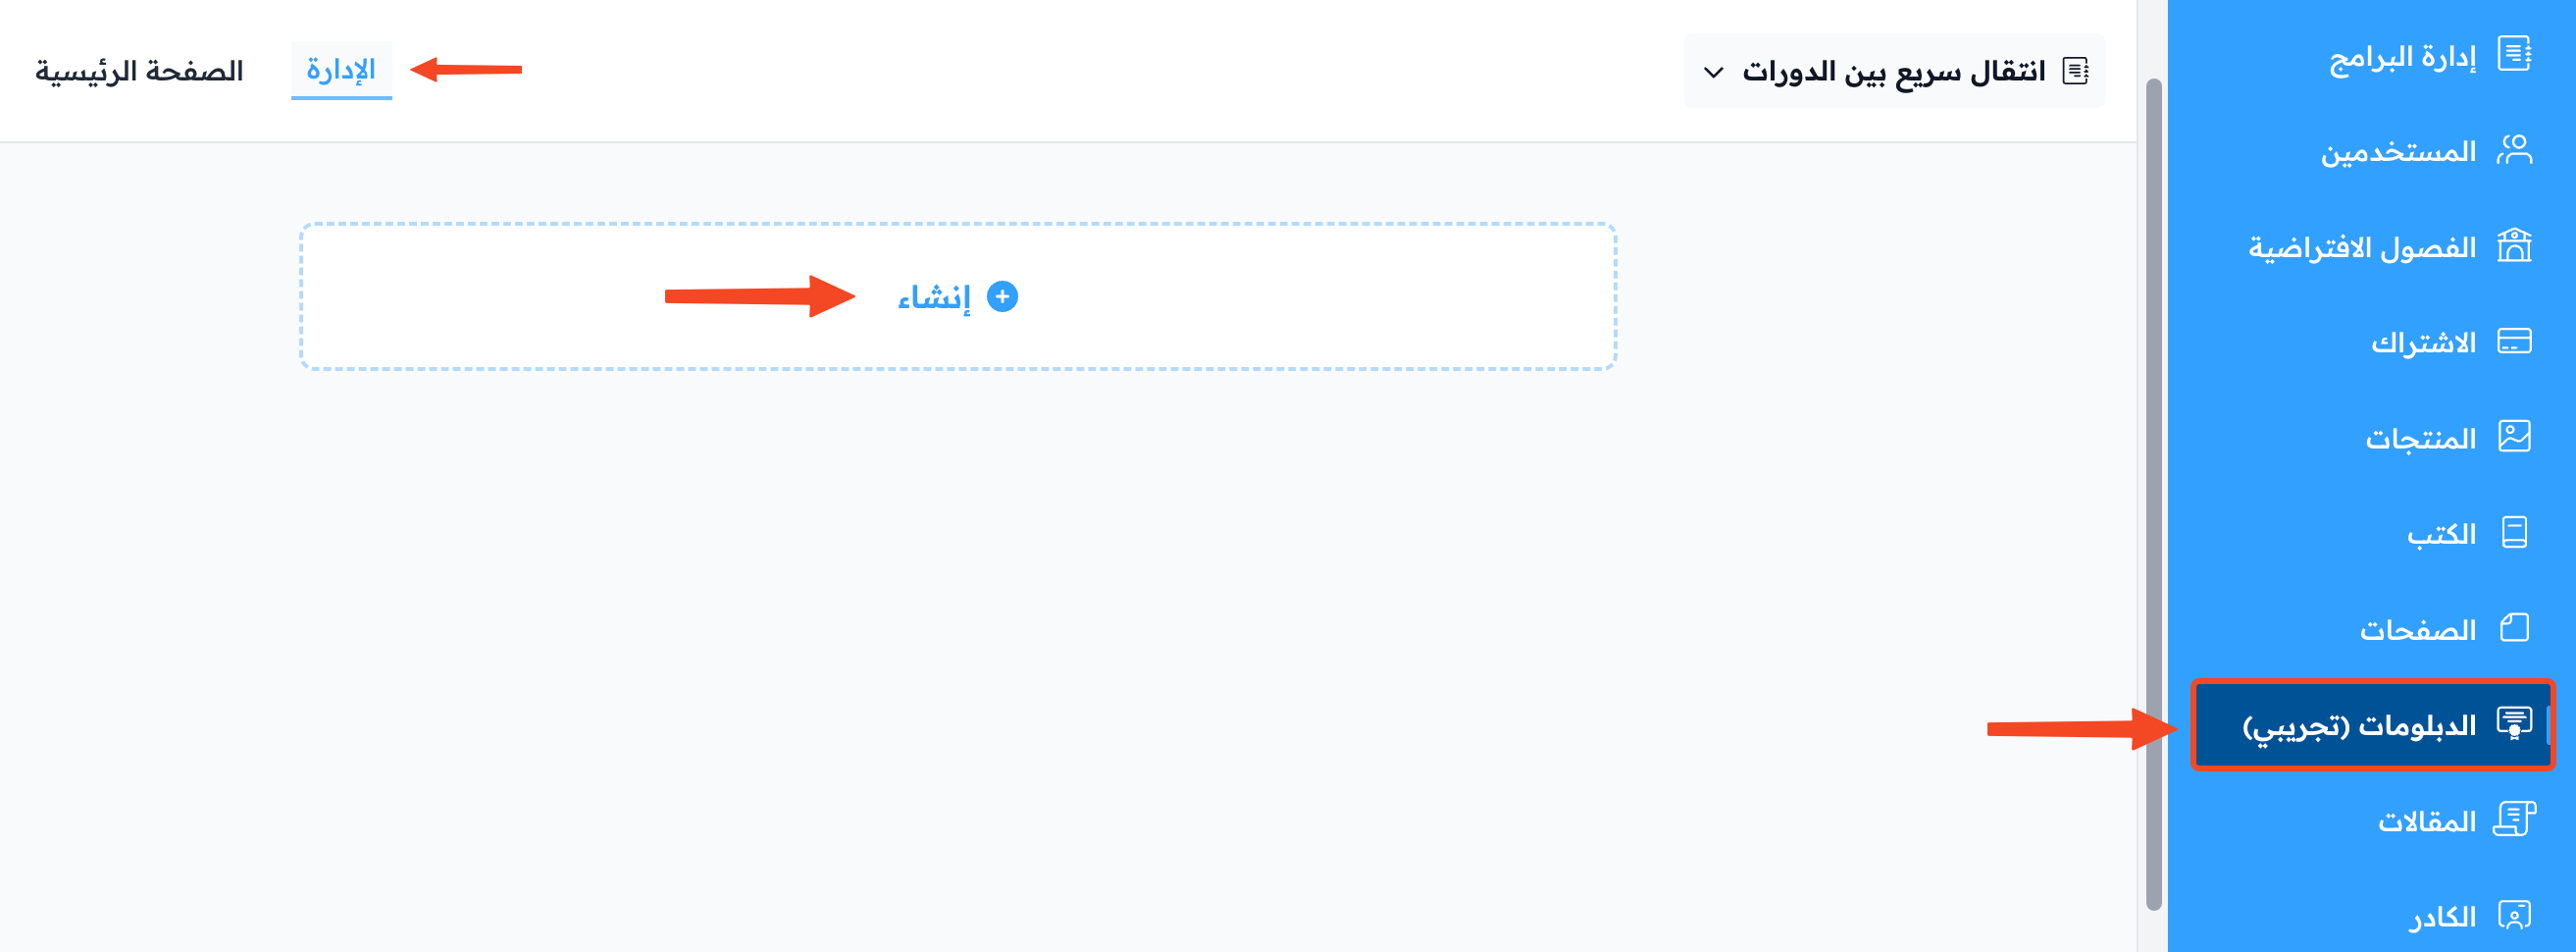
From the side menu in the dashboard, click Diplomas.
-
Click Create New Diploma.
-
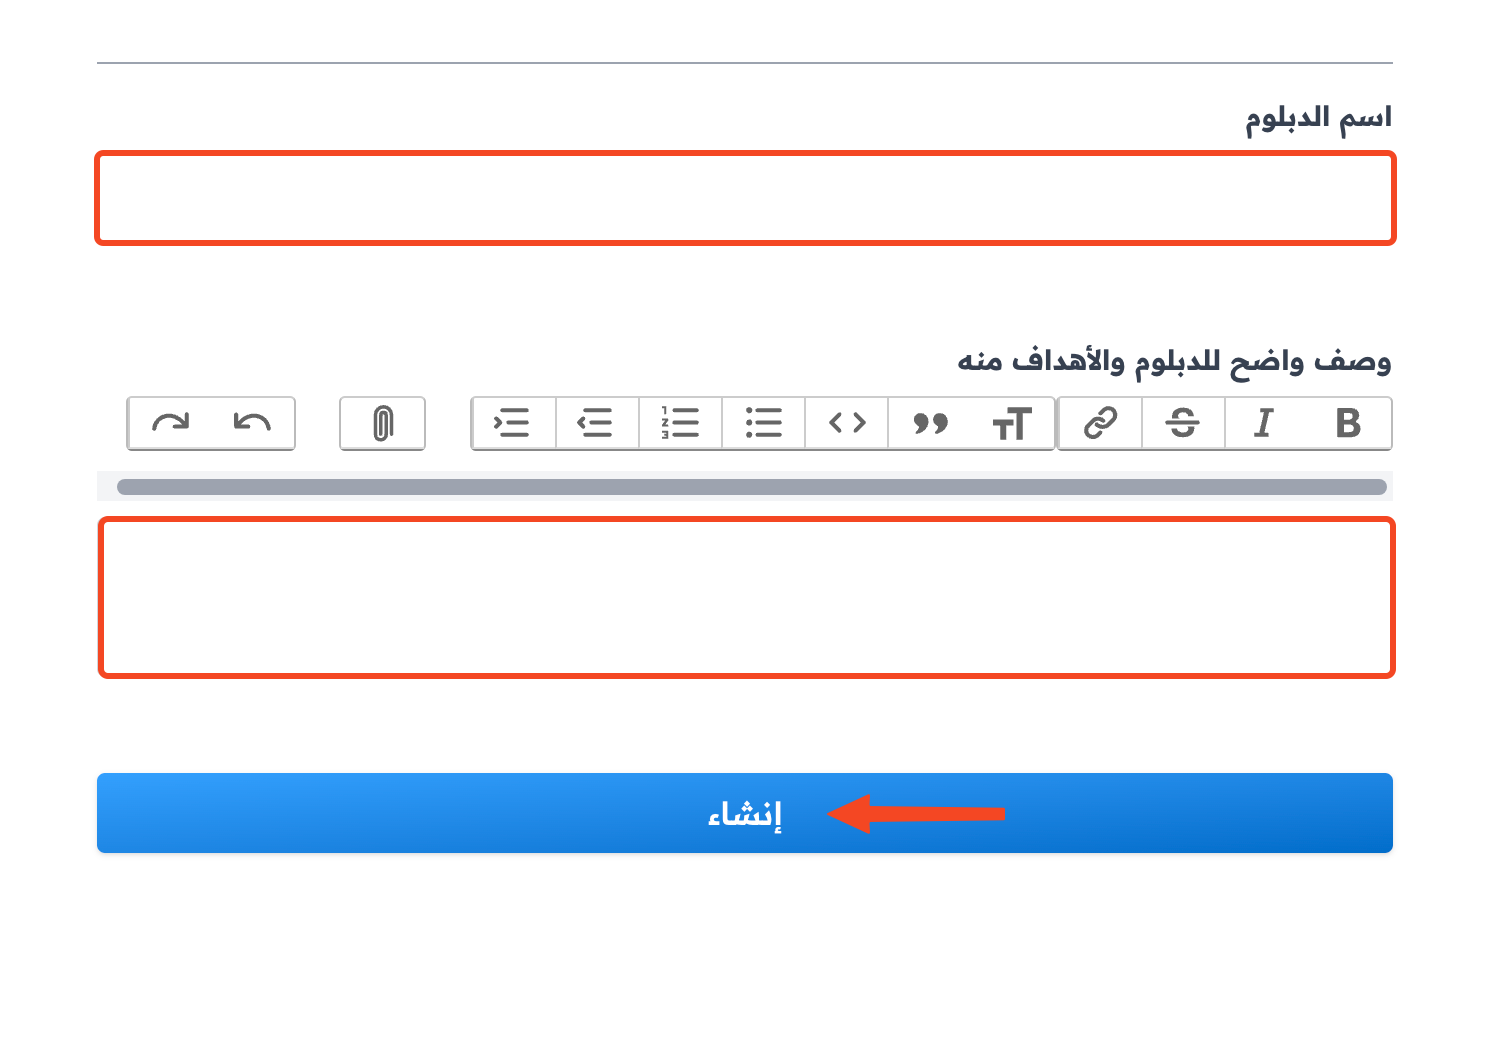
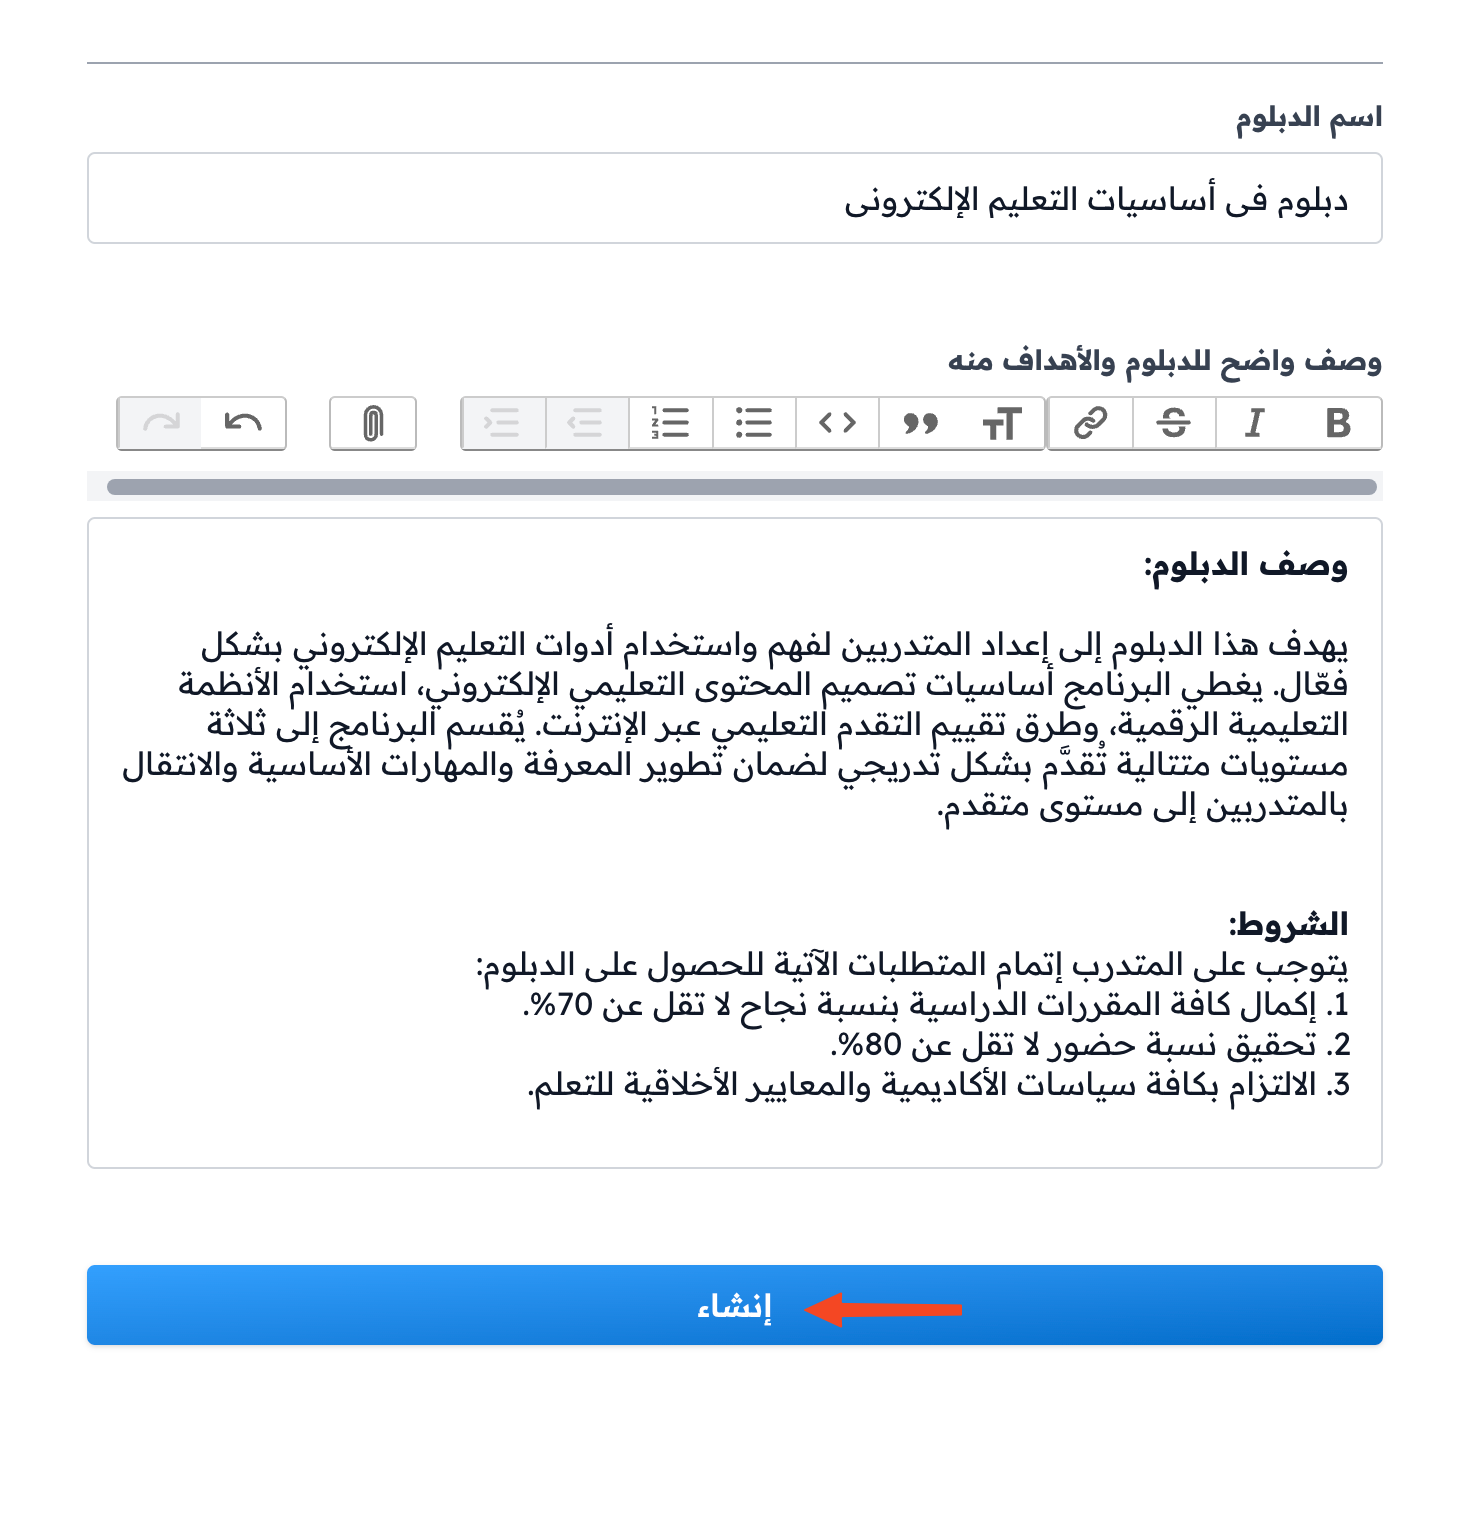
Type the diploma title in the Arabic Title and English Title fields.
-
Add a Description. You can also add a Diploma Cover, a Timeline Plan, a Start Date and an End Date, and choose the diploma status.
-
Click Create.
-
In the diplomas table, click the diploma name to open its page. Or click the ⋯ (Actions) button at the end of its row, then click View Details.
-
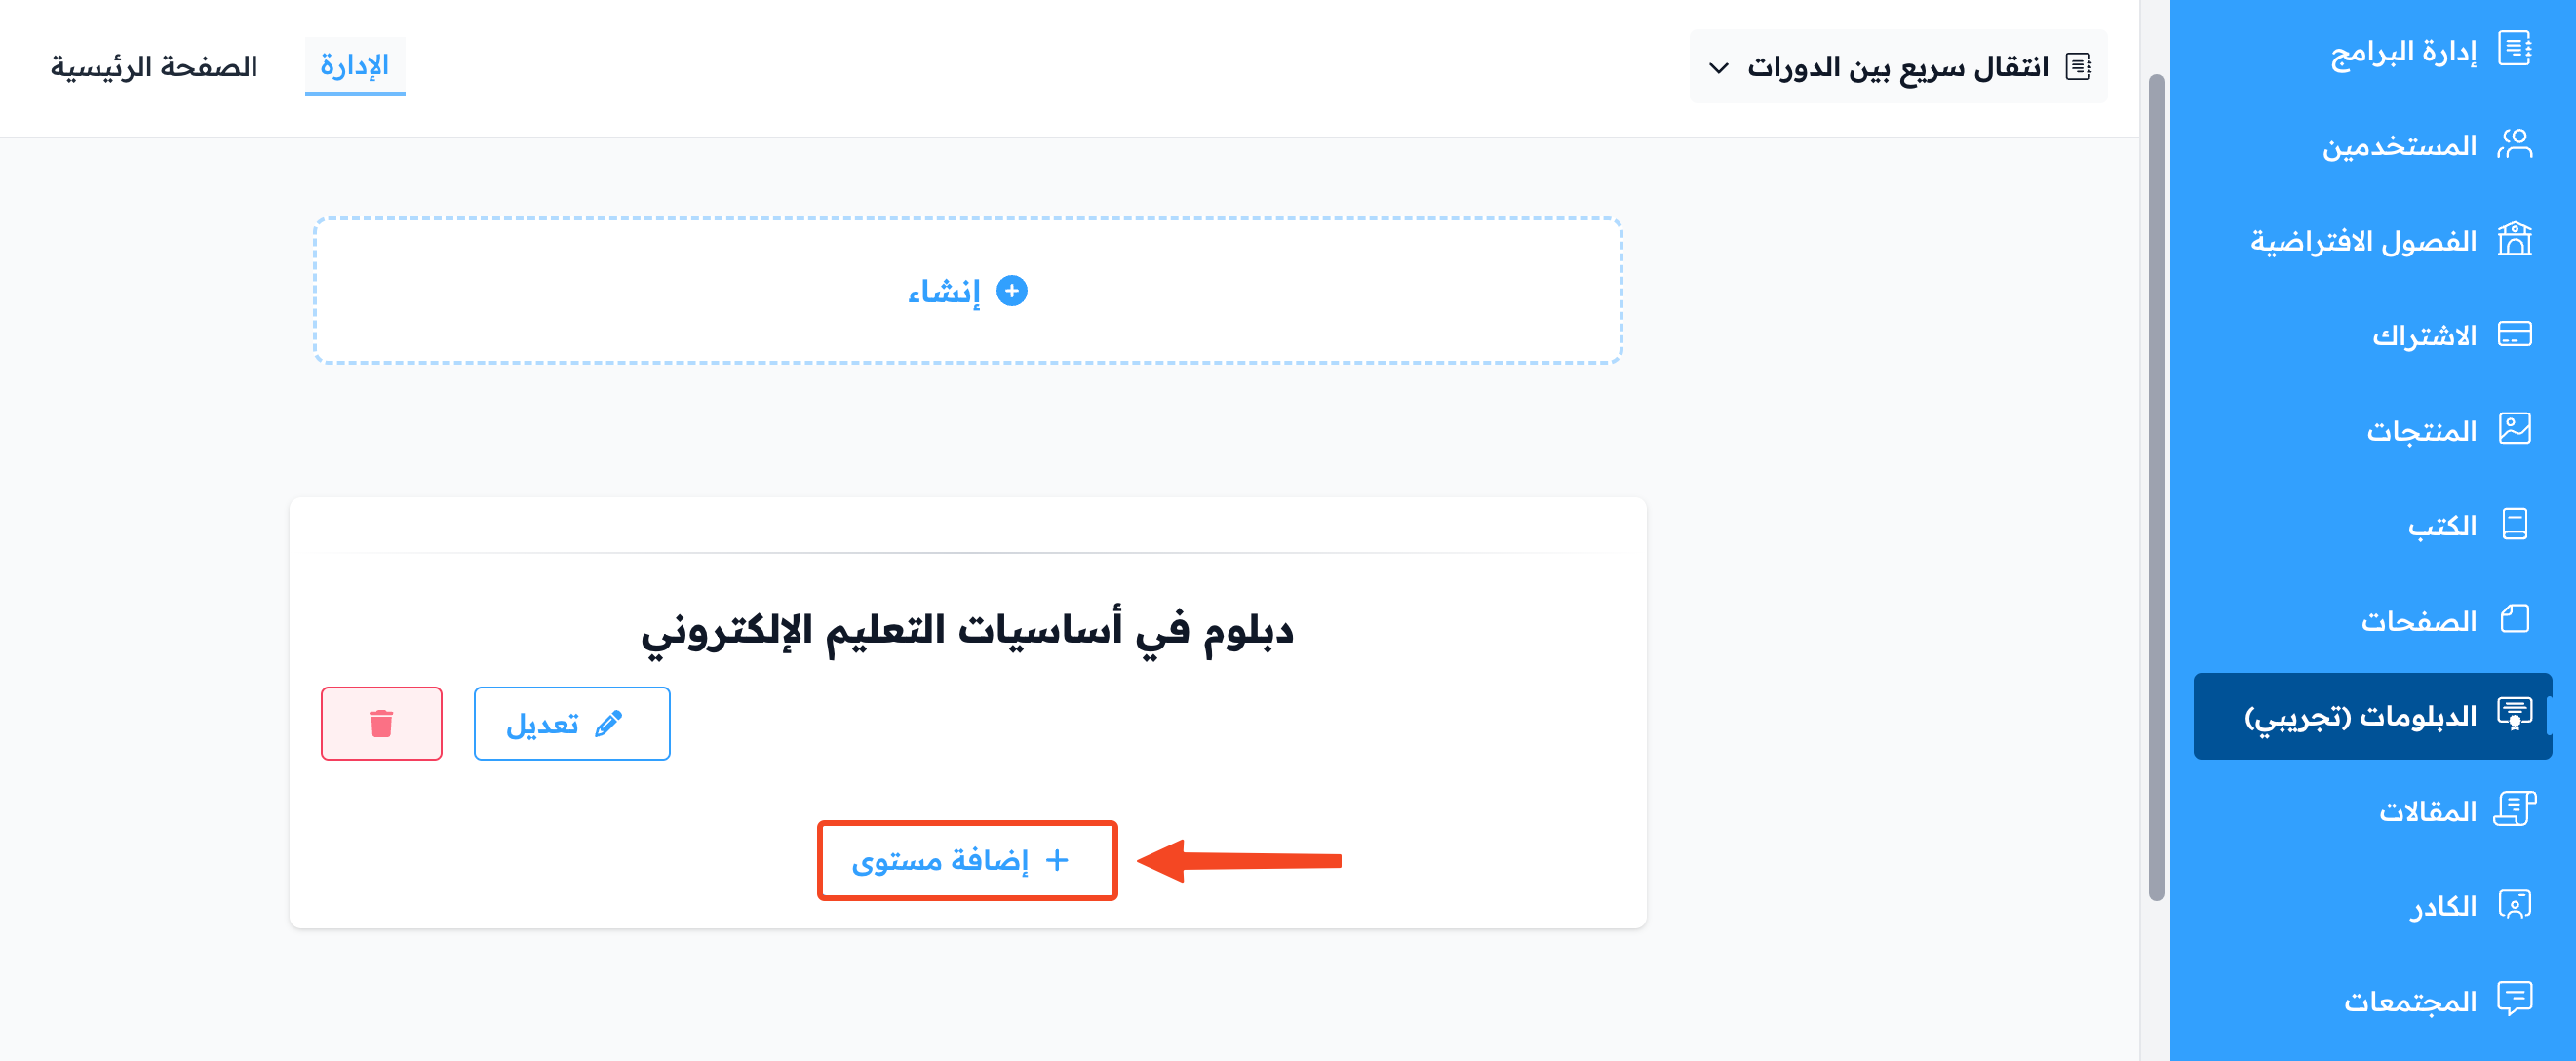
Click Add Section.
-
Type the Name and the Section Description.
-
Choose the Courses you want to add to this section, then click Create.
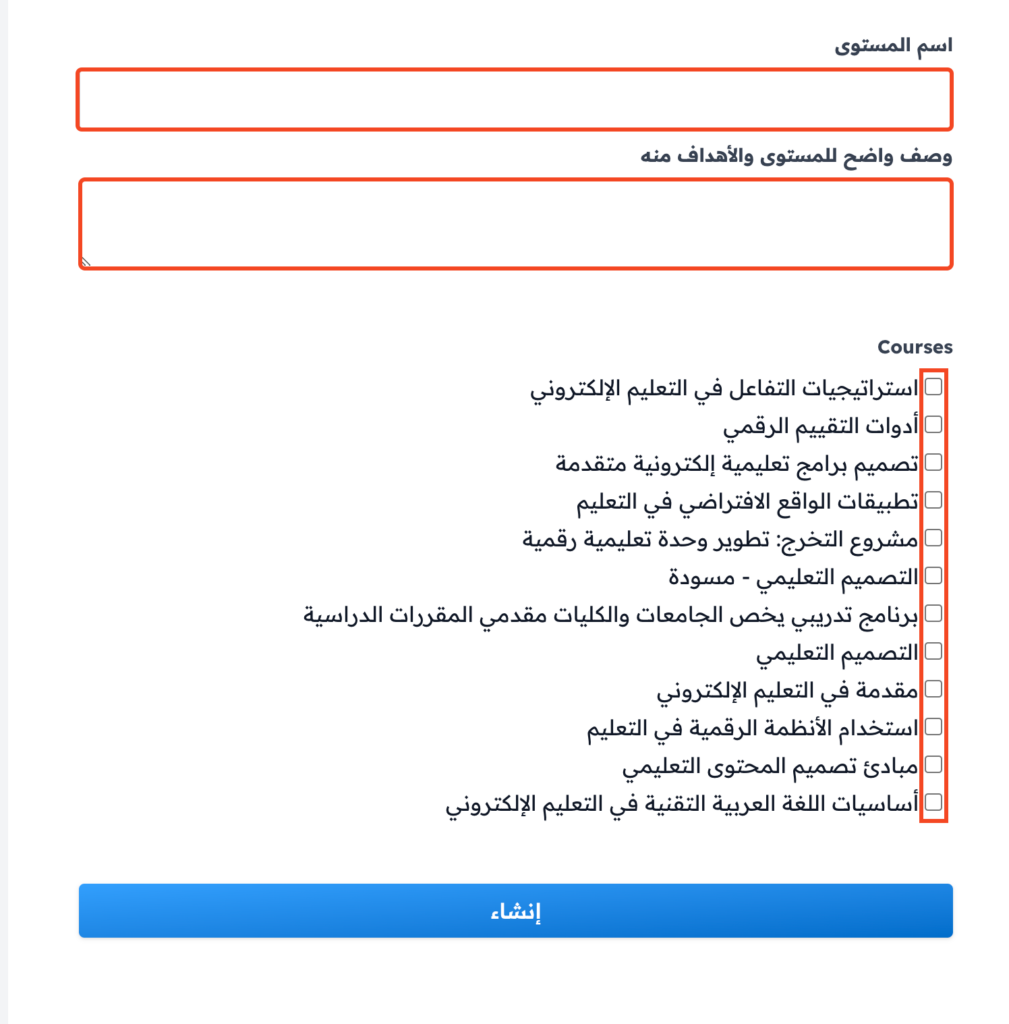
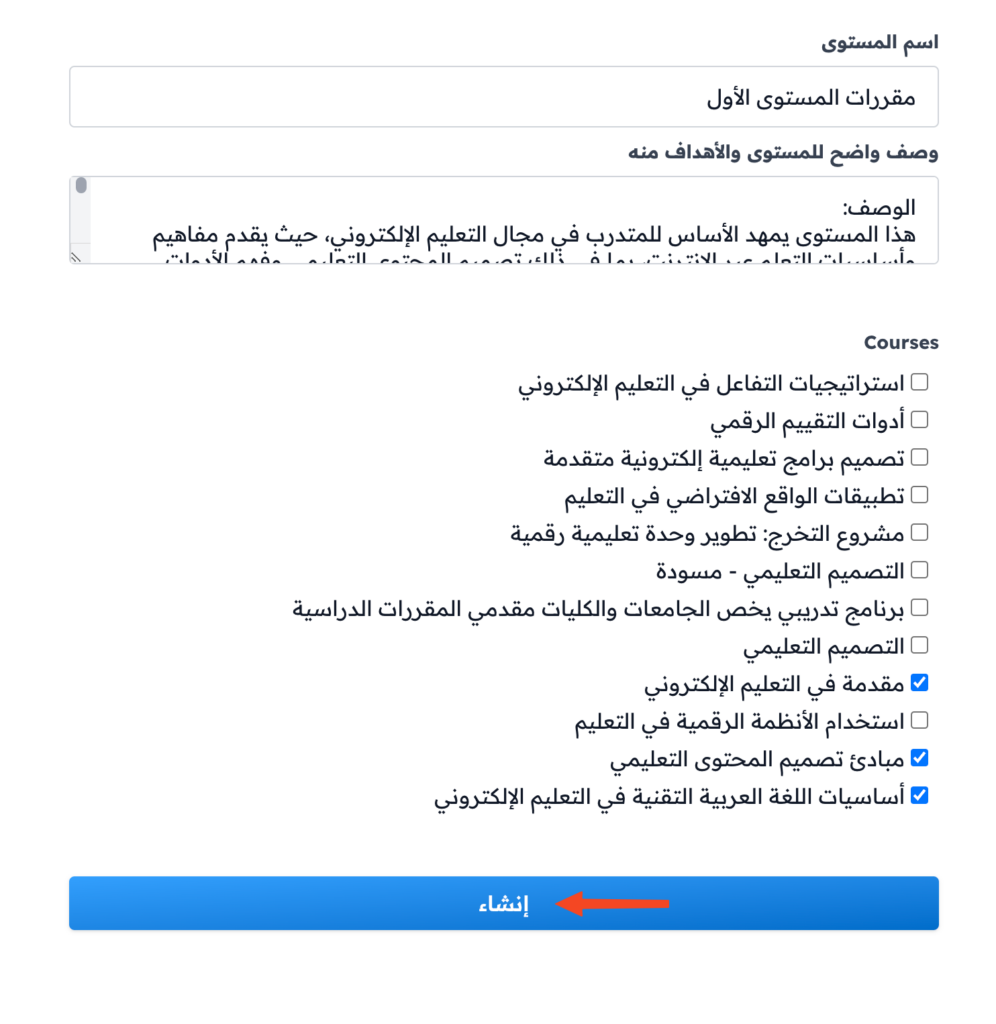
Repeat steps 7 to 9 to add the other sections.
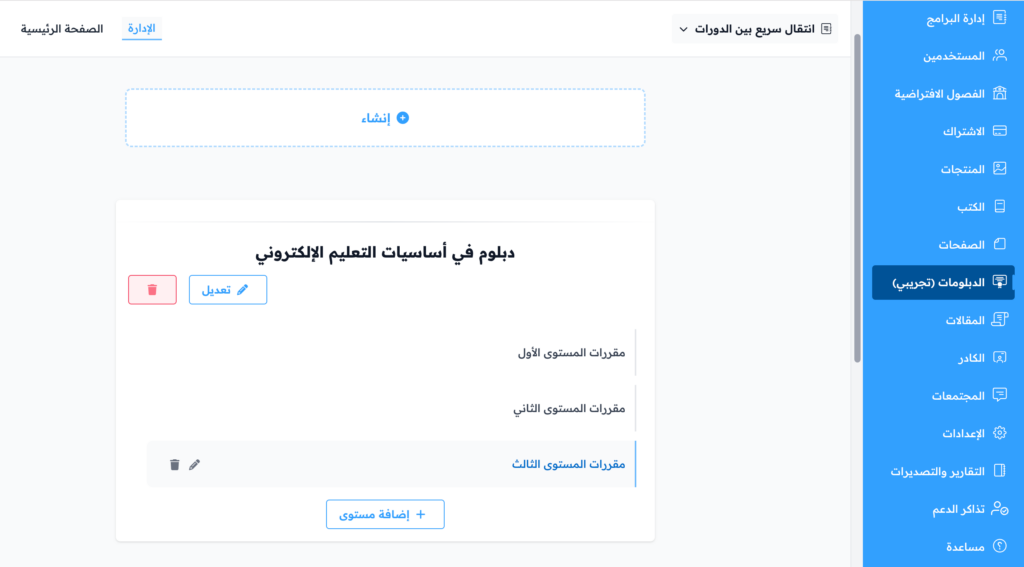
Archived courses do not show in the Courses list. You also cannot choose a course that is already in another section of the same diploma.
To sell the diploma, set its status to Published, then click ⋯ at the end of the diploma row, and click Convert to Product.