Set a course end date with cohorts
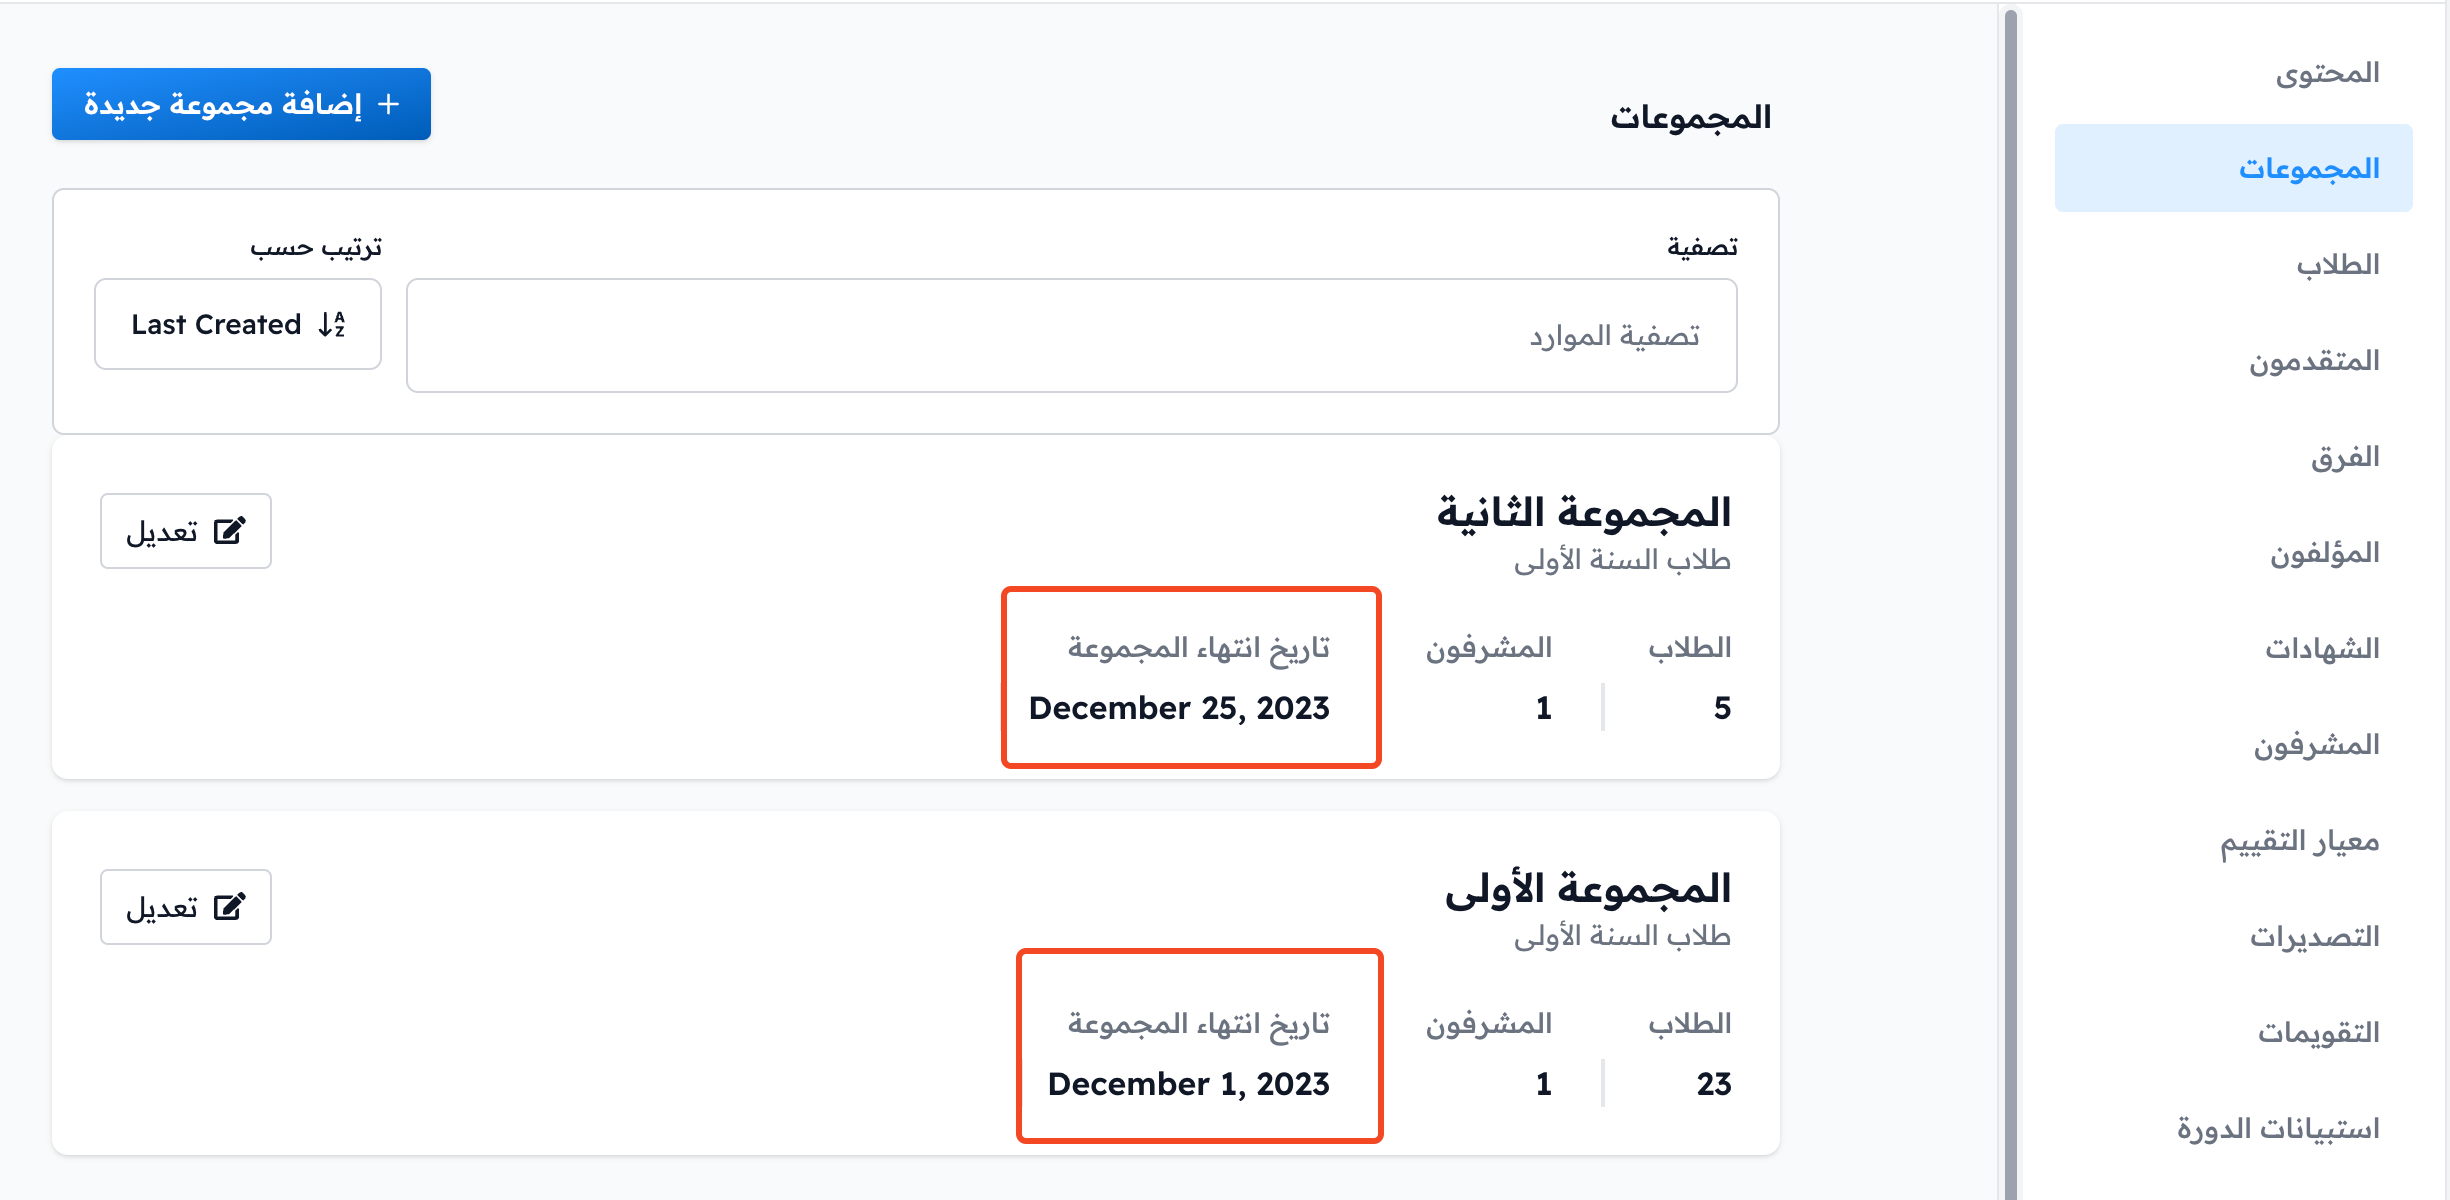
A platform admin can create several cohorts for one course, and each cohort can have a different end date. If a student does not finish the targets before their cohort's end date, they cannot finish them after that date.
Steps to create a cohort and set its end date
-
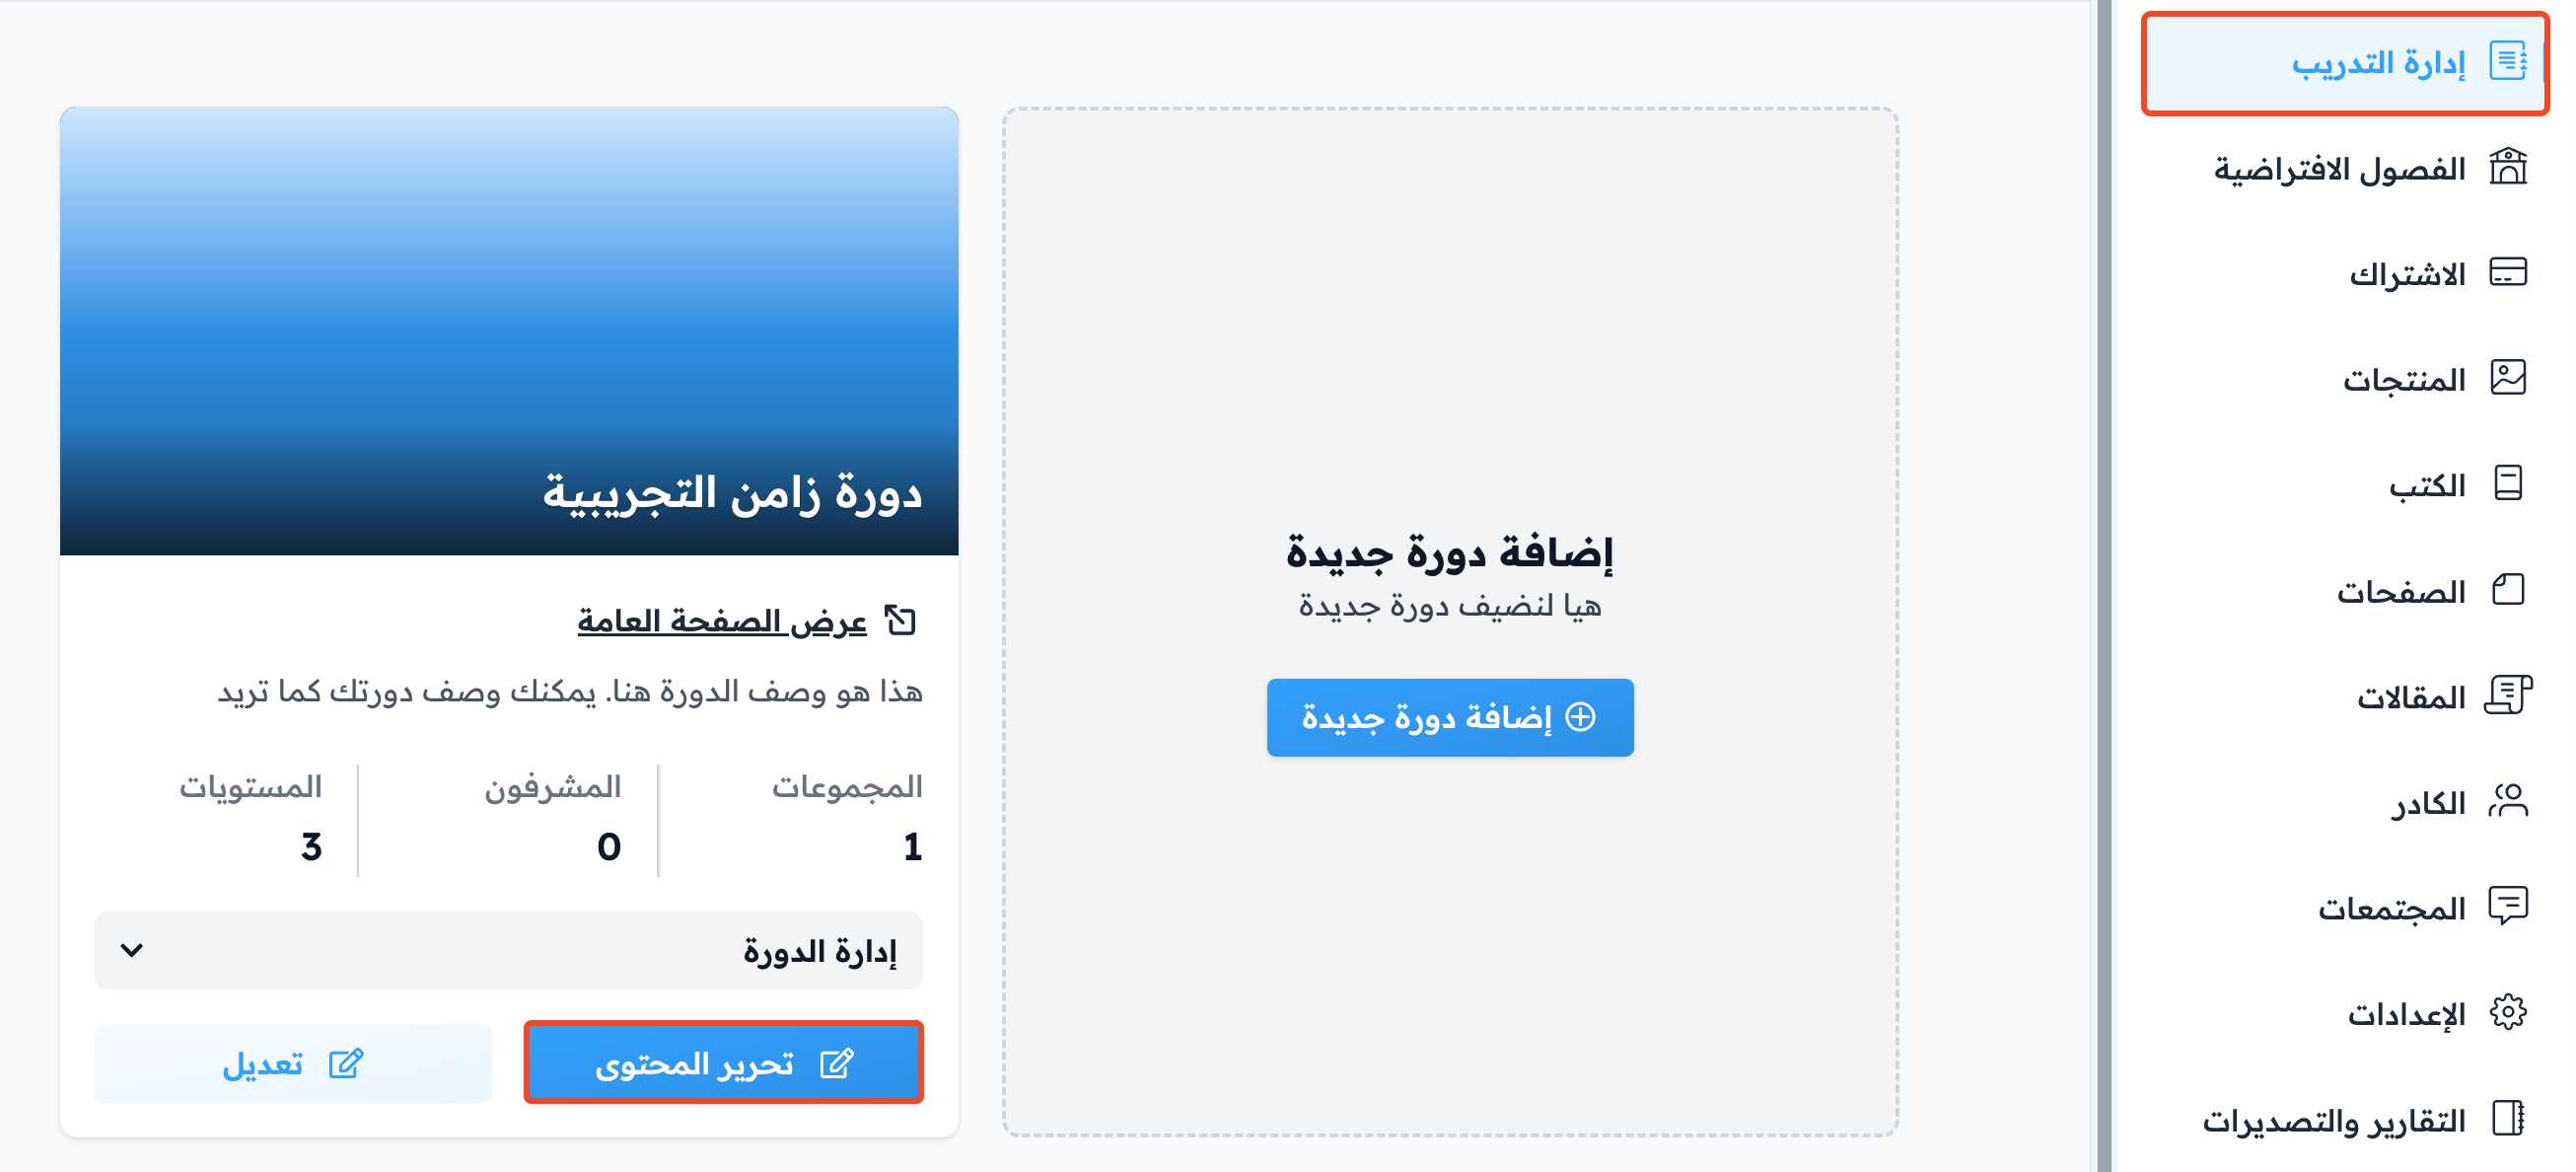
On the Courses page in the dashboard, click Edit Curriculum for the course you want.
-
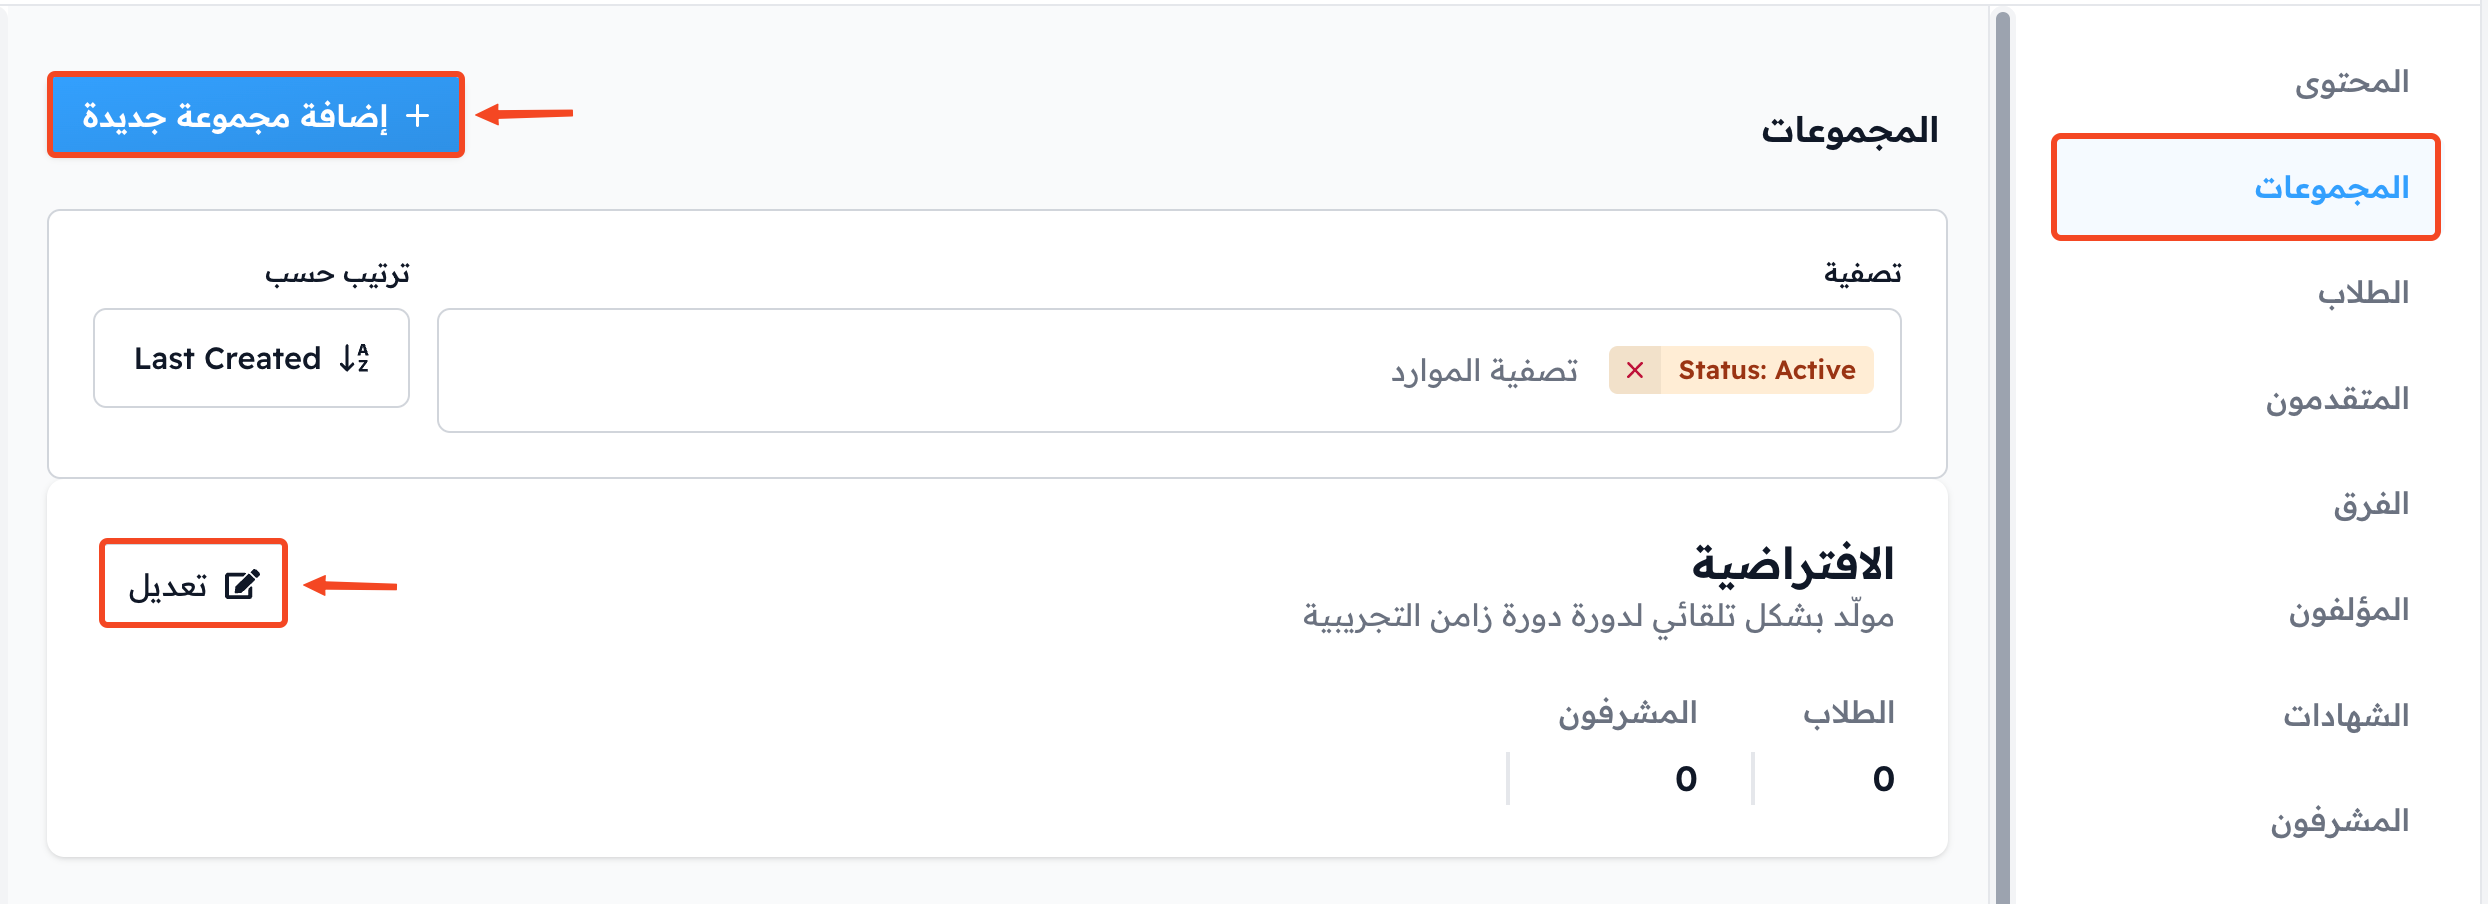
Go to the Cohorts page.
-
Click Add Cohort. A side panel opens.
 Note
NoteA default cohort is created for you with every new course. To change it, click its name, or click the ⋯ (Actions) button at the end of its row, then click Edit.
-
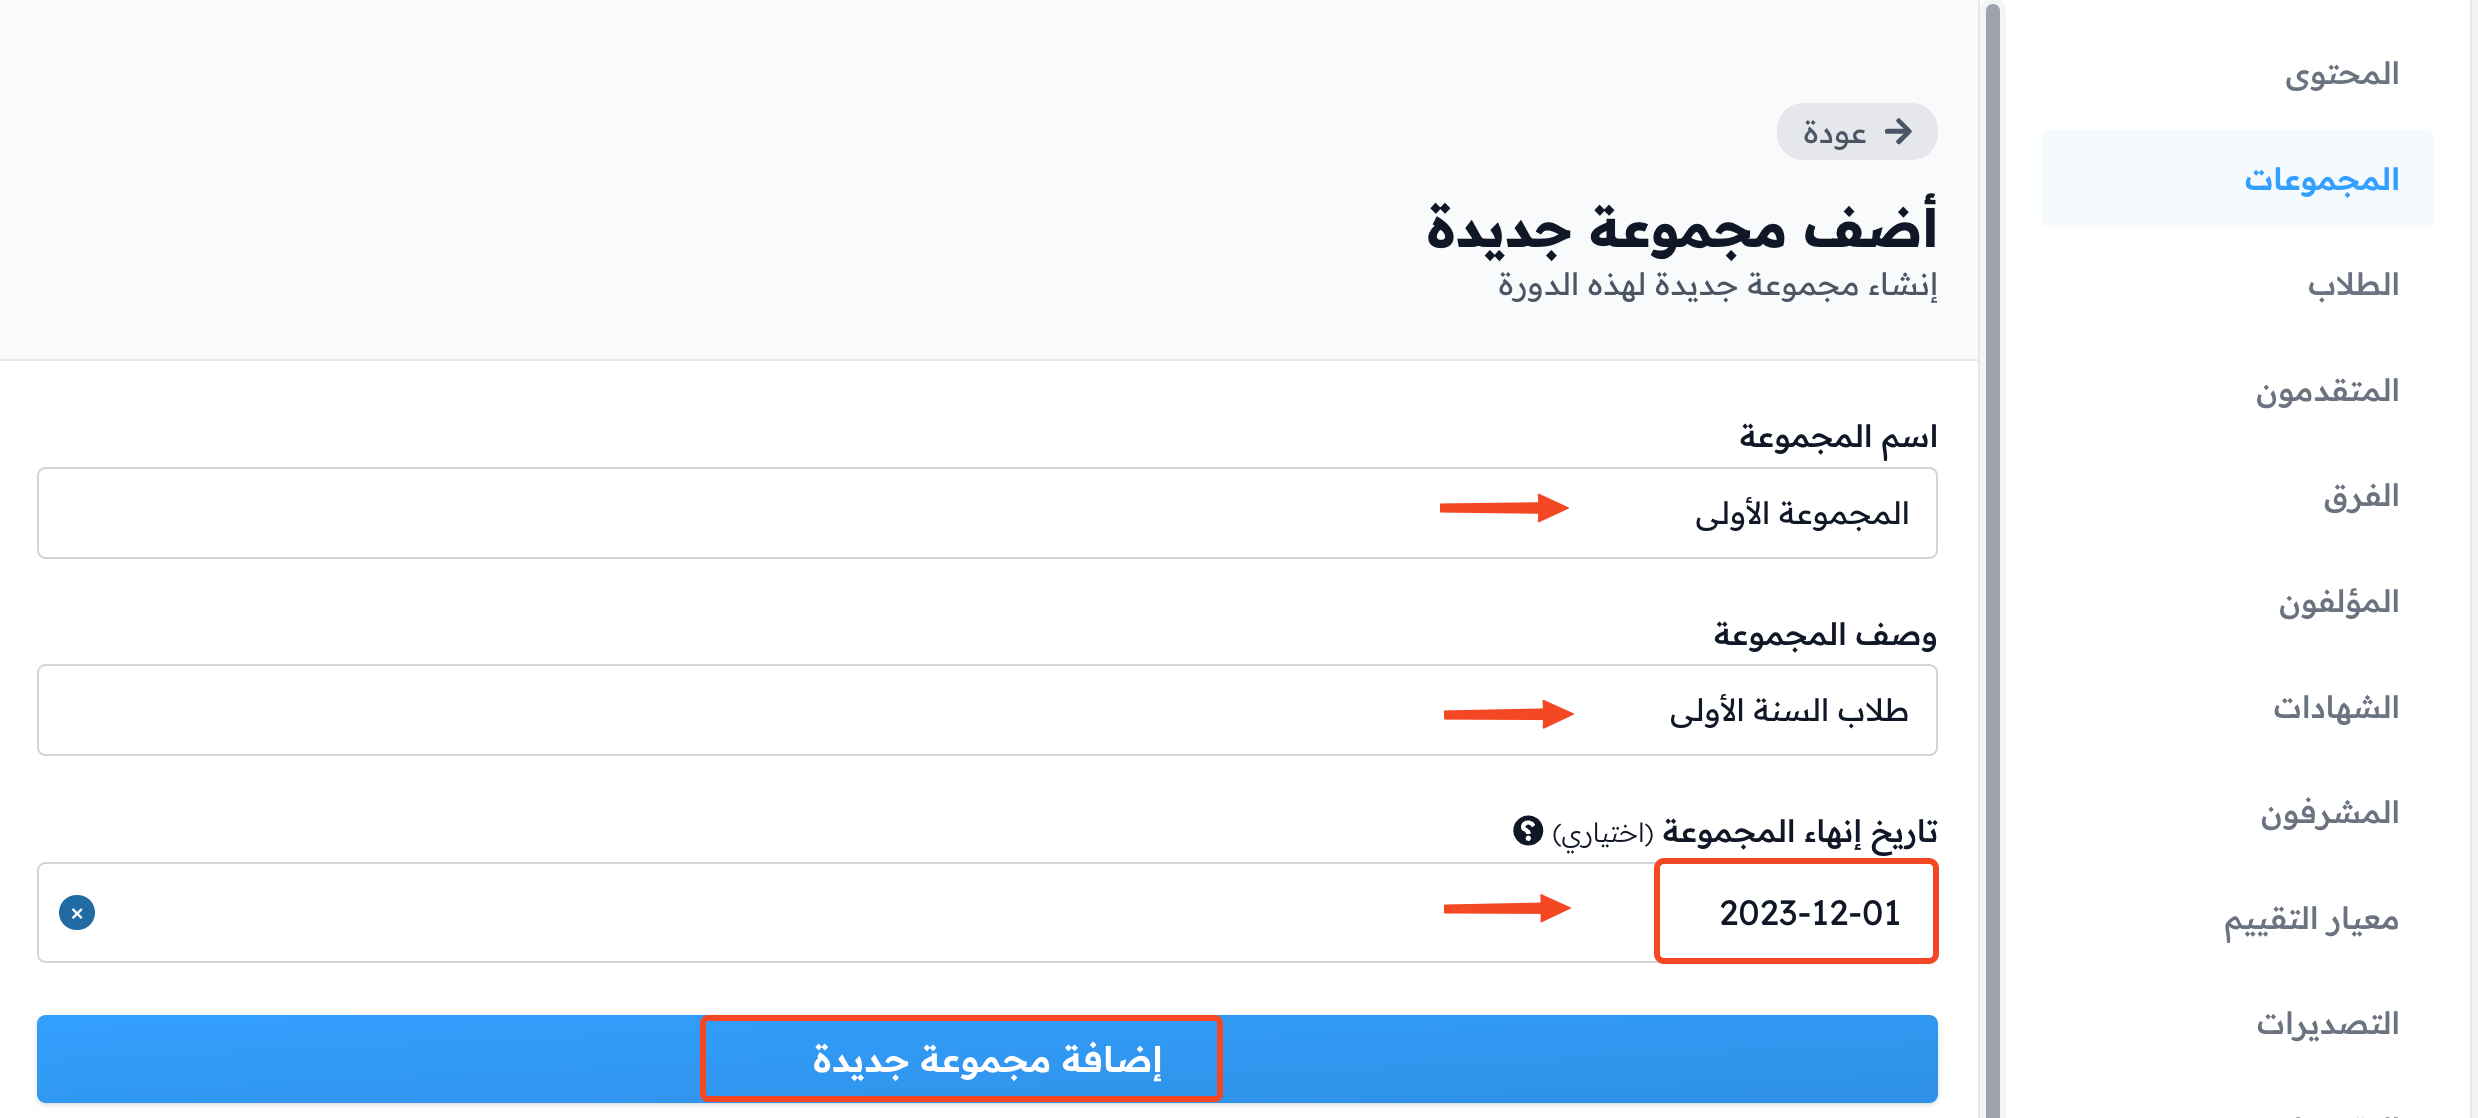
Enter the details:
- Cohort name.
- Cohort description.
- End date, which is optional.
-
Click Add Cohort to save and create the cohort.
Choose each student's cohort
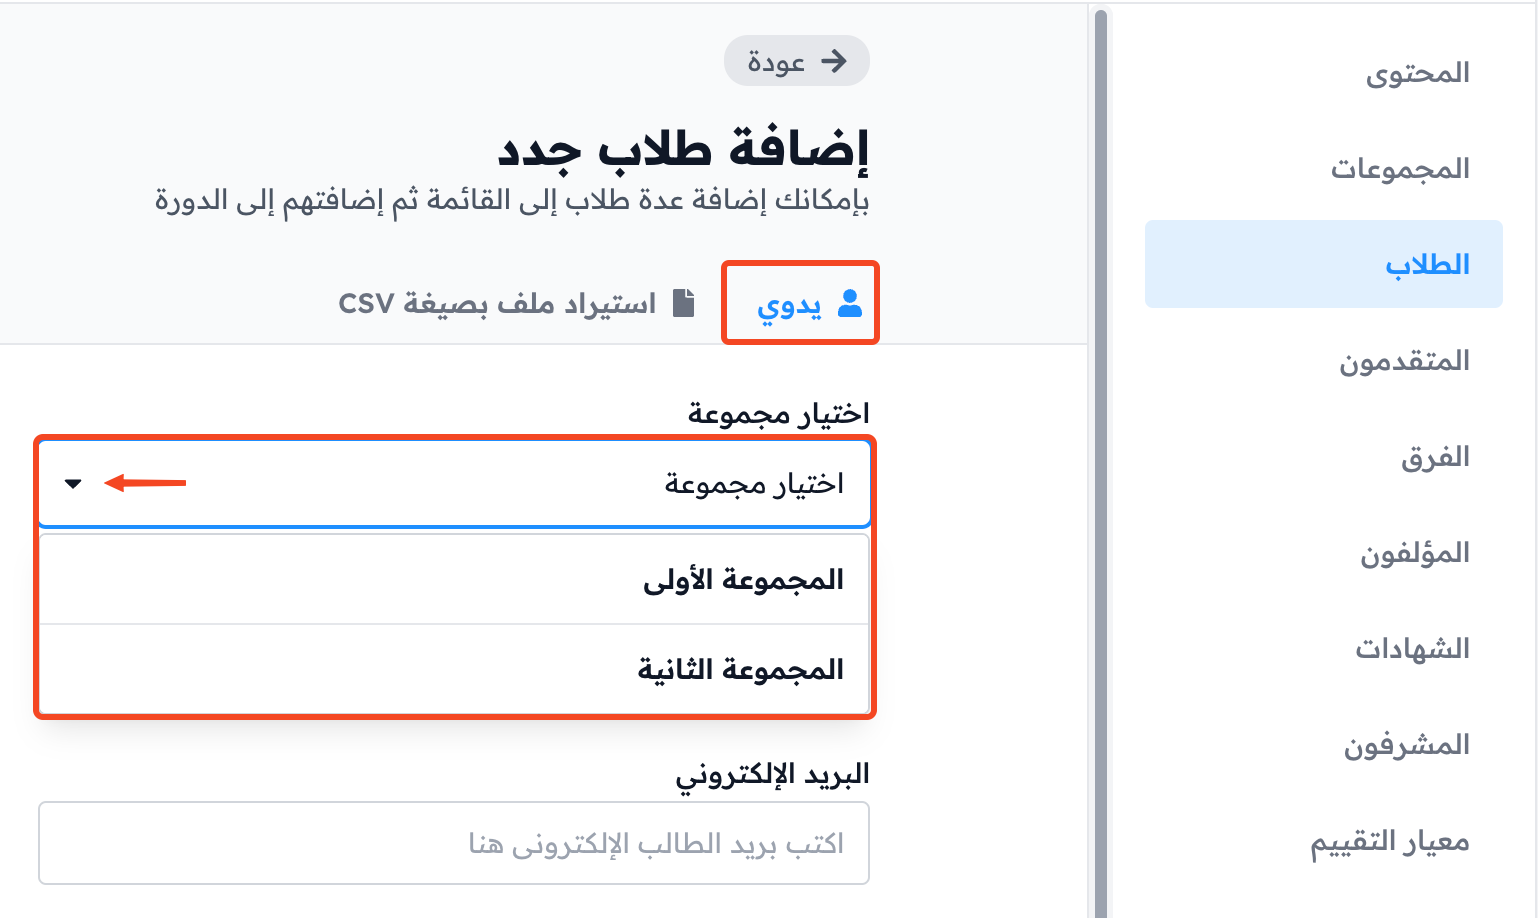
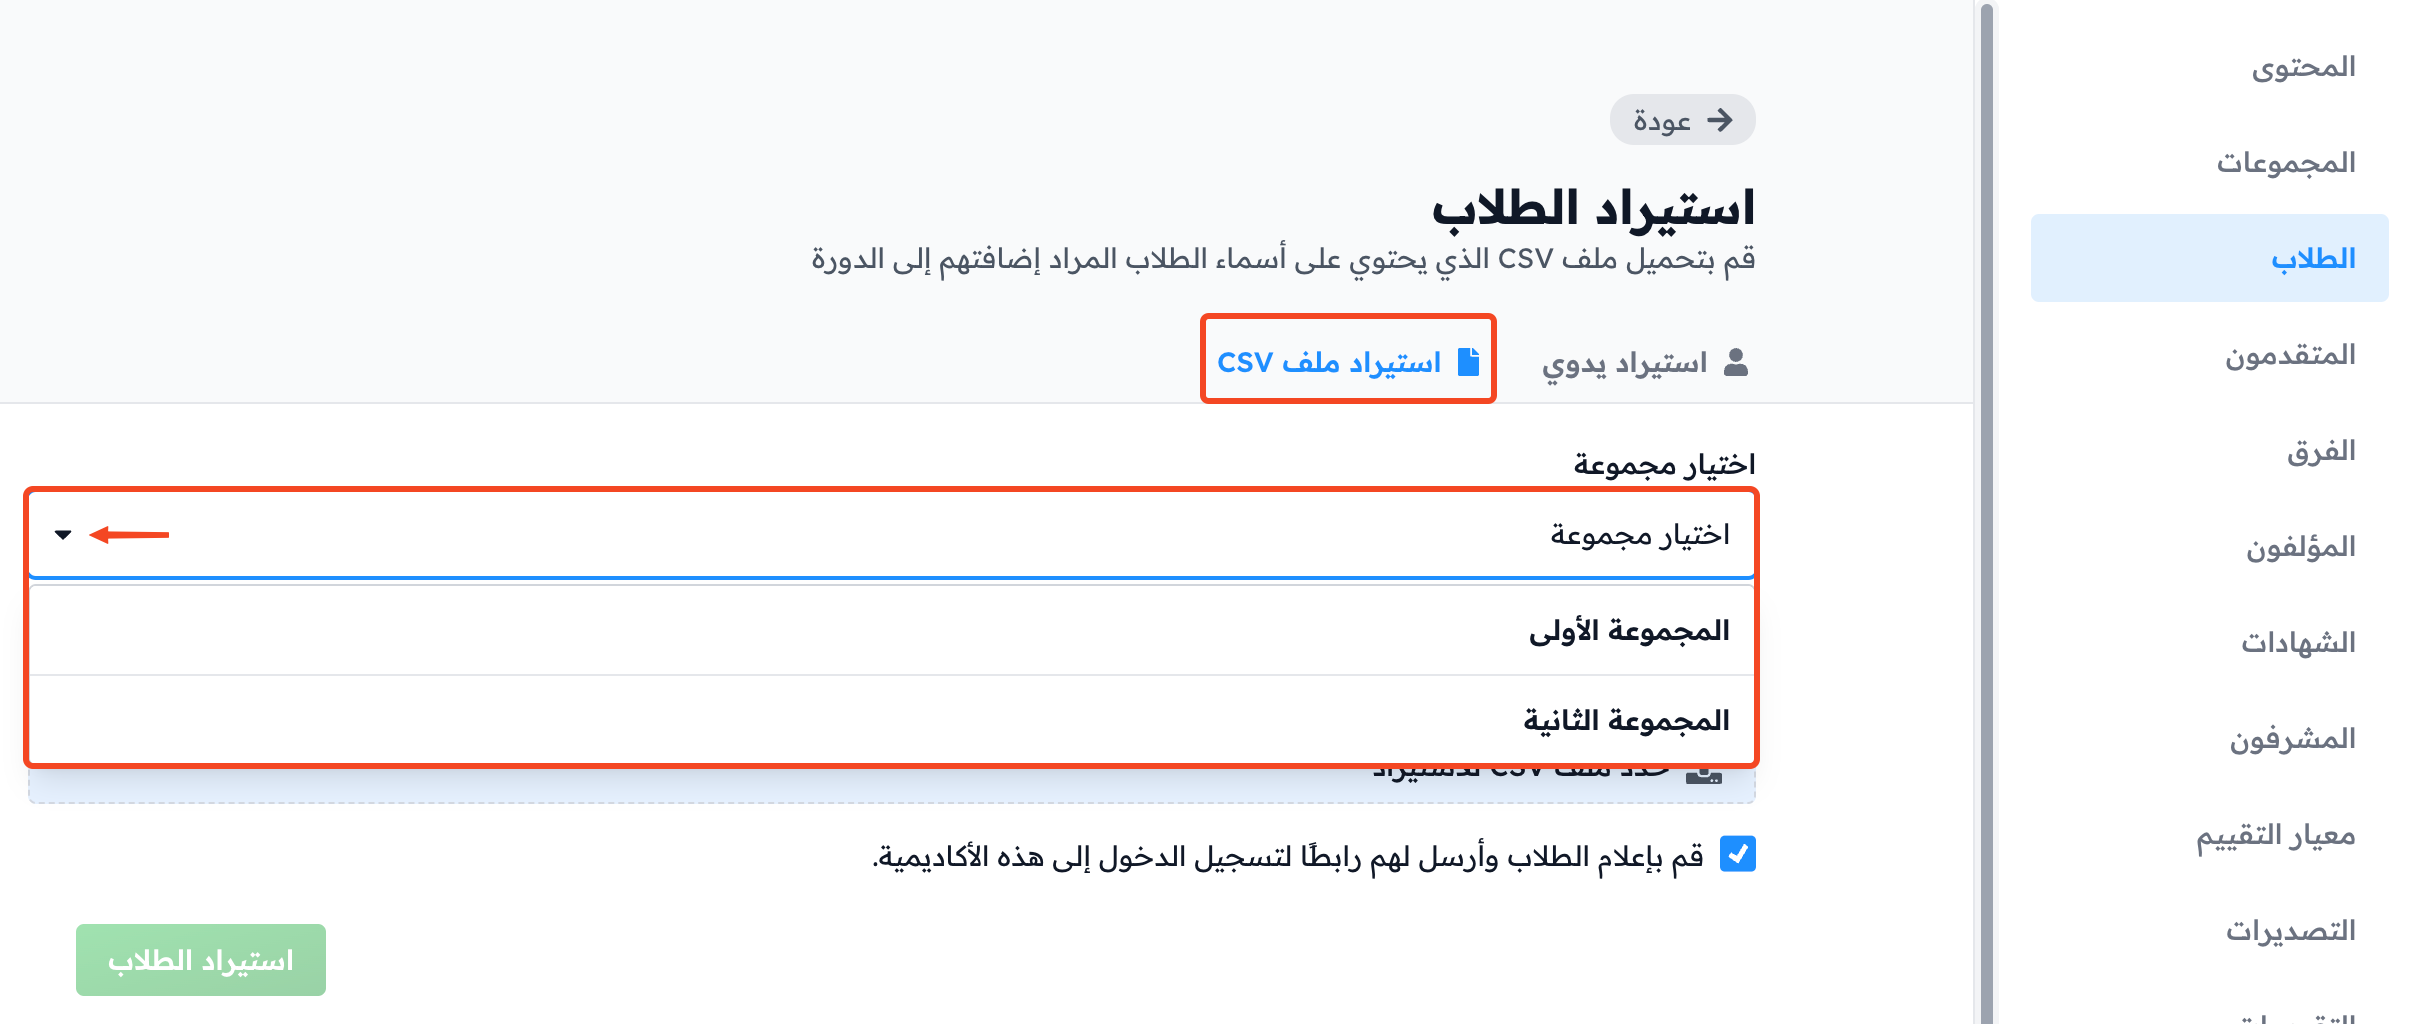
When you add students to the course, you must choose the cohort they will join. Students are not added until you choose a cohort.

Change a student's cohort
-
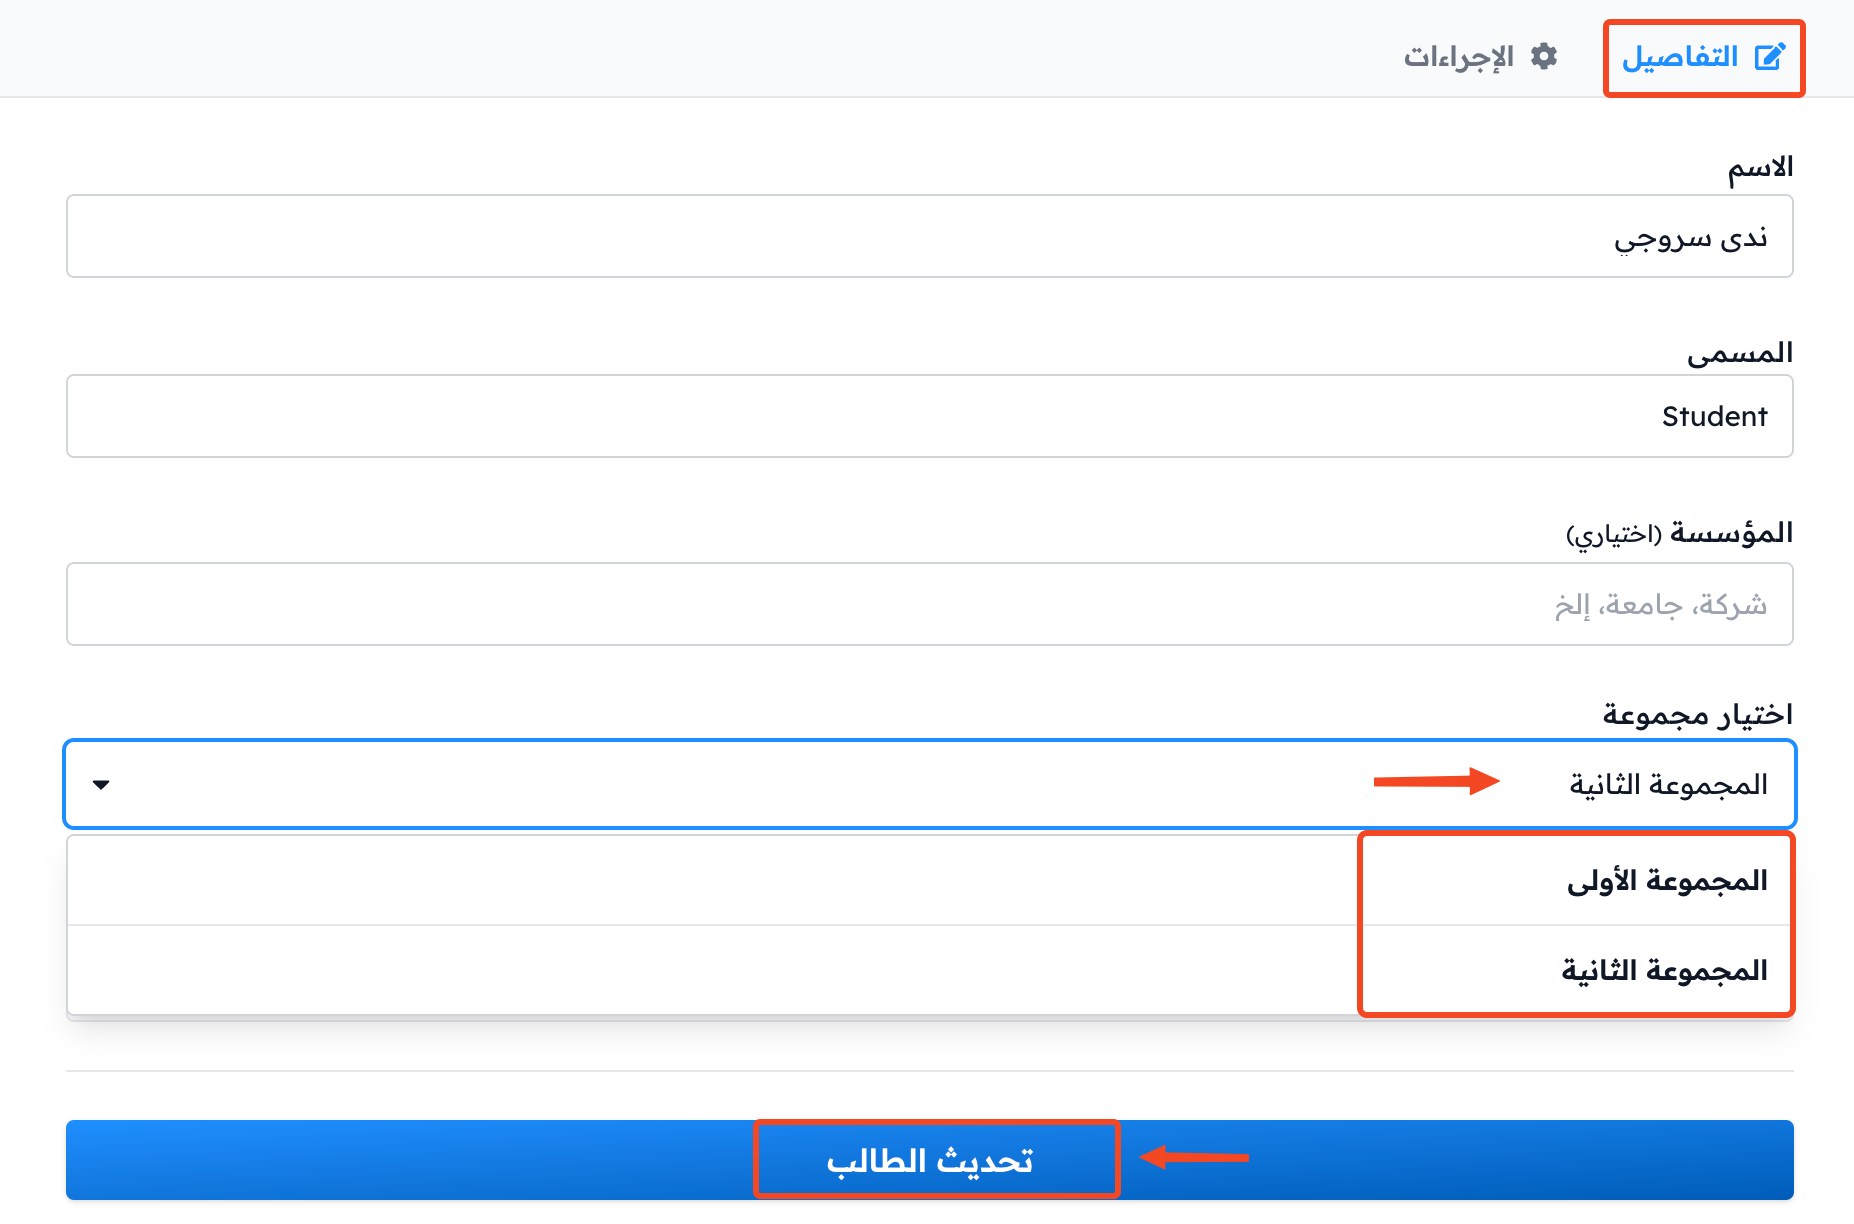
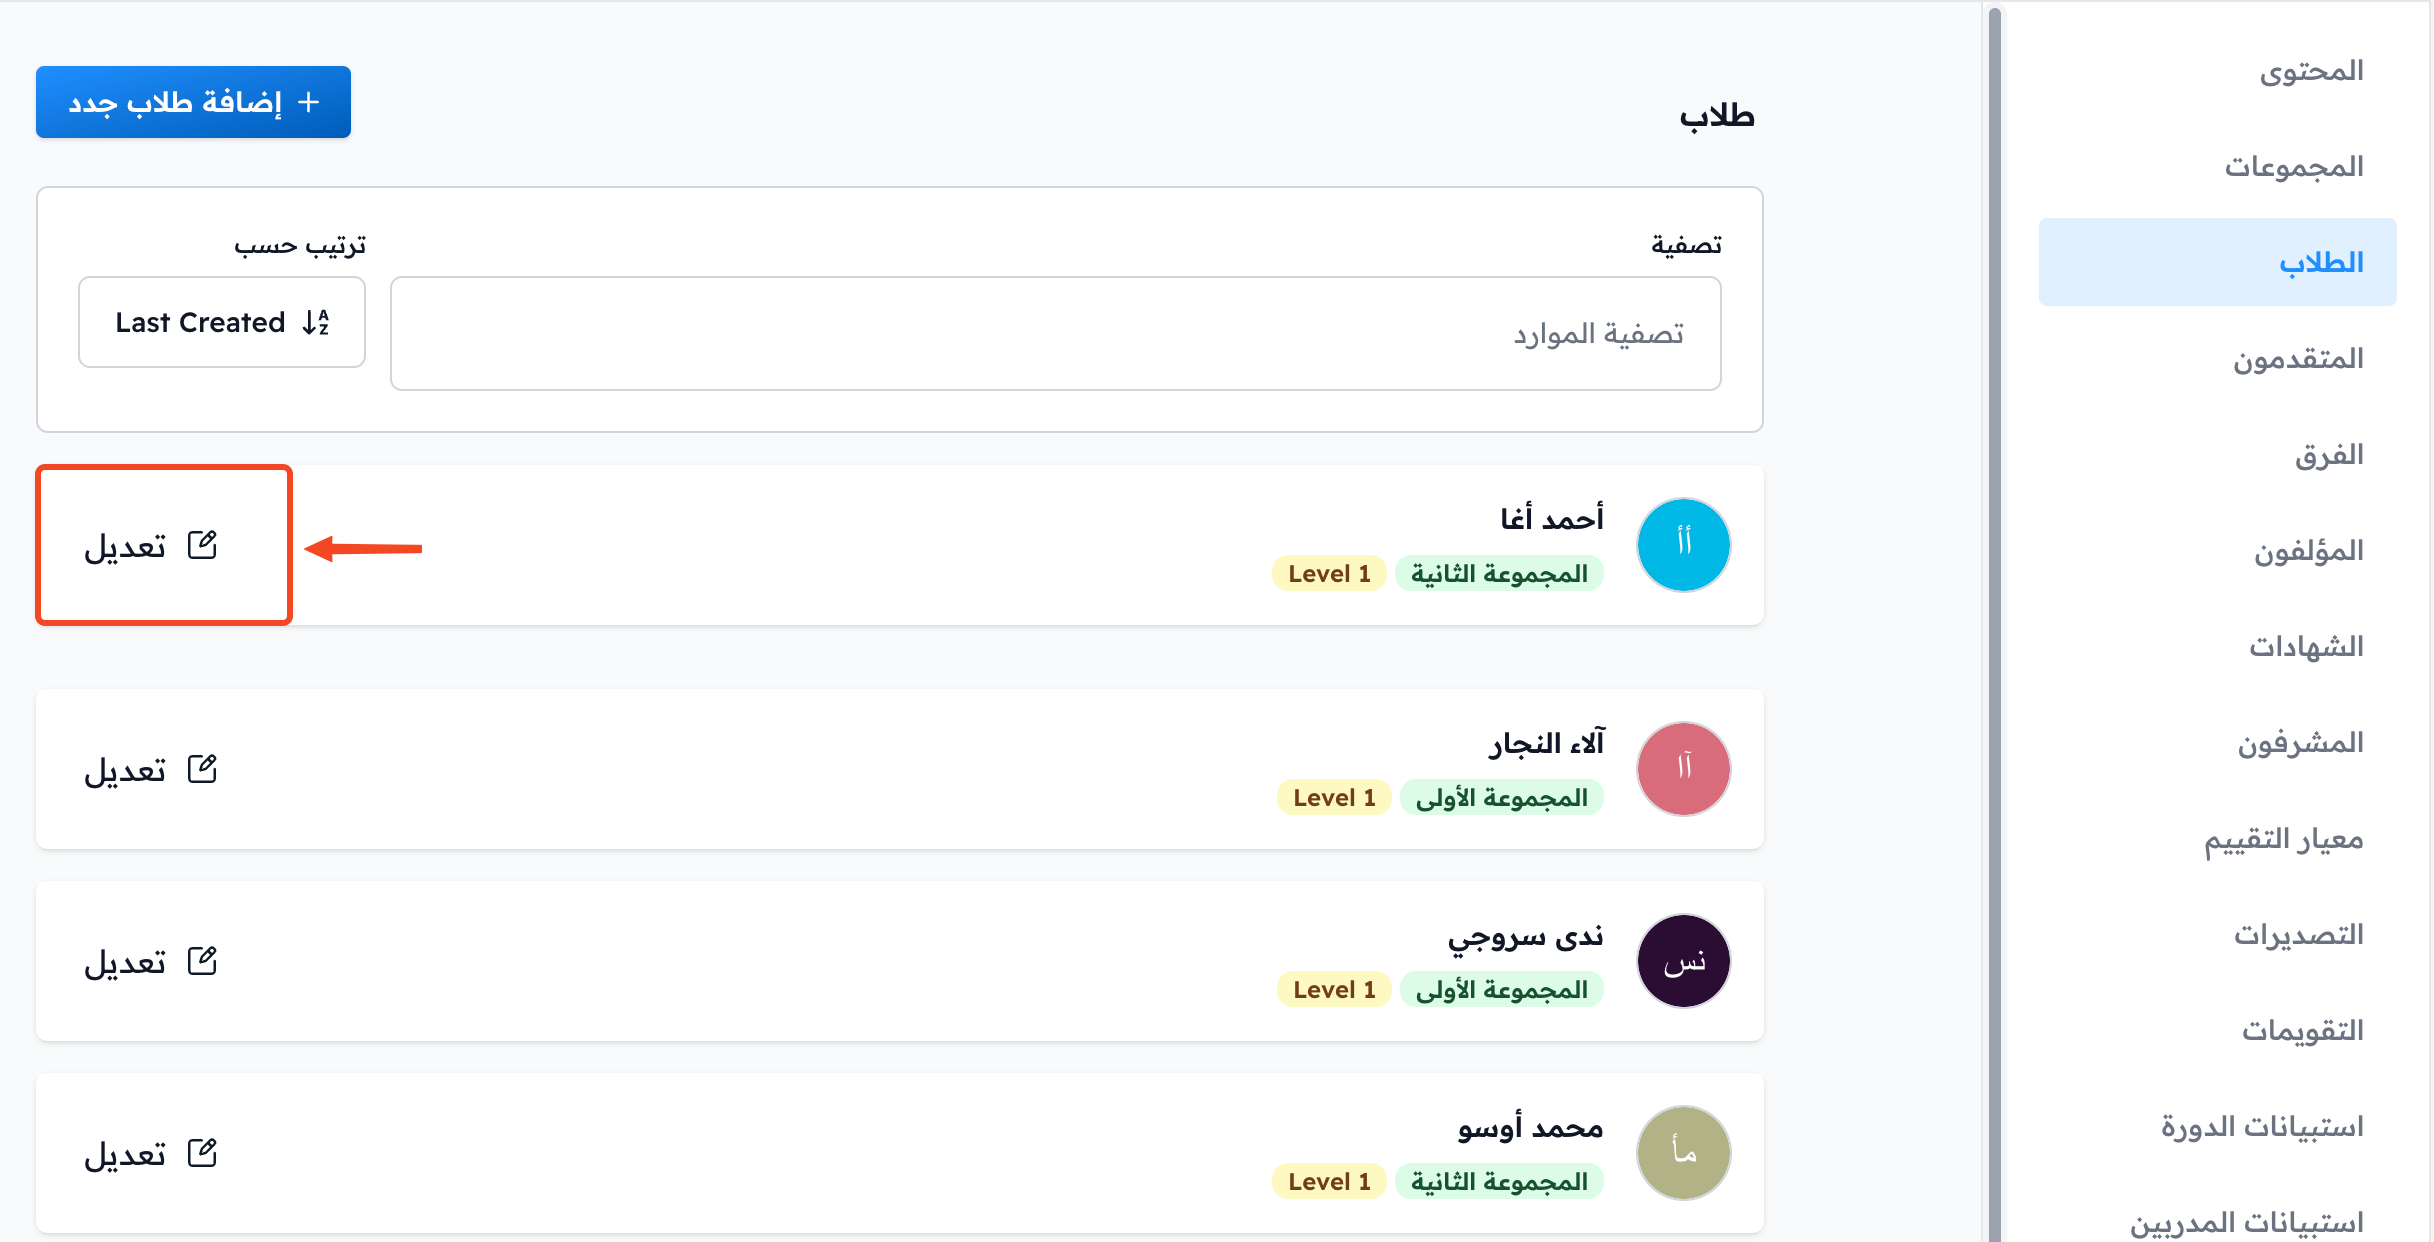
On the Students page, click Edit next to the name of the student whose cohort you want to change.
-
In the Details tab, pick the new cohort from the Select a cohort list.
-
Click Update Student to save the change.