How to create a consultation with Calendly
You can offer consultations on your platform and let your students book their sessions through Calendly. This article is for platform admins.
What you need before you start
- Turn on payments, if the consultation is paid.
- Connect Calendly to your platform.
- Create an event in Calendly.
- Create a consultation in Zamn.
Steps to create an event in Calendly
-
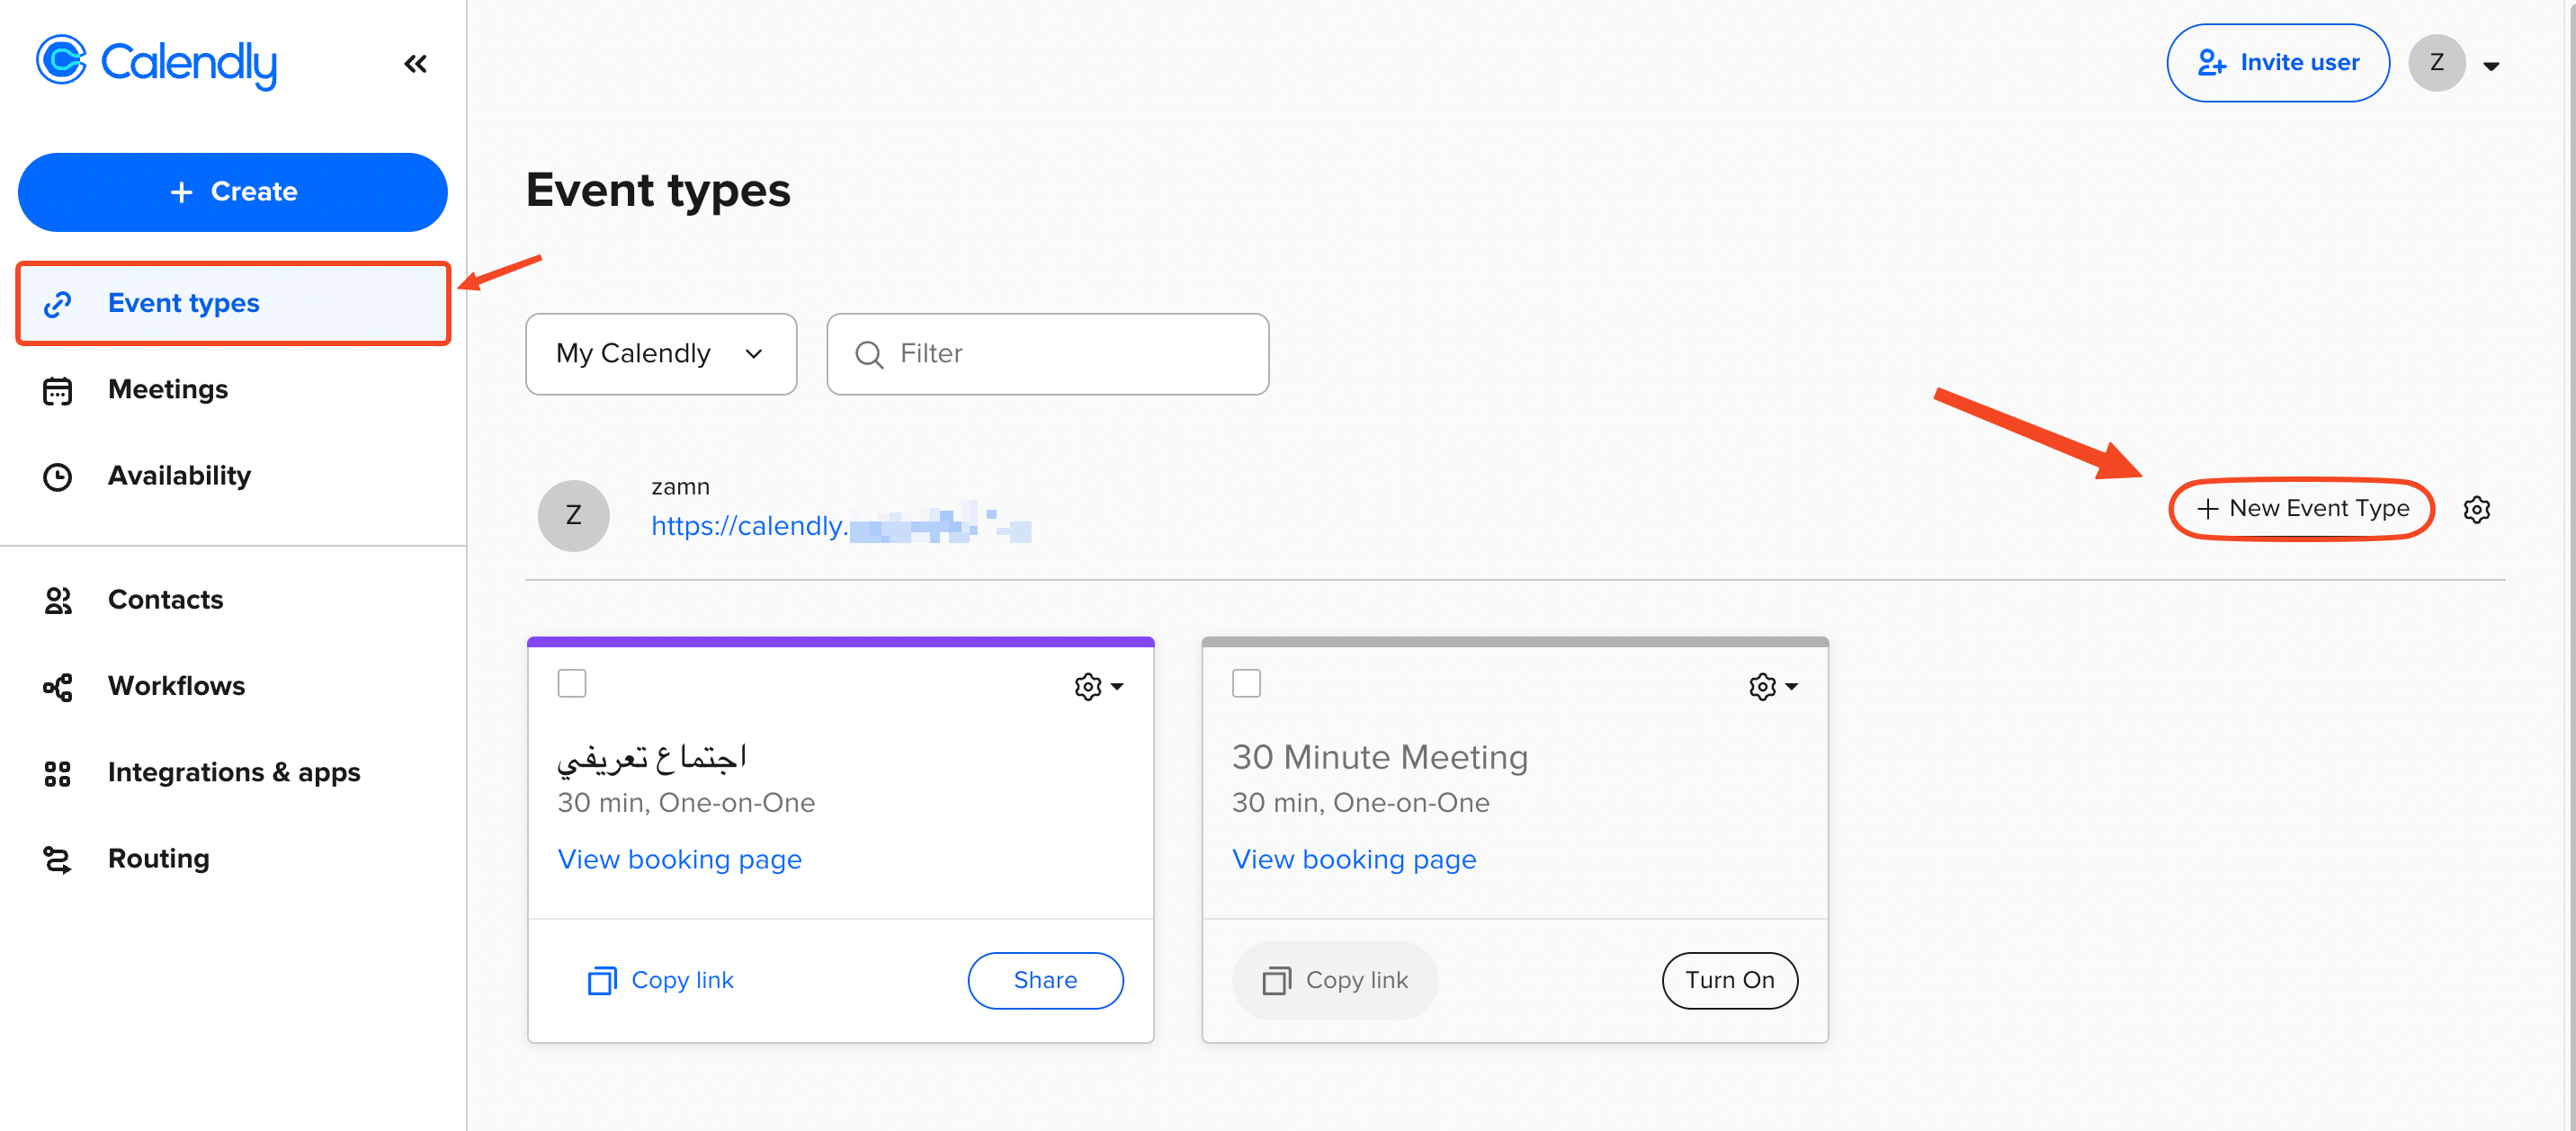
Sign in to your Calendly account. On the Event types page, click New Event Type.
-
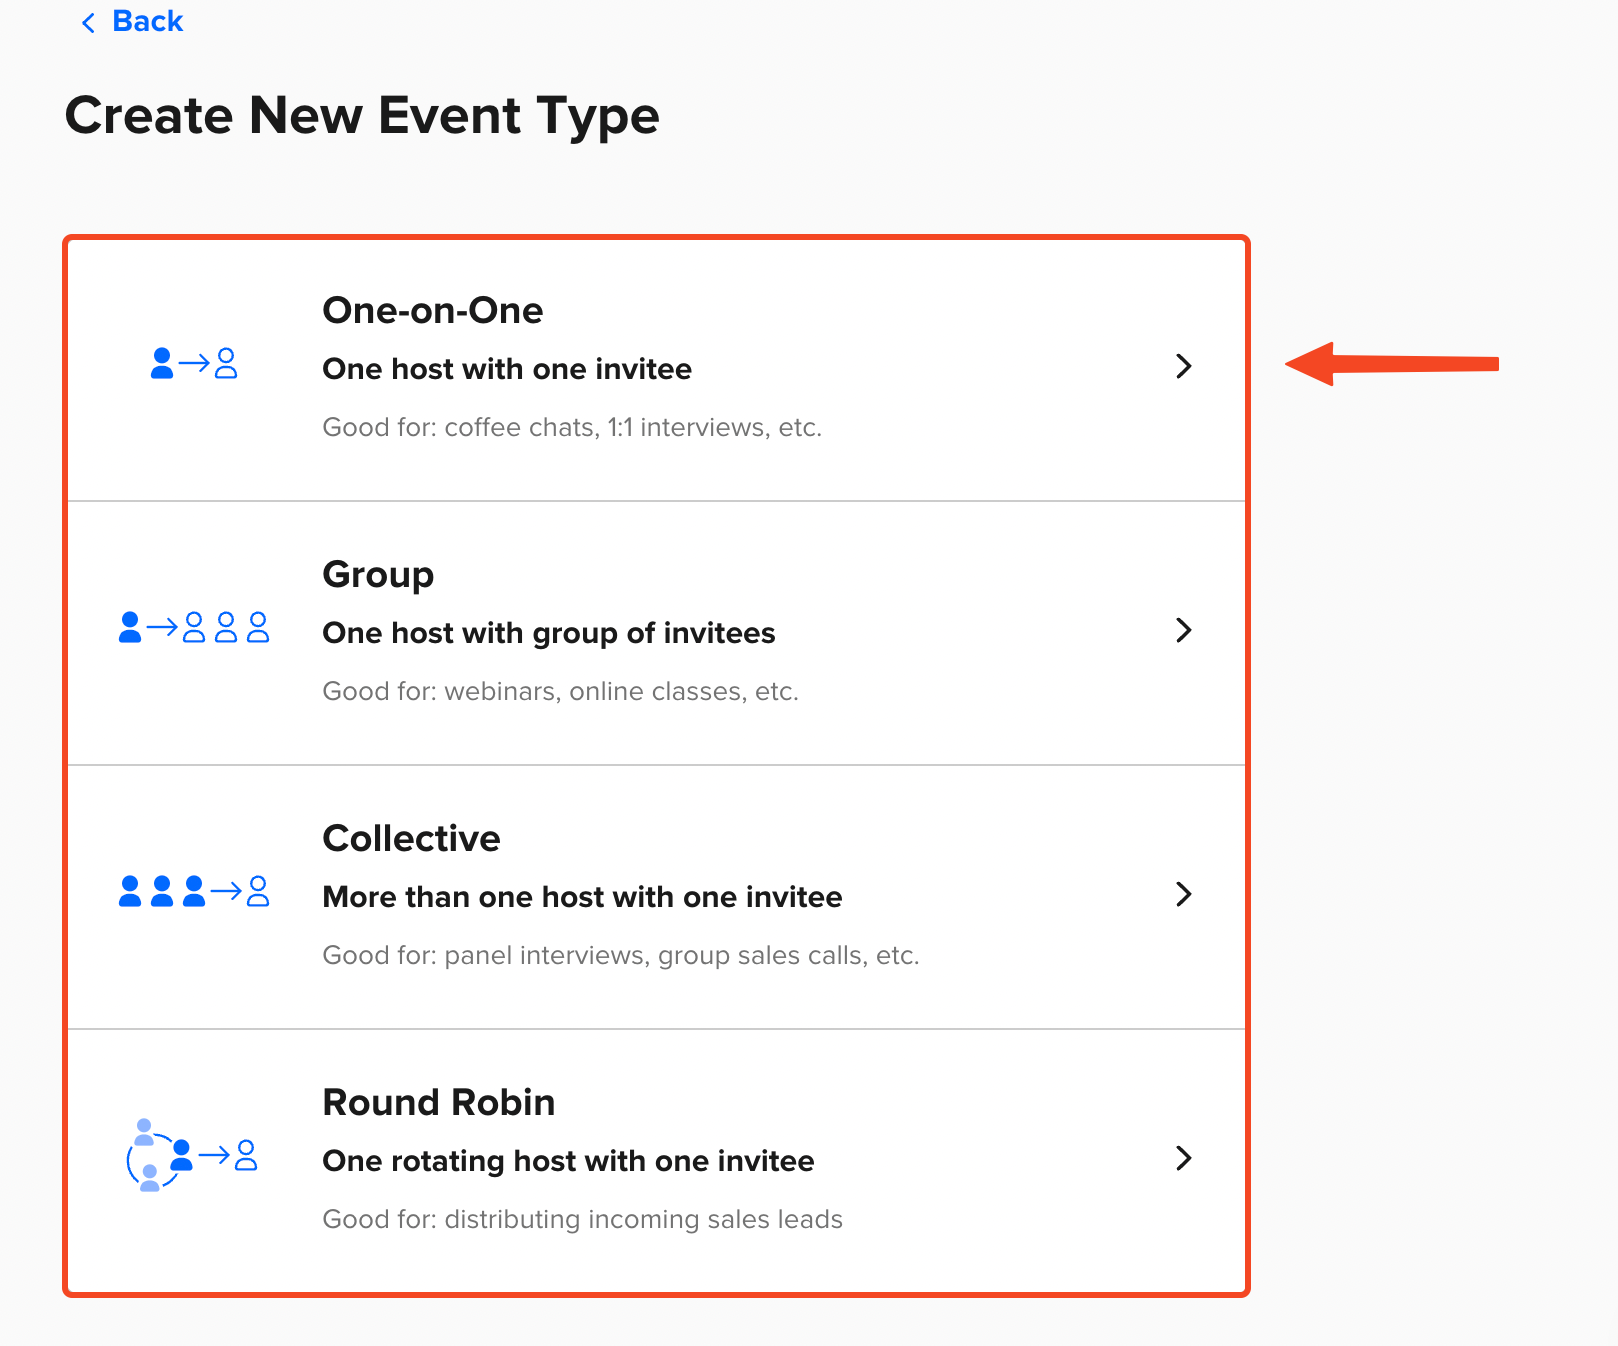
Choose the event type.
NoteThe One-on-One event is available on the free Calendly plan.
-
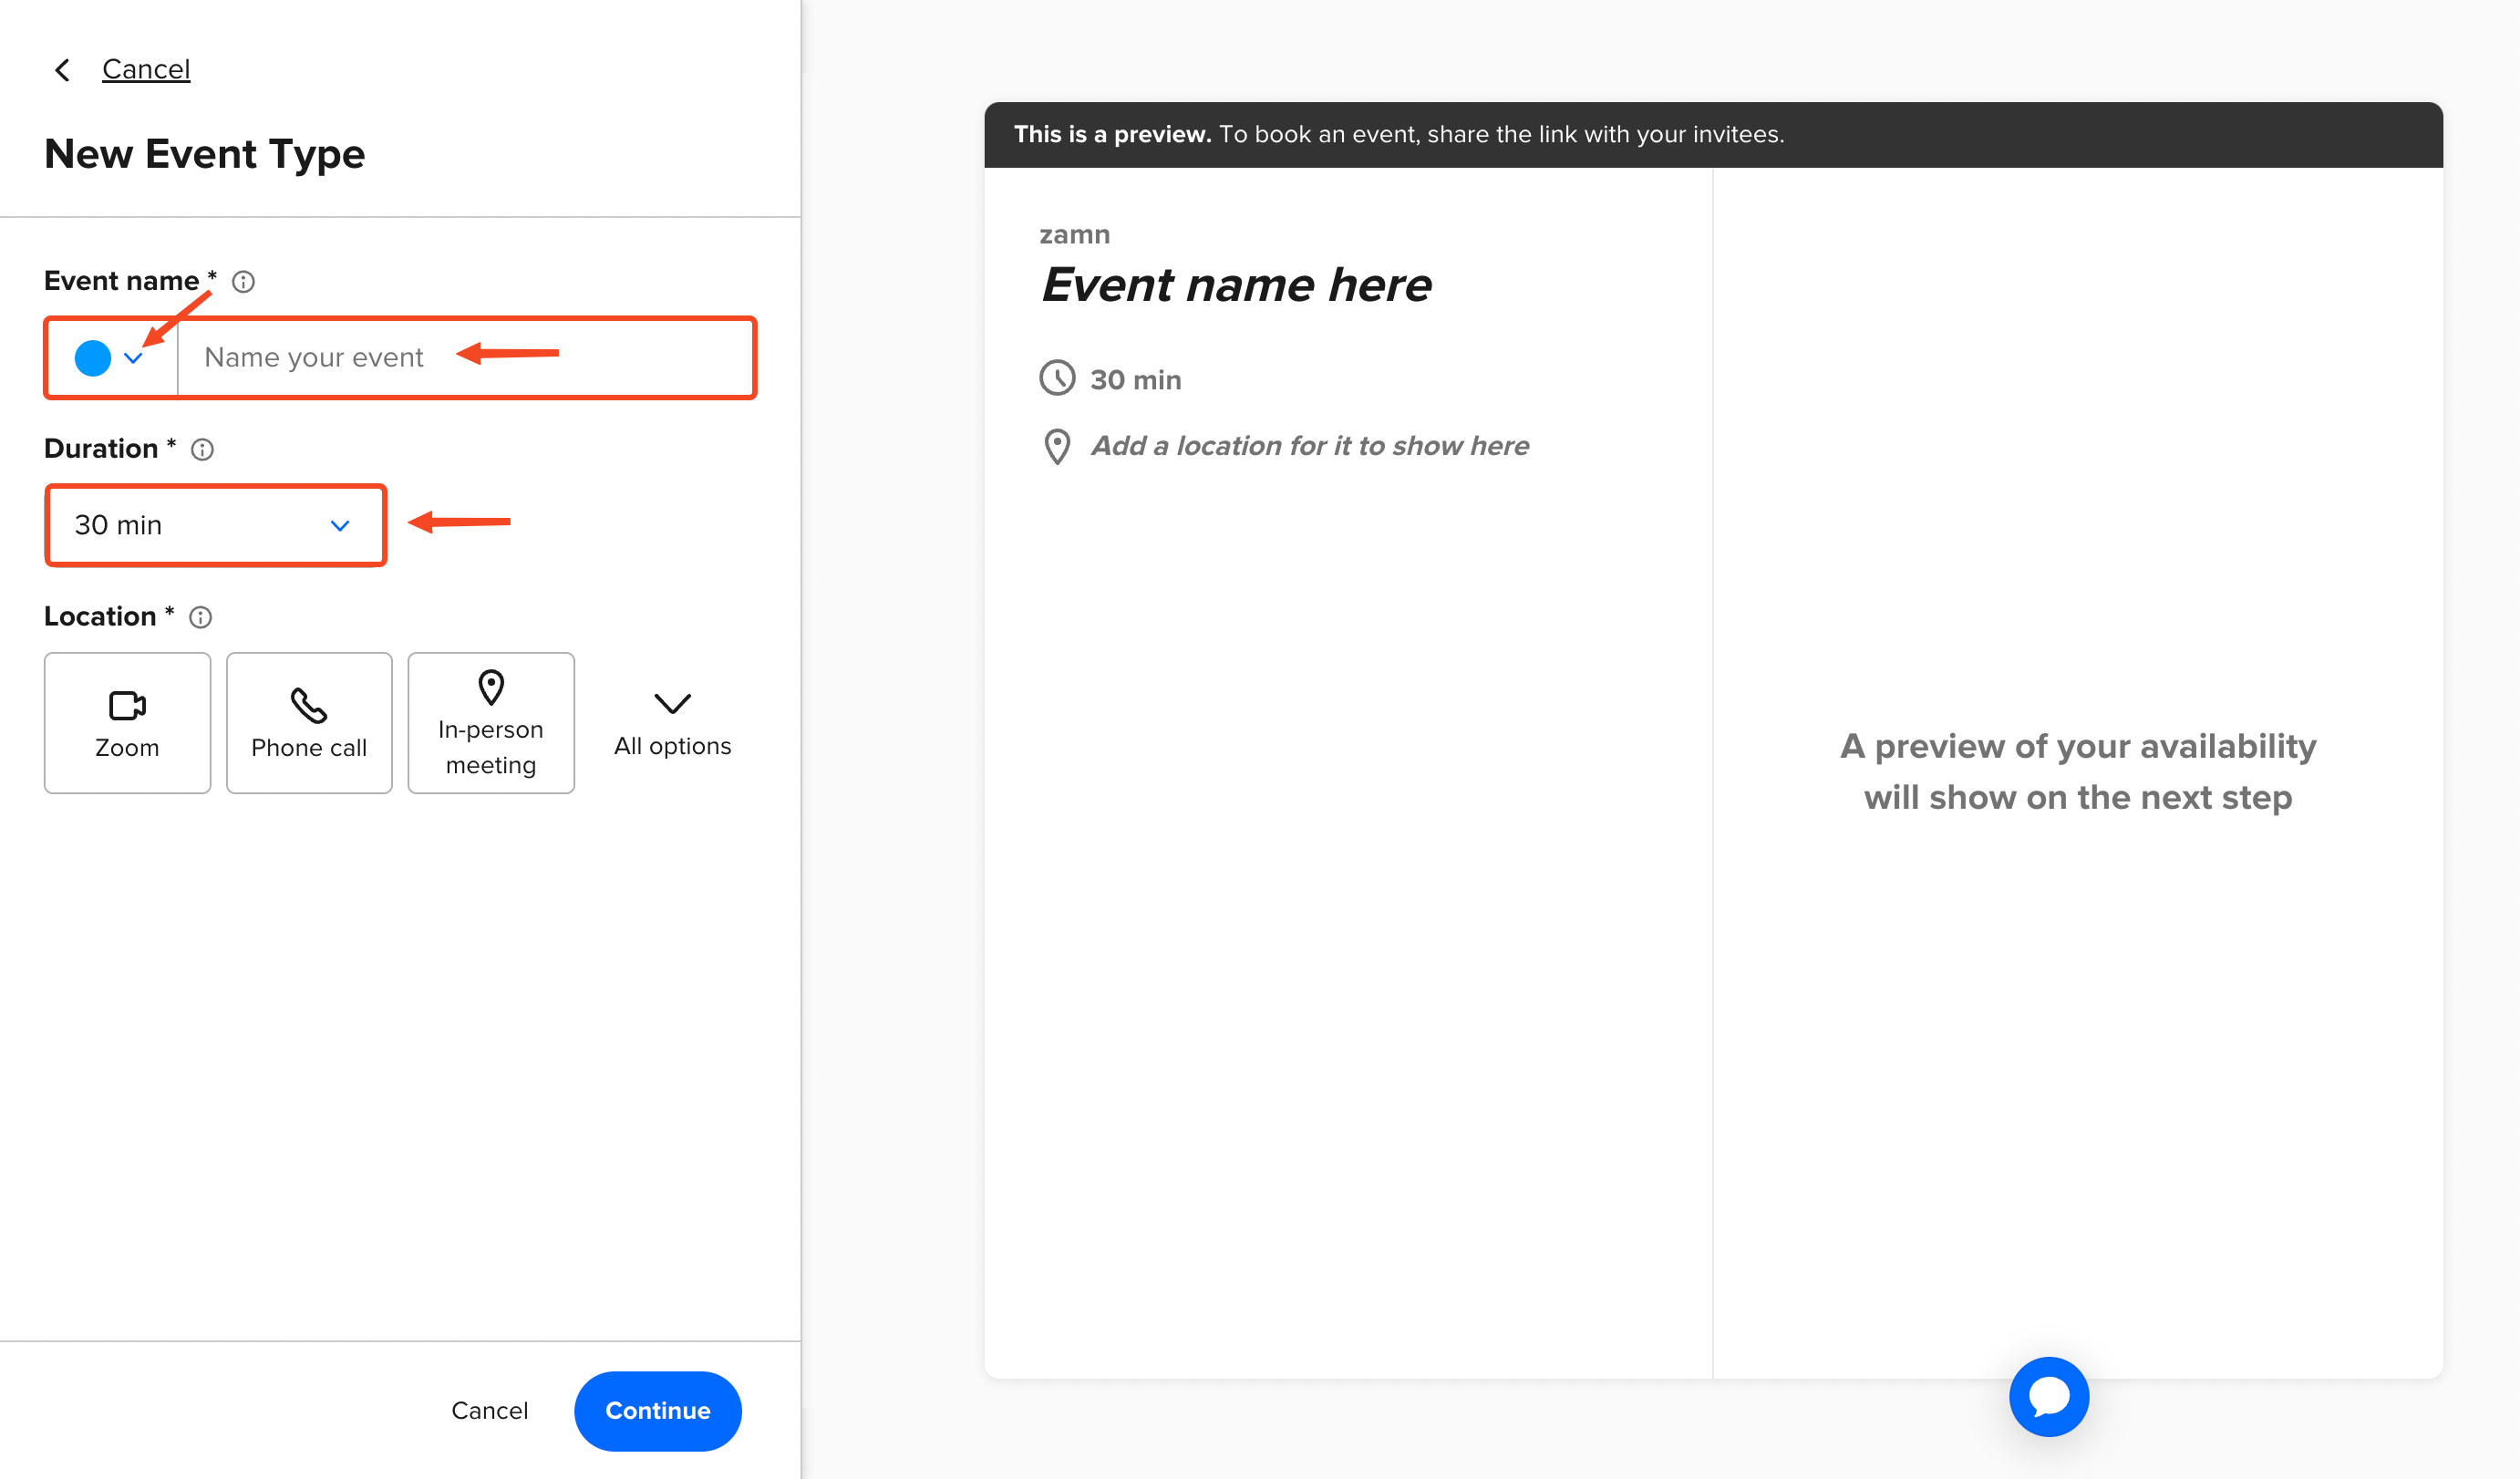
You can choose a color for the event.
-
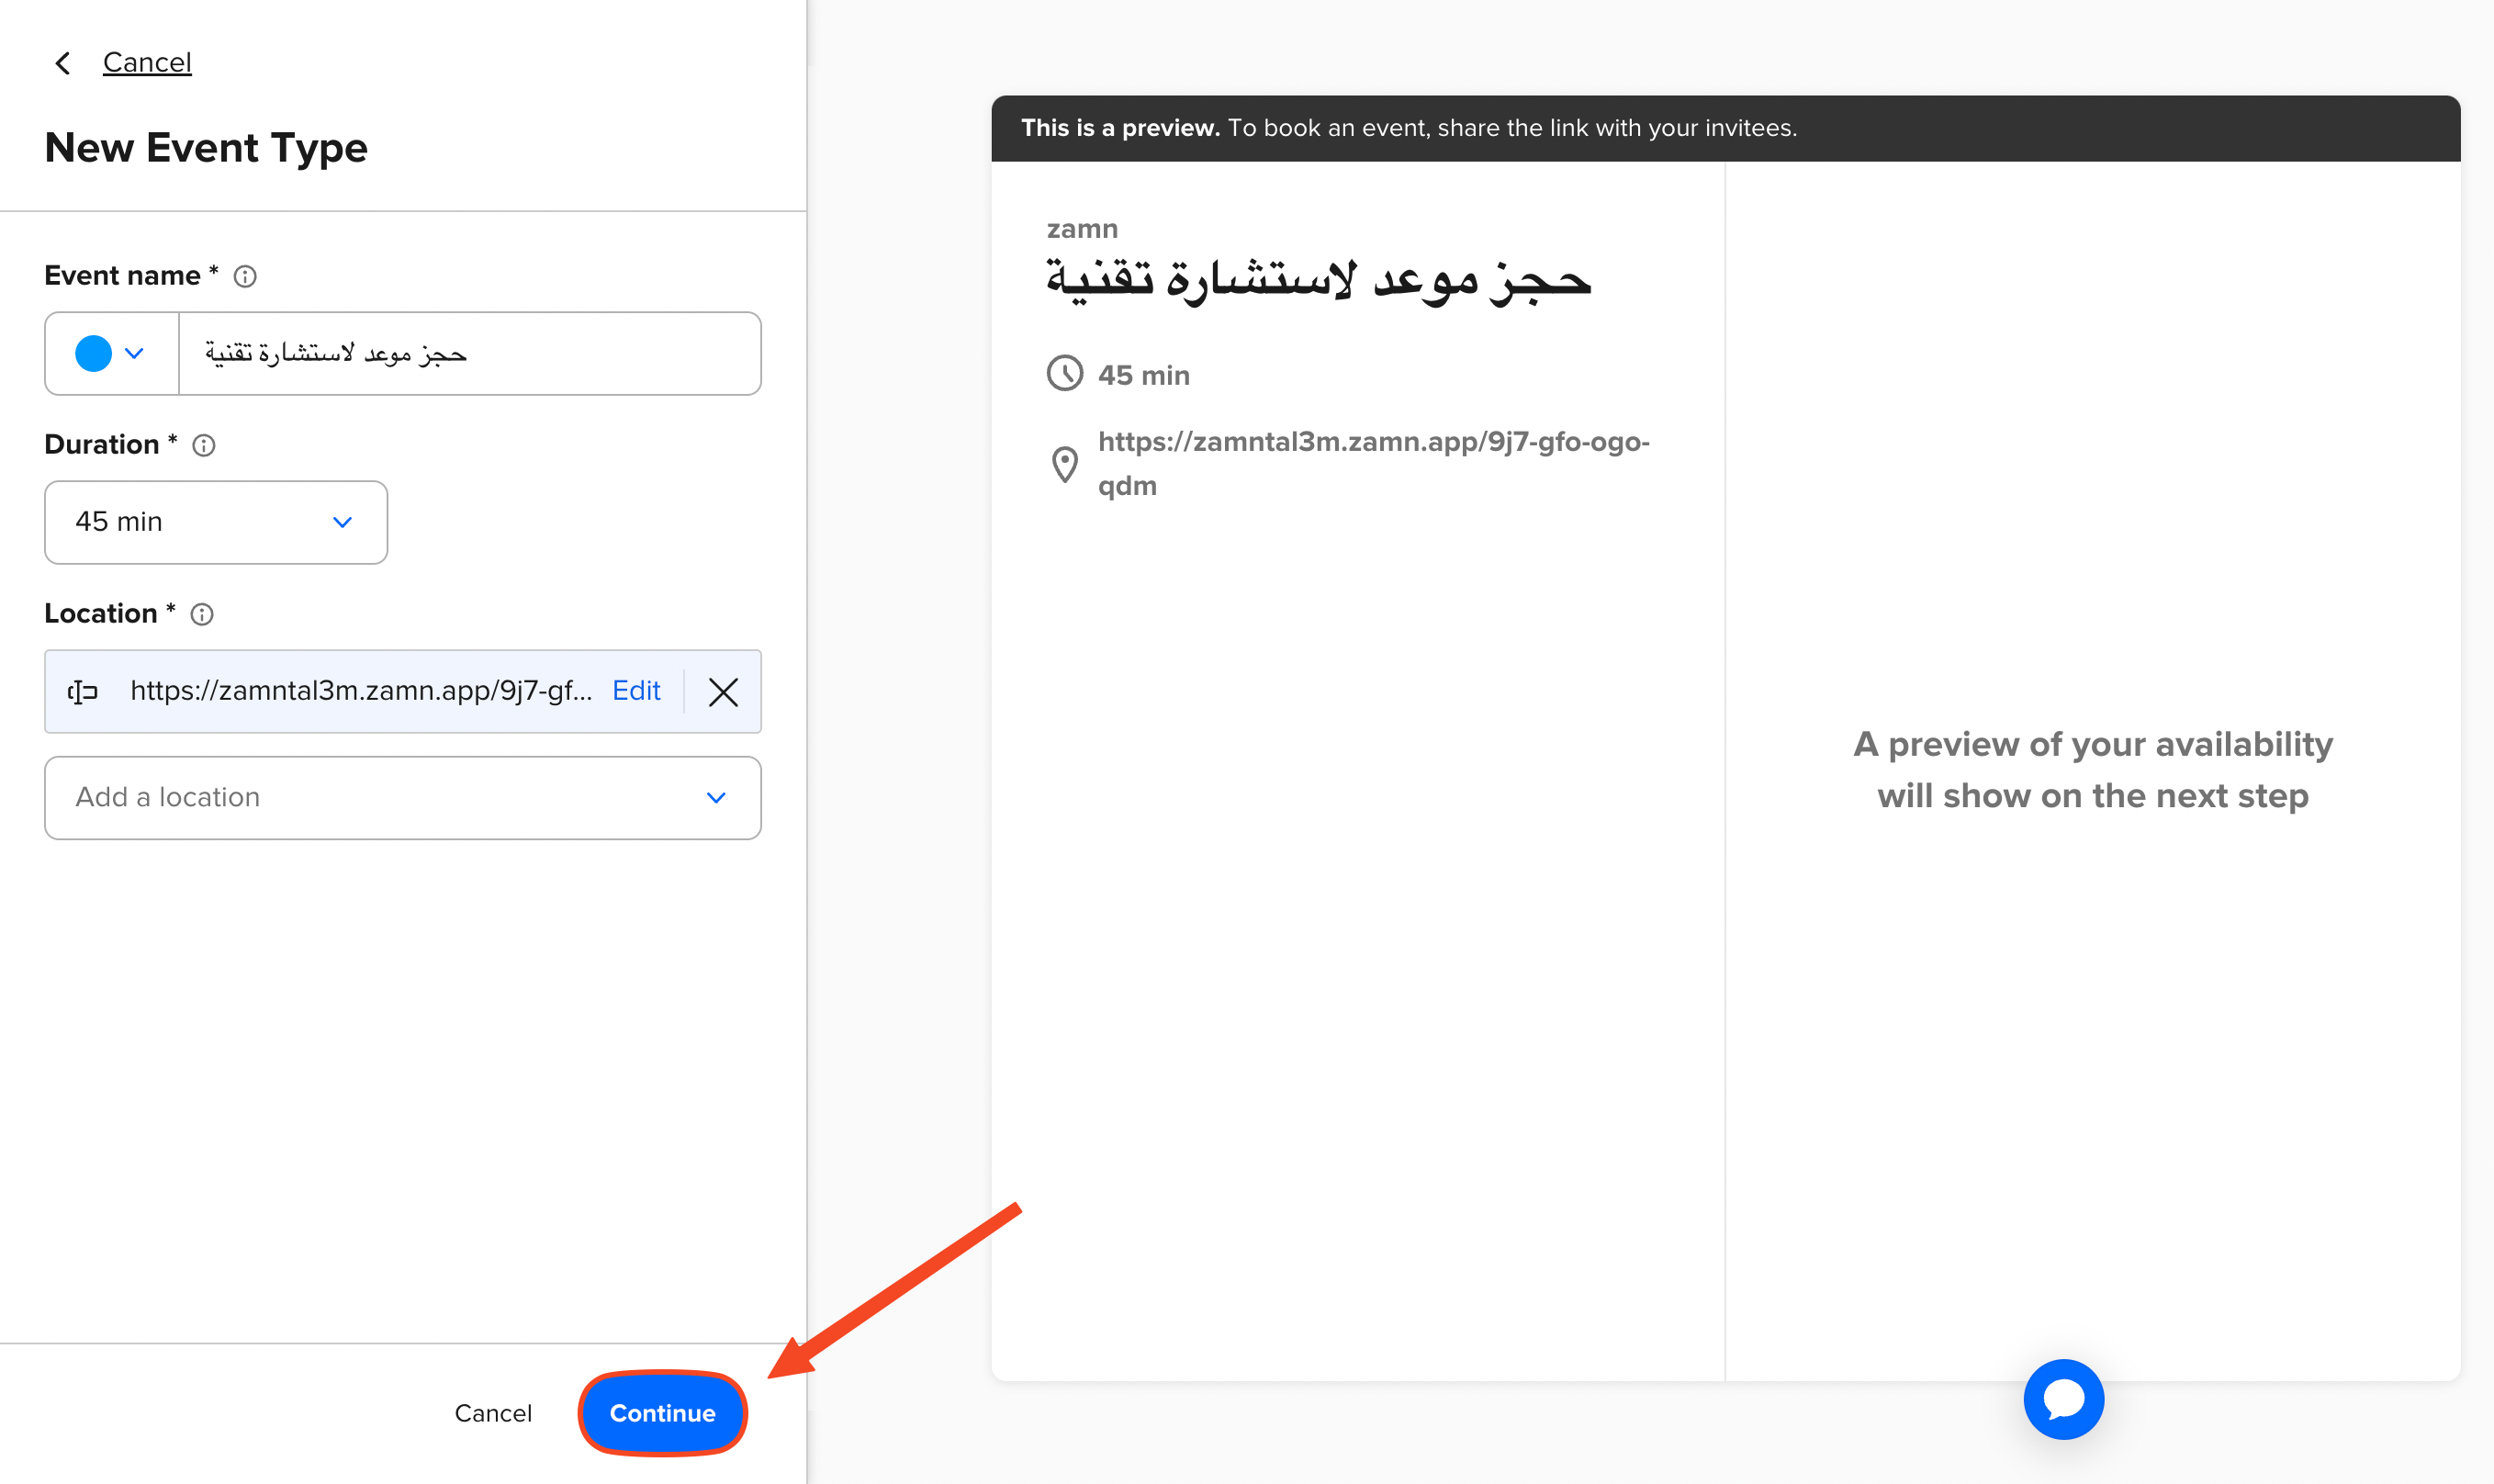
Type a name for the event.
-
Set the length of the session.
-
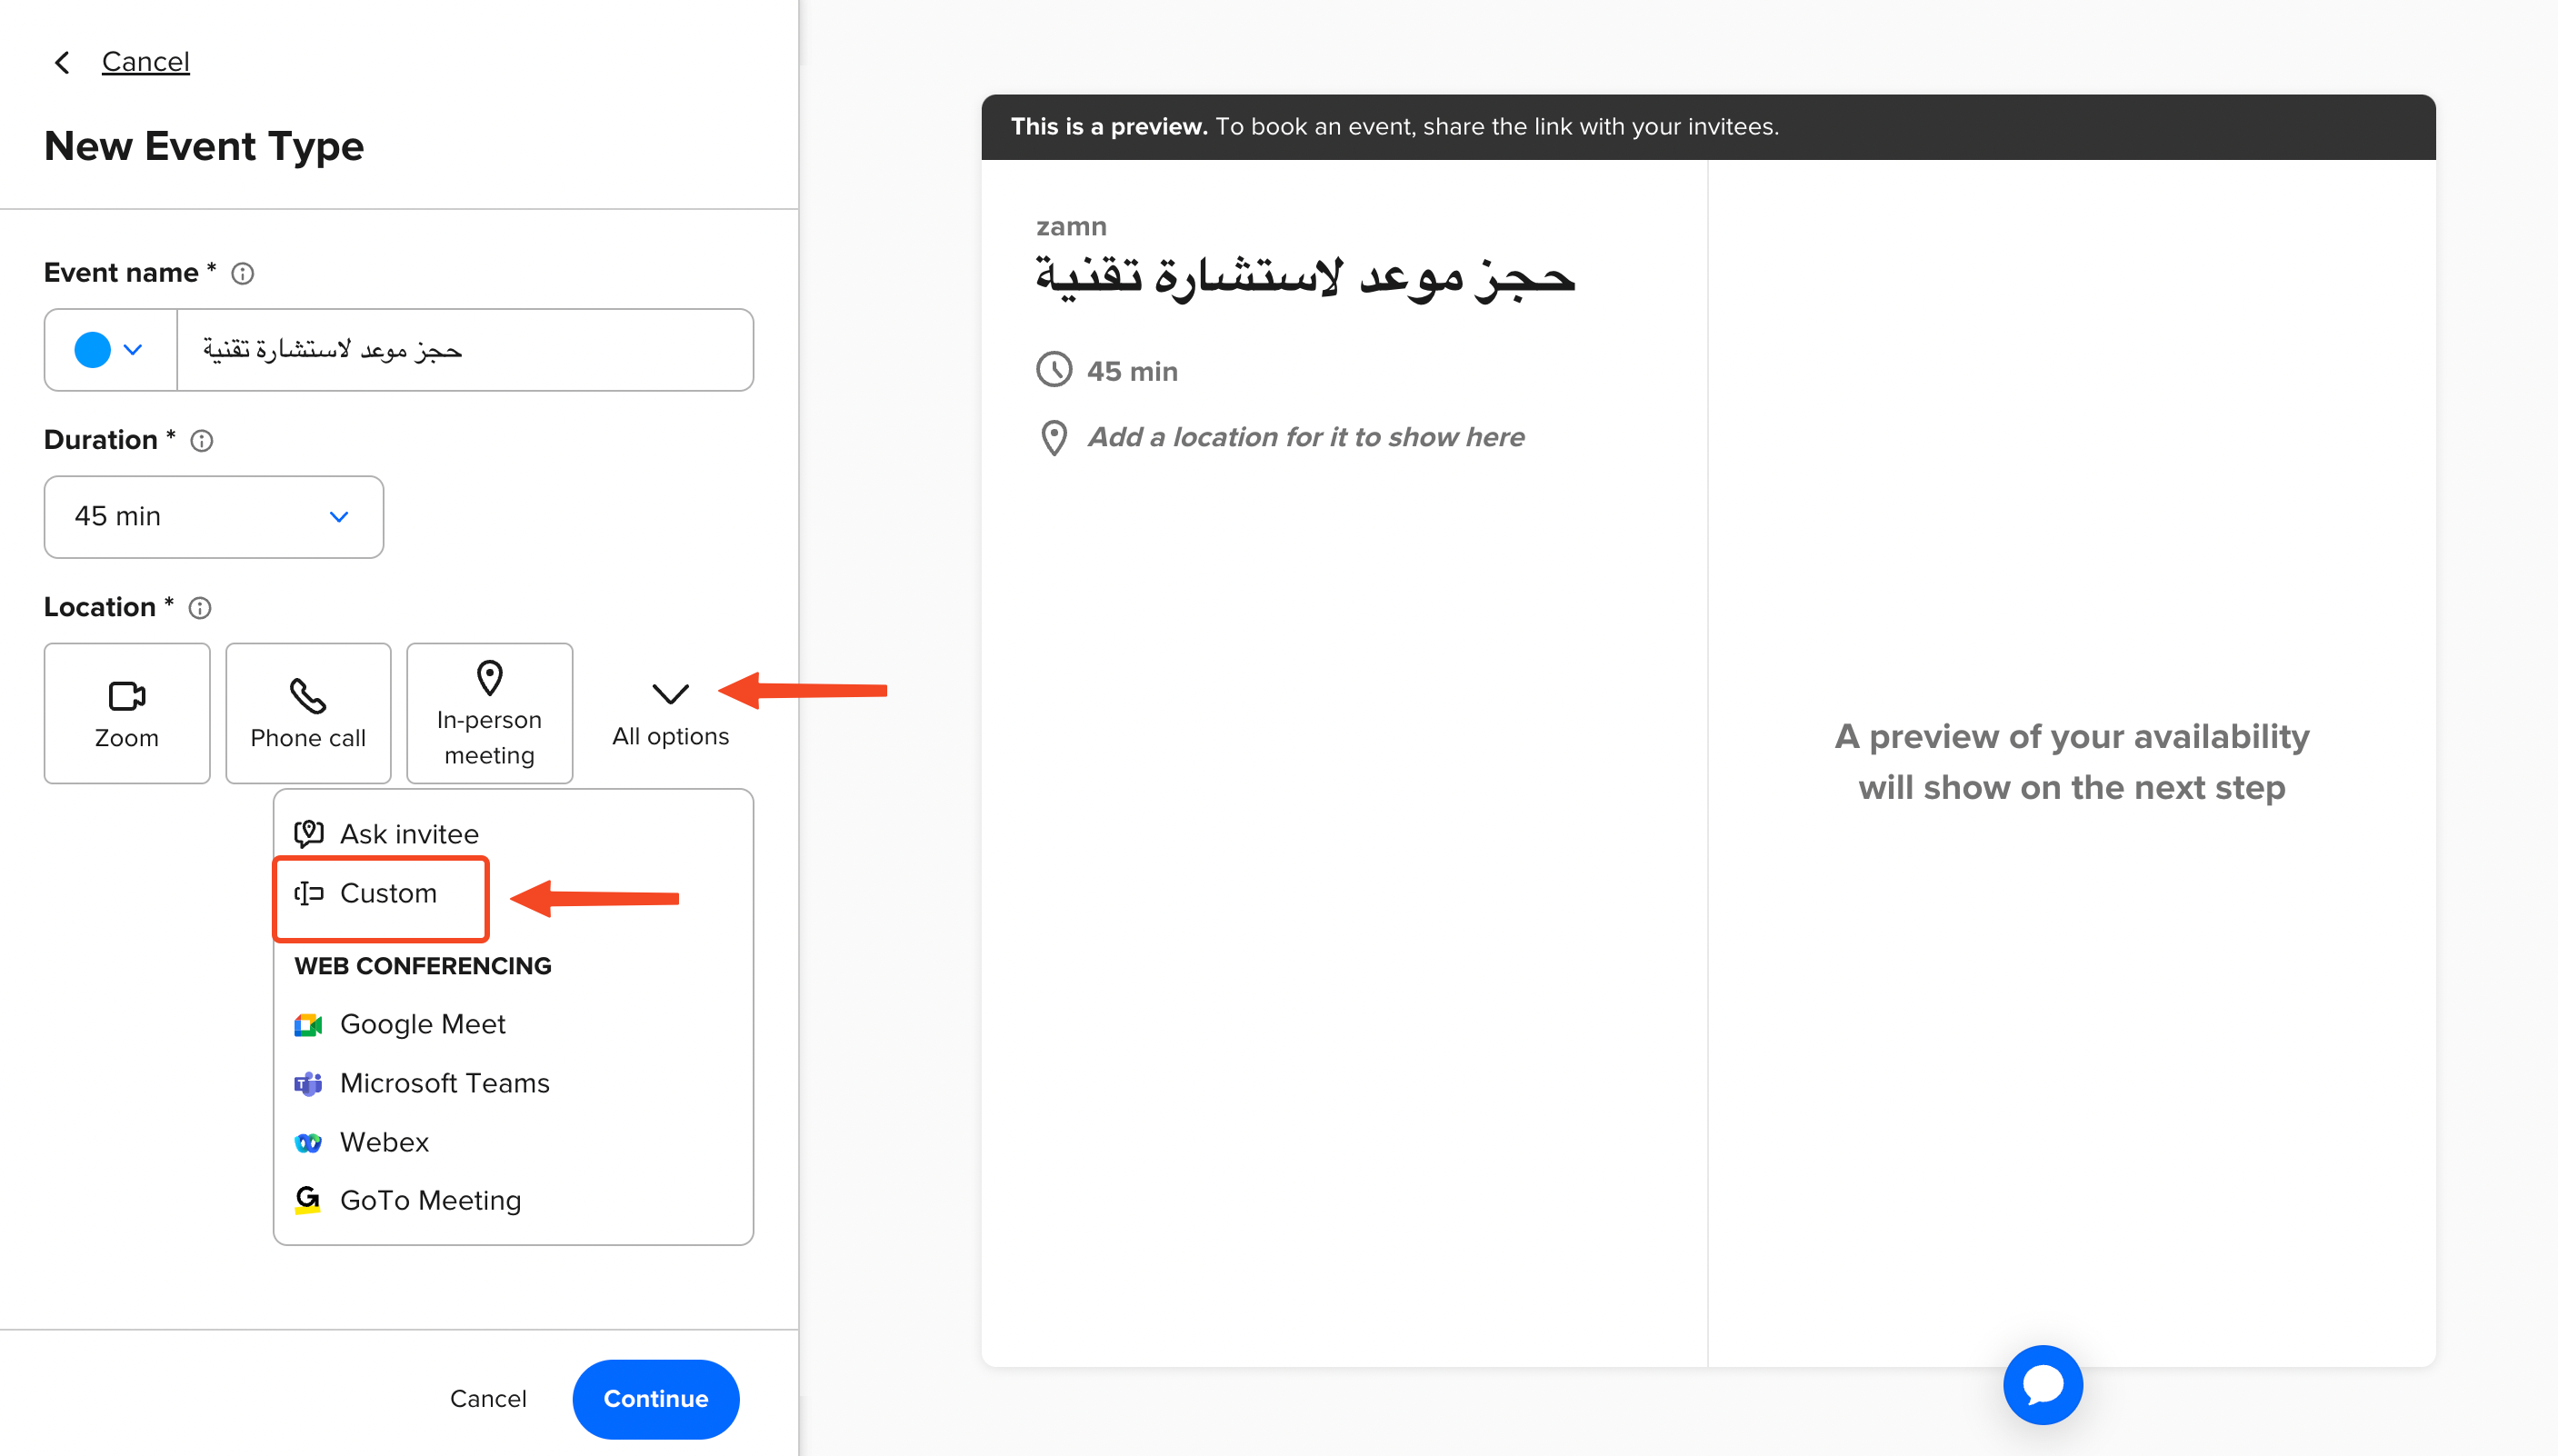
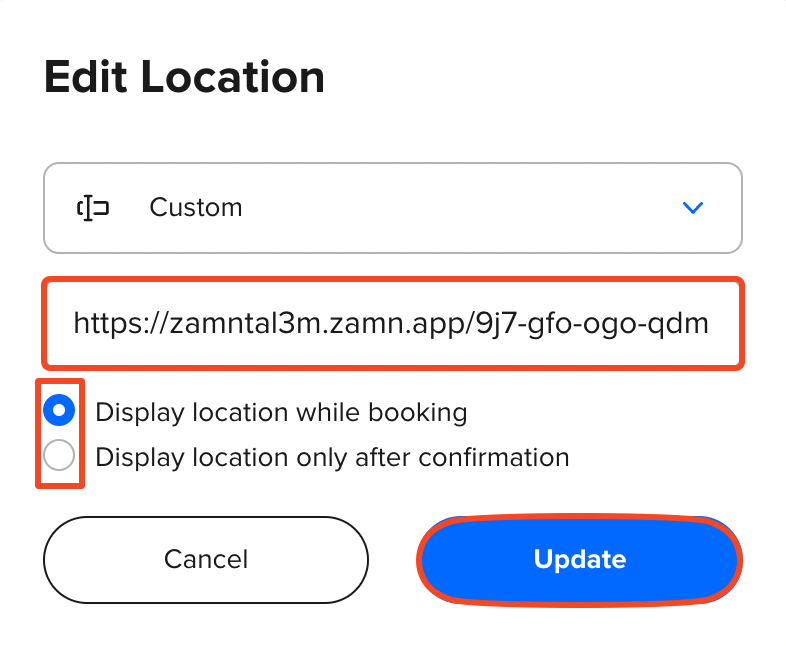
Click All options, then choose Custom.
-
Enter the meeting link (for example, a room link from your Zamn platform). You can also choose when the link shows: while booking, or only after the booking is confirmed.
-
Click Update to continue.
-
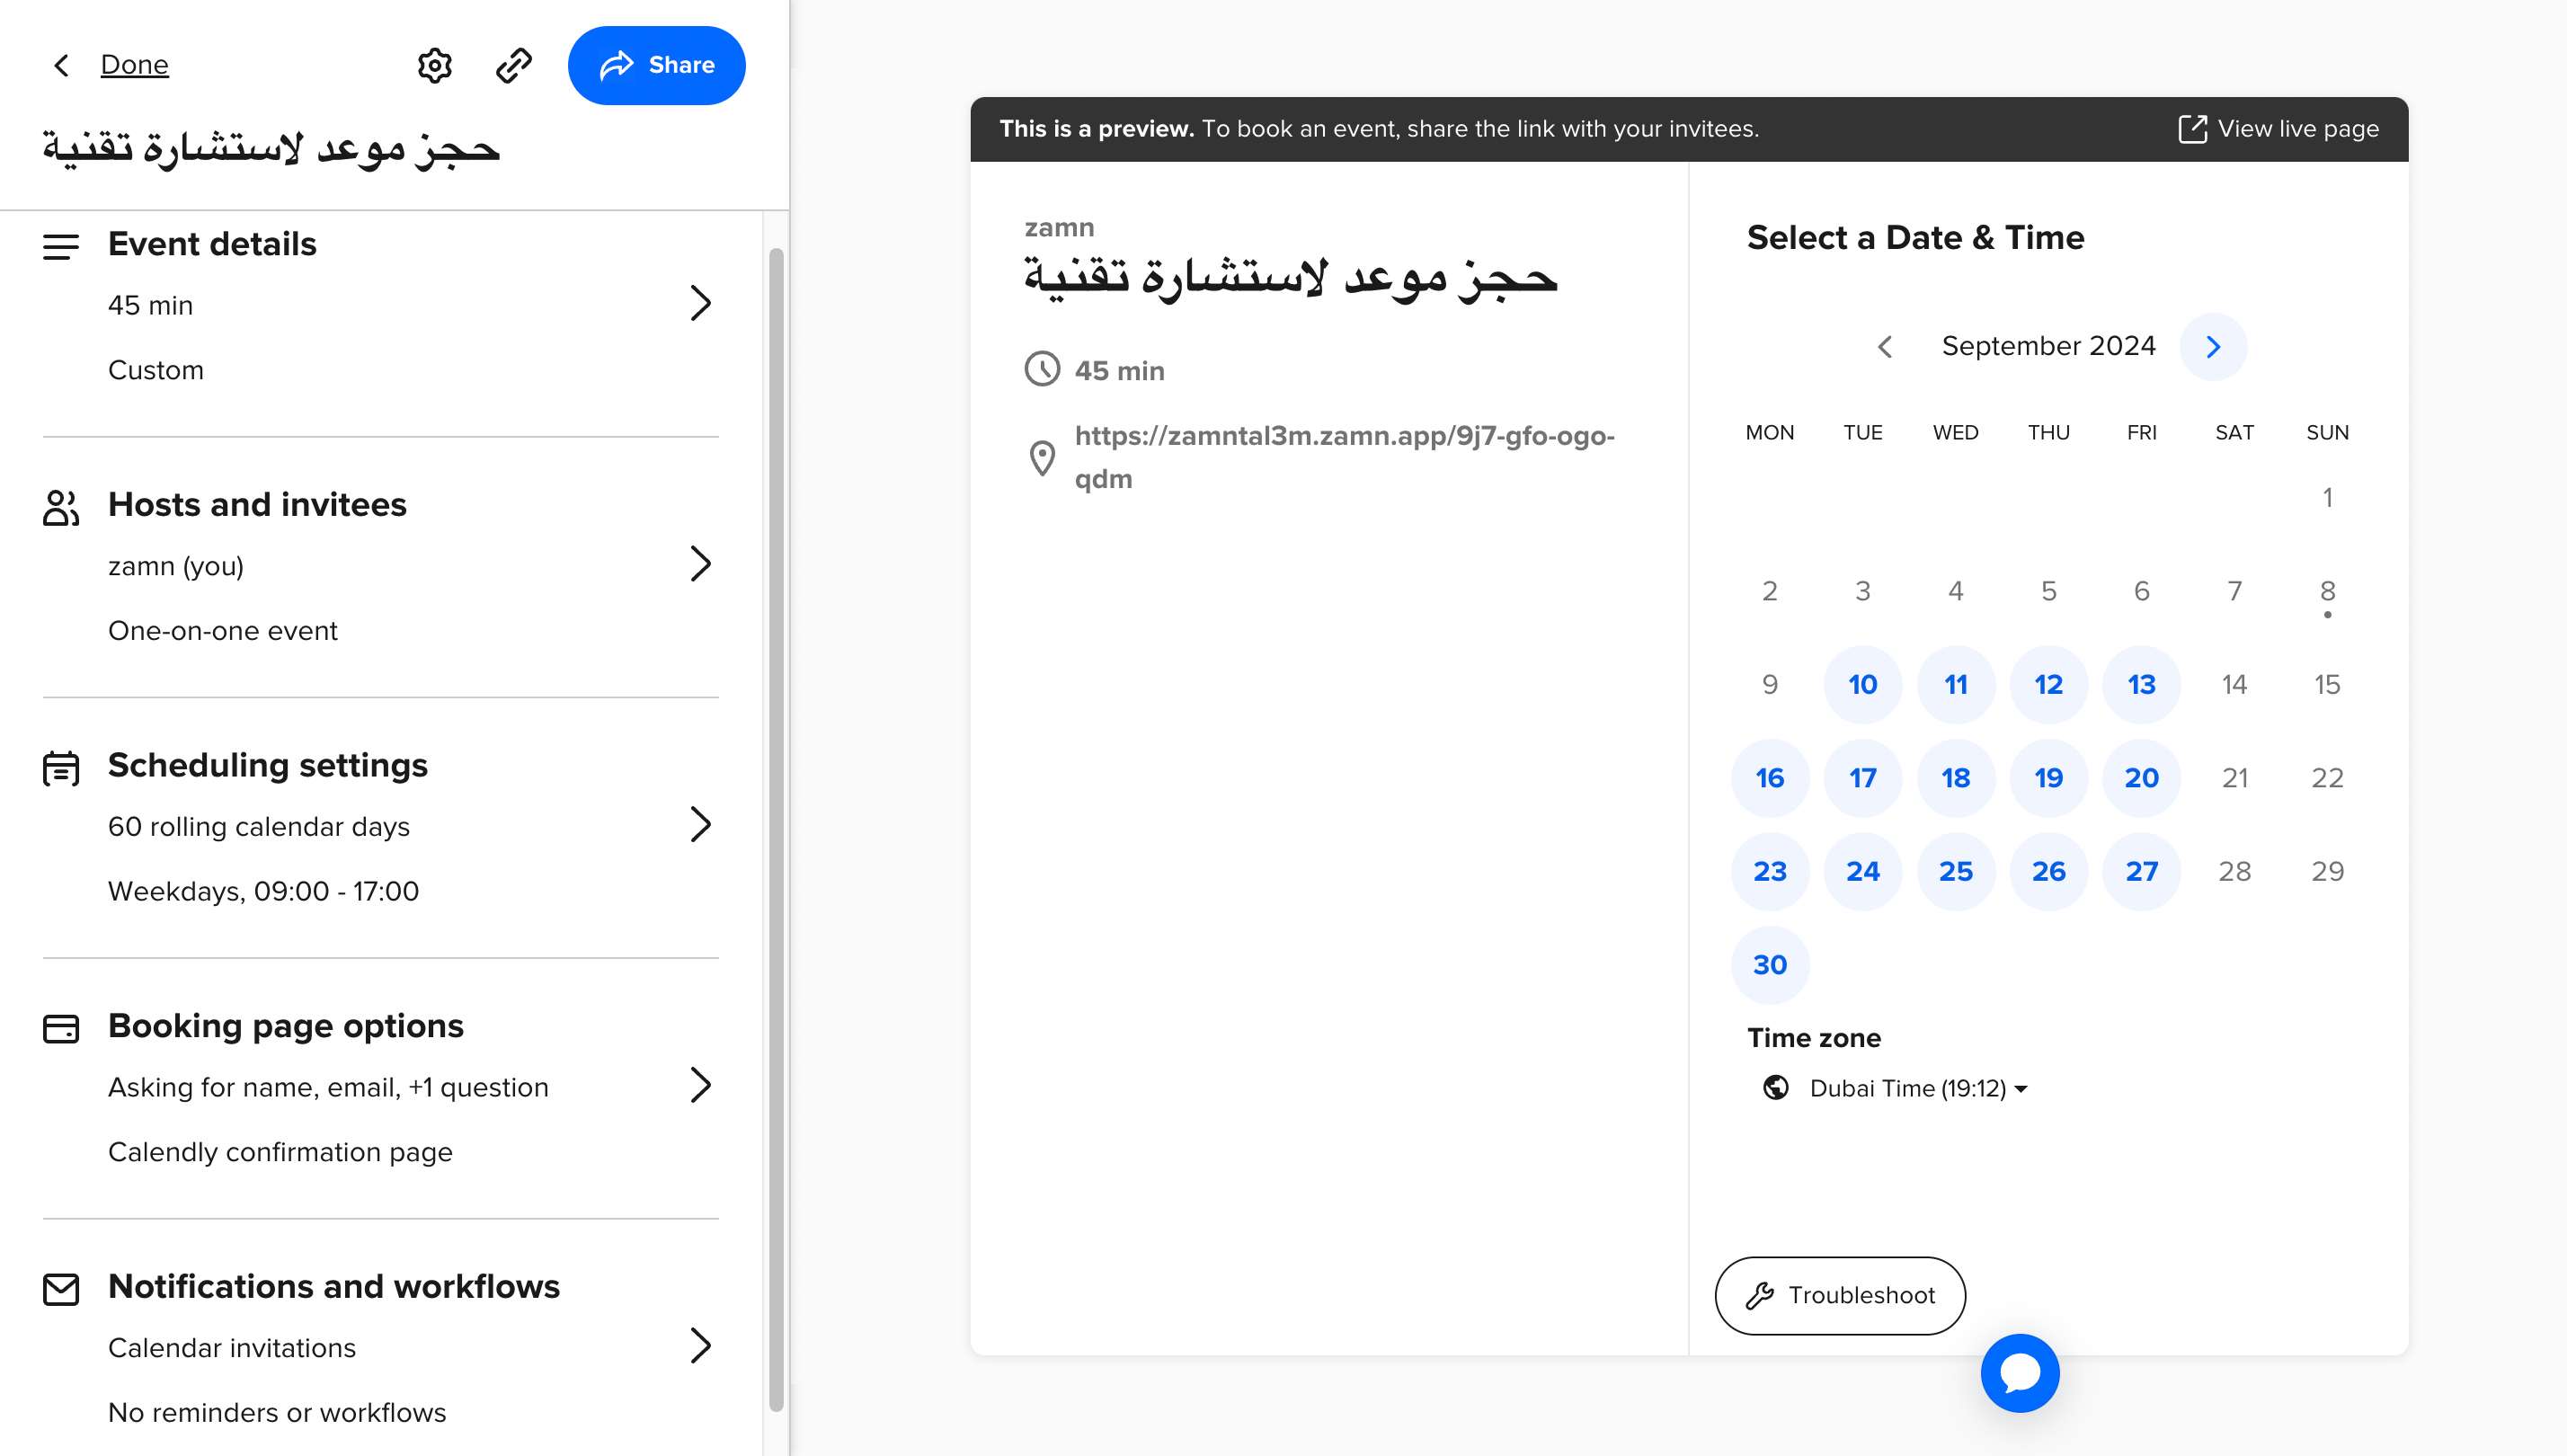
Click Continue to save and create the event.
Steps to create the consultation in Zamn
-
Go to the Consultations page in the dashboard, then click Create New Consultation.
-
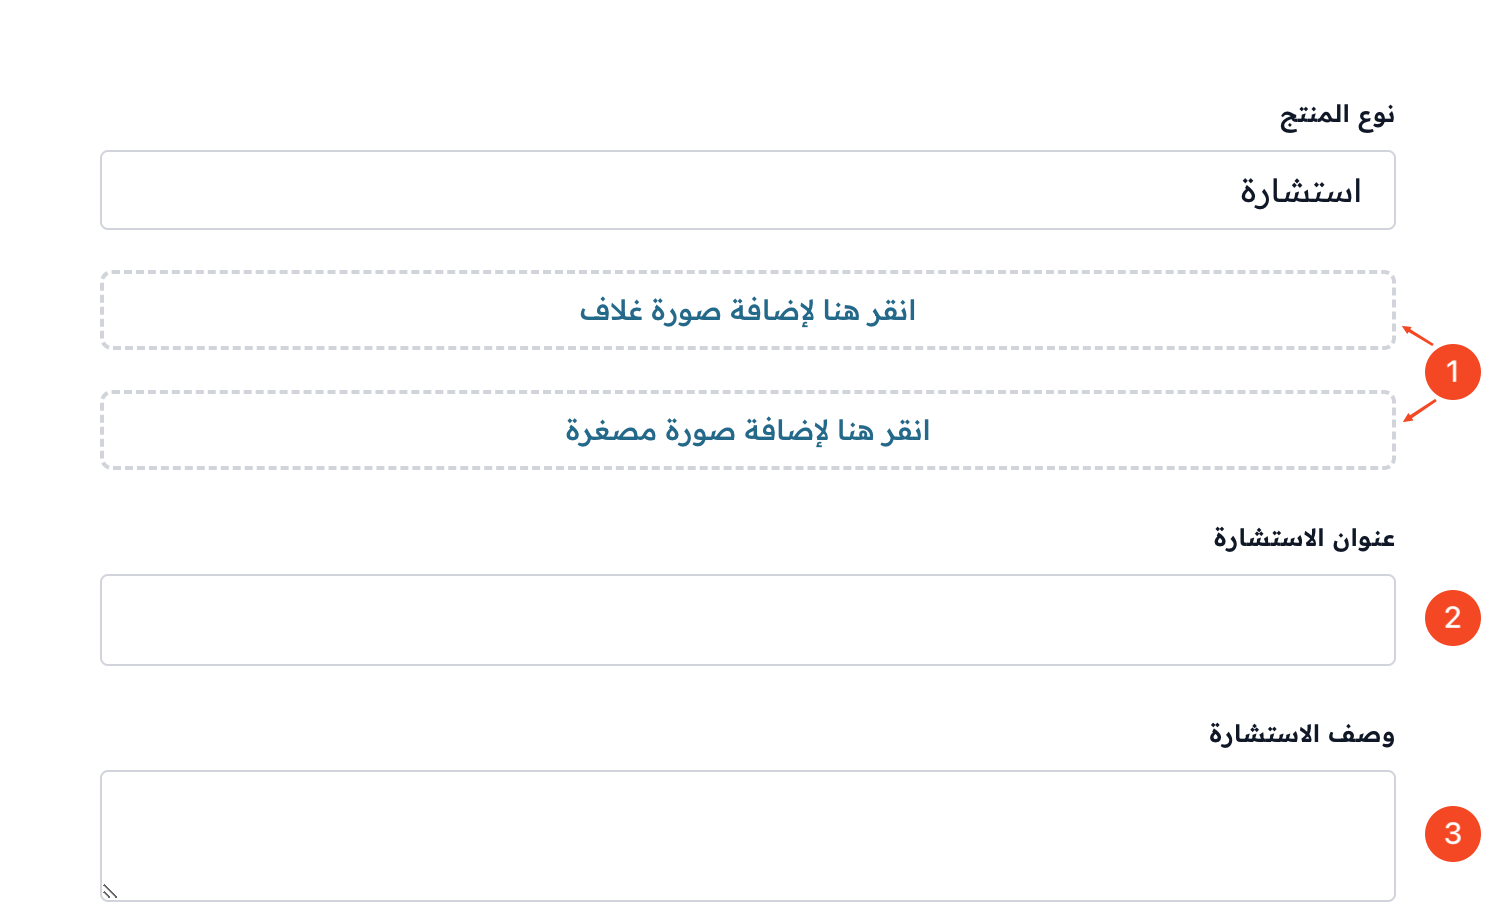
Add a cover image and a thumbnail image for the consultation.
-
Type the consultation Title.
-
Type the consultation Description.
-
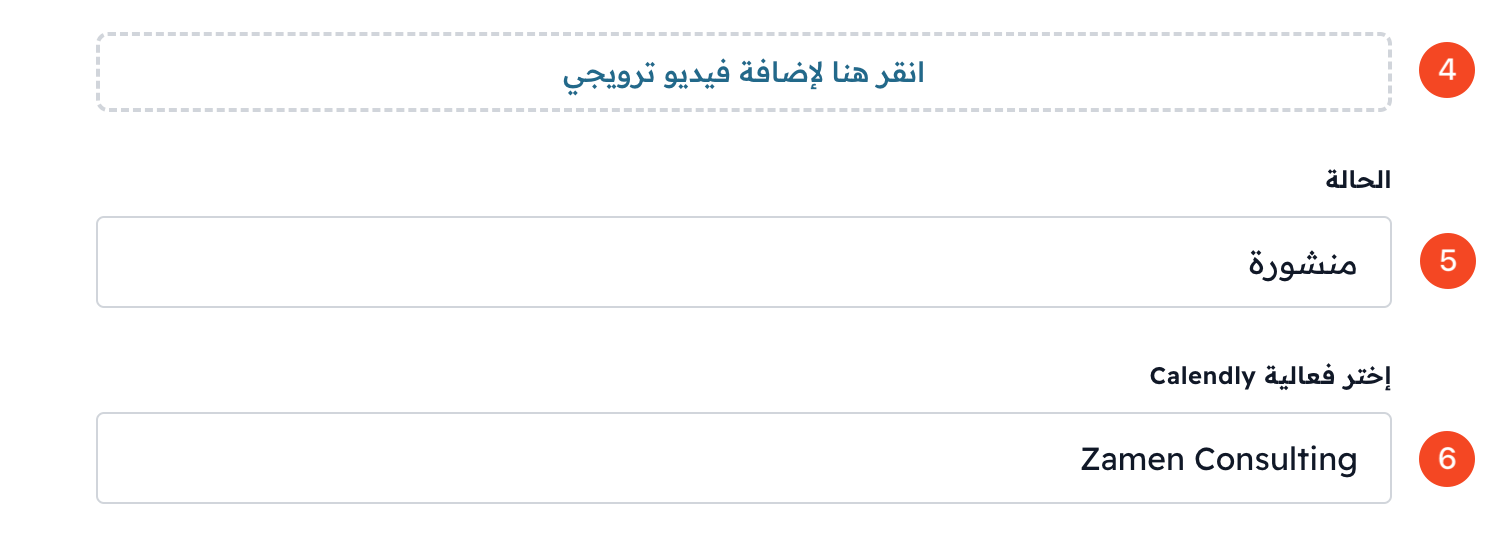
You can add a promo video for the consultation.
-
Set the status to Published.
-
In Booking Type, choose Calendly Integration.
-
In Choose a Calendly Event, choose the event you created in Calendly.
-
Click Create to save the consultation.
If you want to use the built-in booking system instead of Calendly, choose Native Booking System (Beta) in Booking Type. You can find the details in the built-in booking system article.
Make the consultation paid
A new consultation is free. To set a price for it:
-
On the Consultations page, click the ⋯ (Actions) button at the end of the consultation row.
-
Click Convert to Product.
NoteConvert to Product works only when the consultation status is Published. Until then, it is greyed out with the words Publish the consultation first.
-
Enter the Price.
-
You can add the Price before reduction.
-
Click Submit.
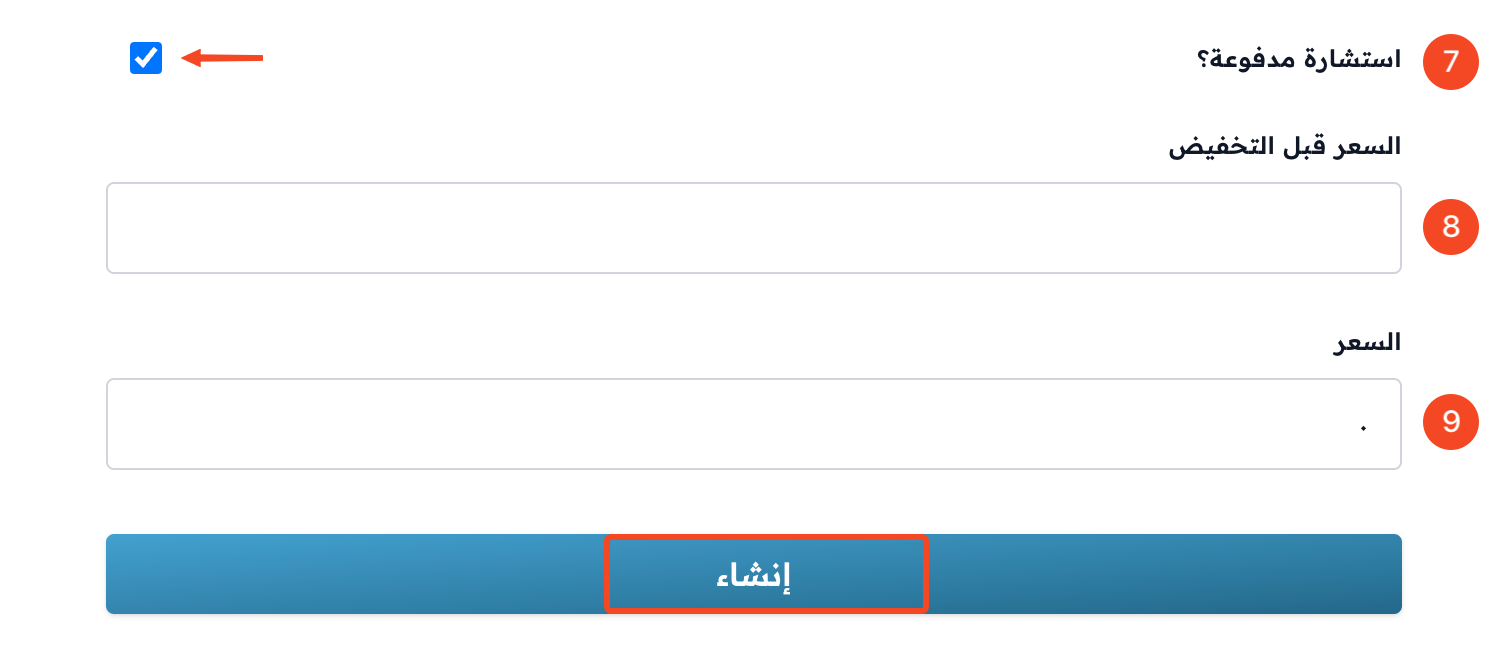
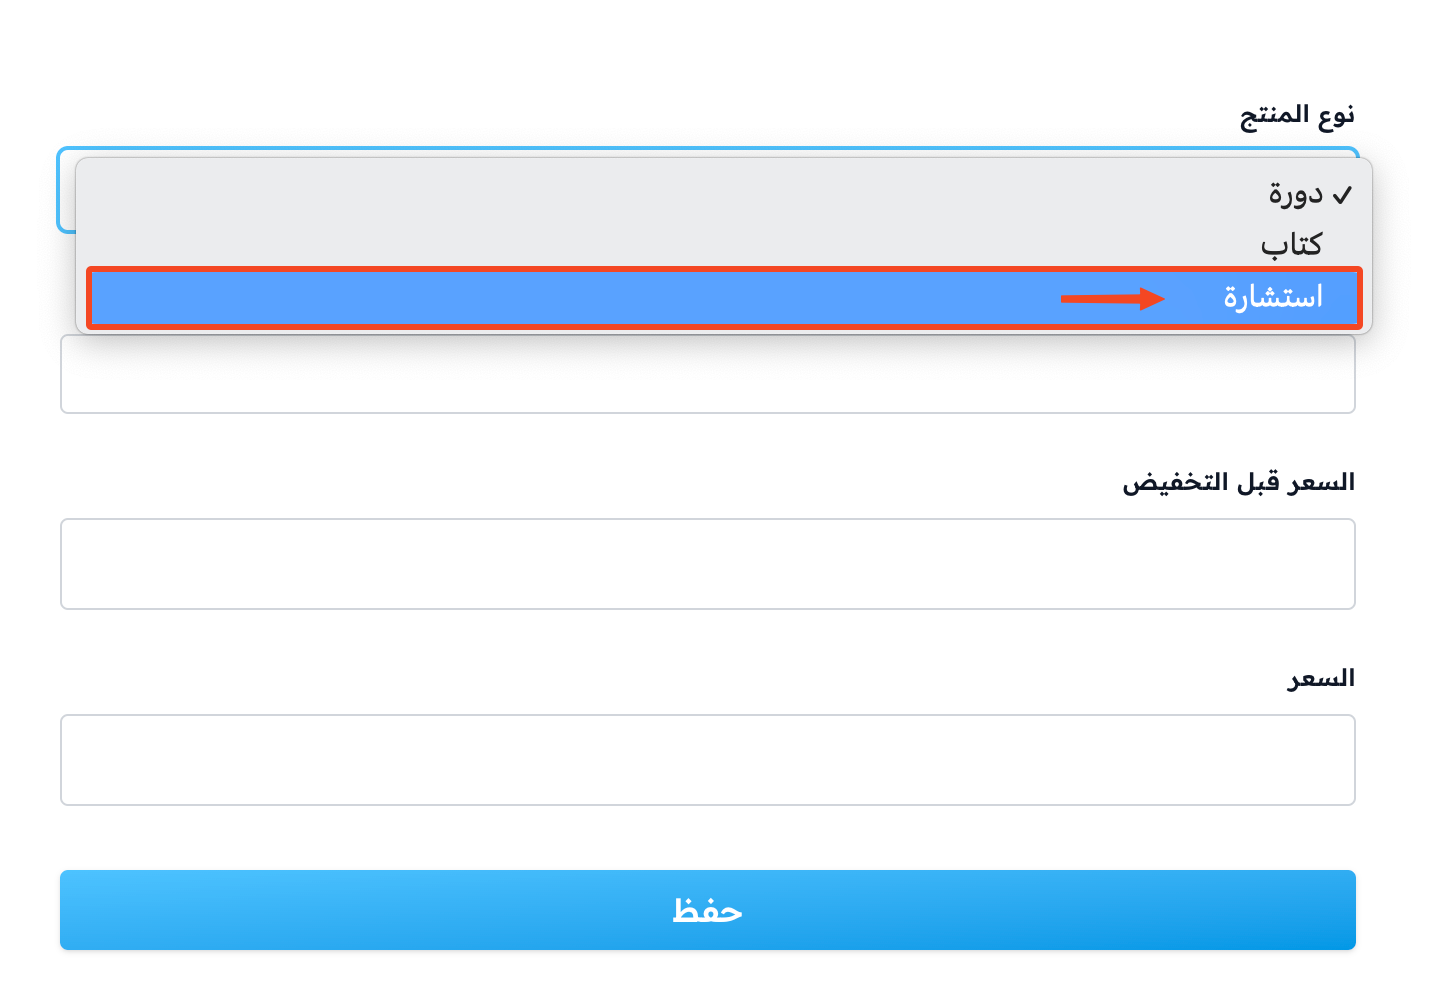
You can also set the price from the Products page in the Product Management menu: click Create Product, choose the Consultation product type, then pick the consultation in the Product field.

How does a student book a consultation?
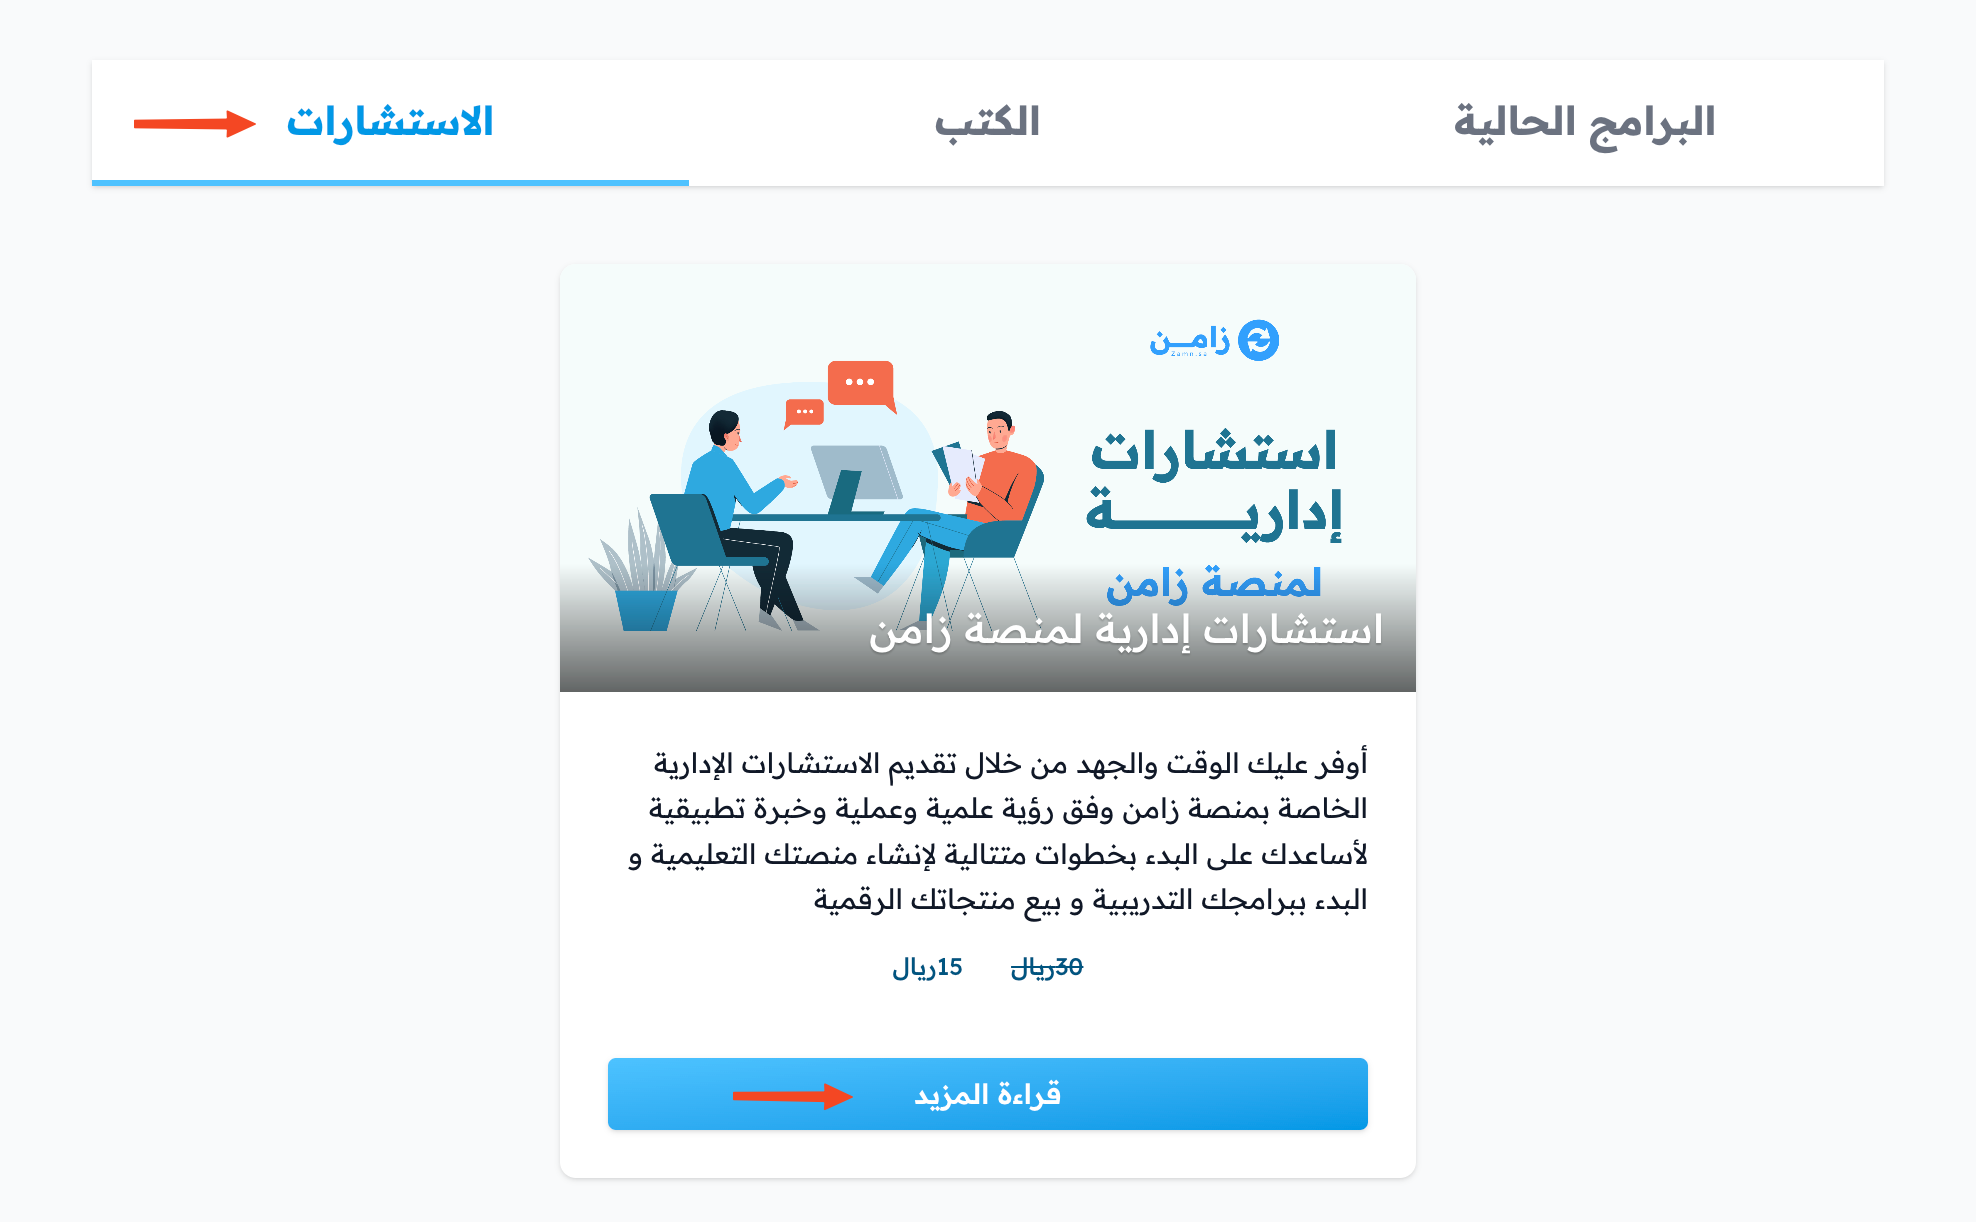
The consultation shows on your platform home page, in the Consultations section.
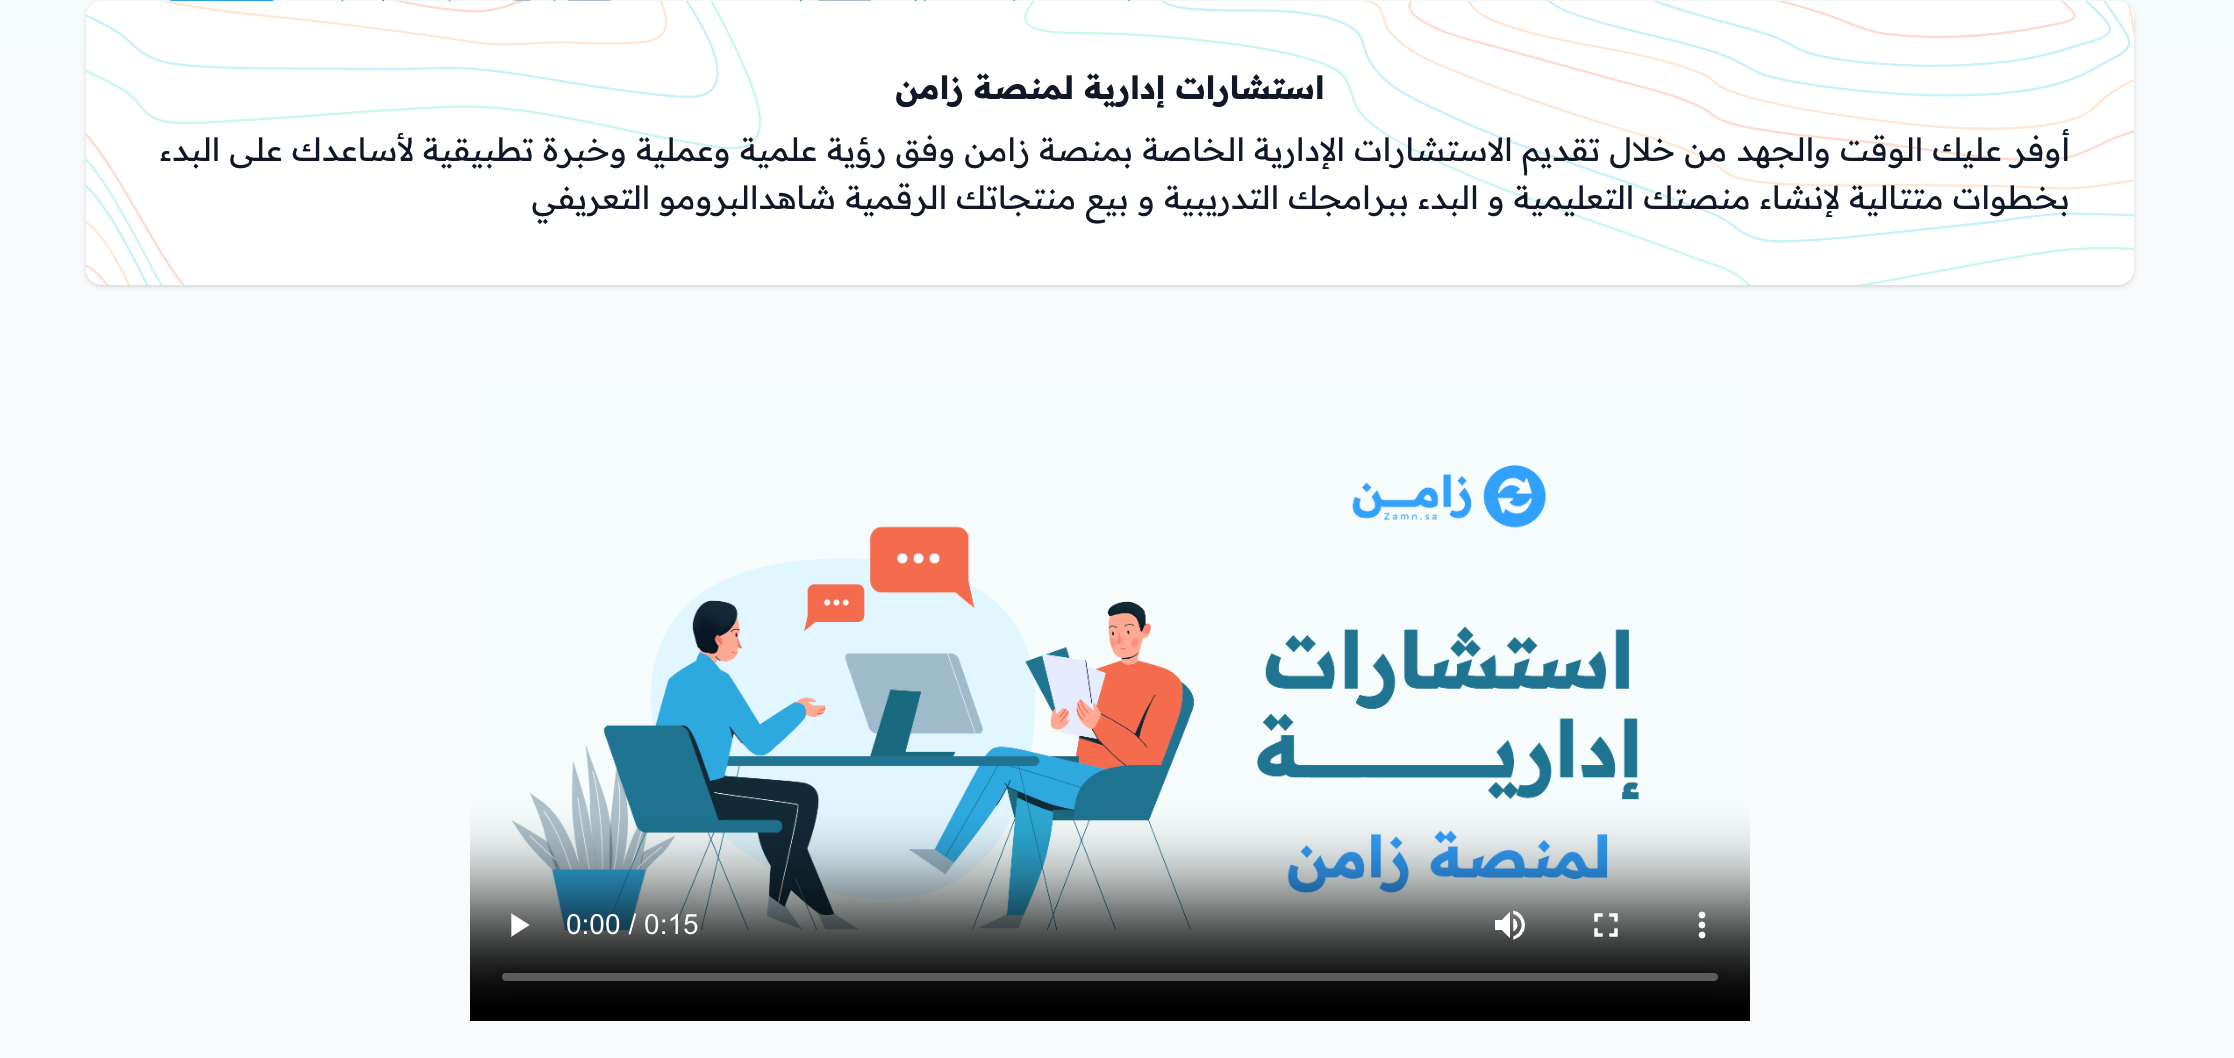
When students click Learn more, they see the promo video and the calendar, so they can book a consultation.
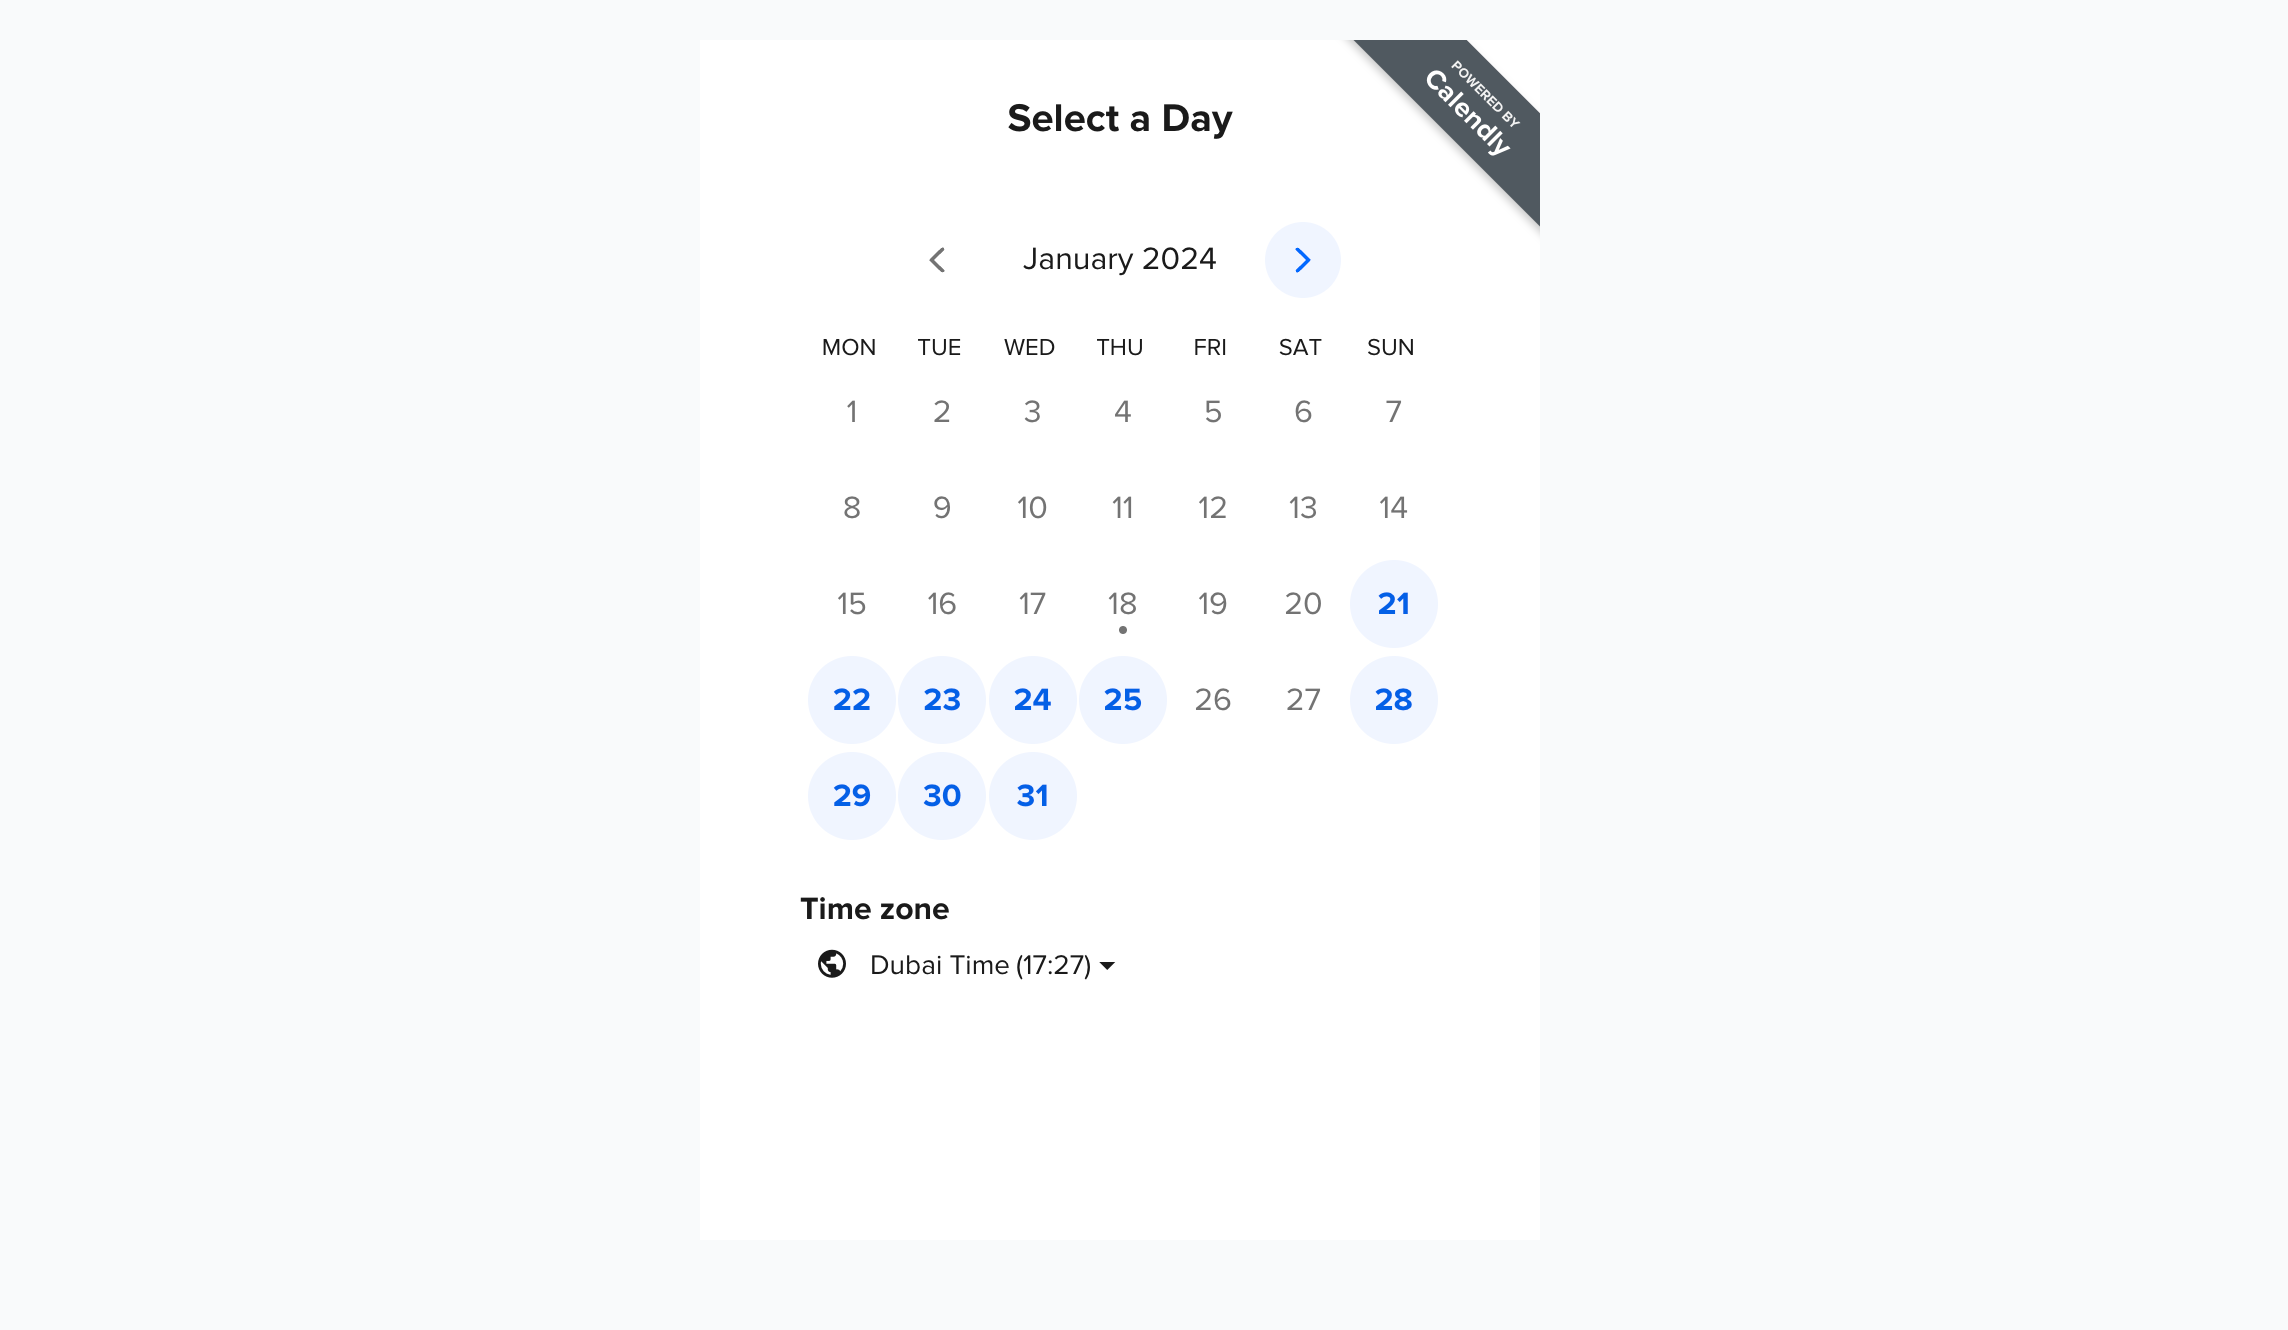
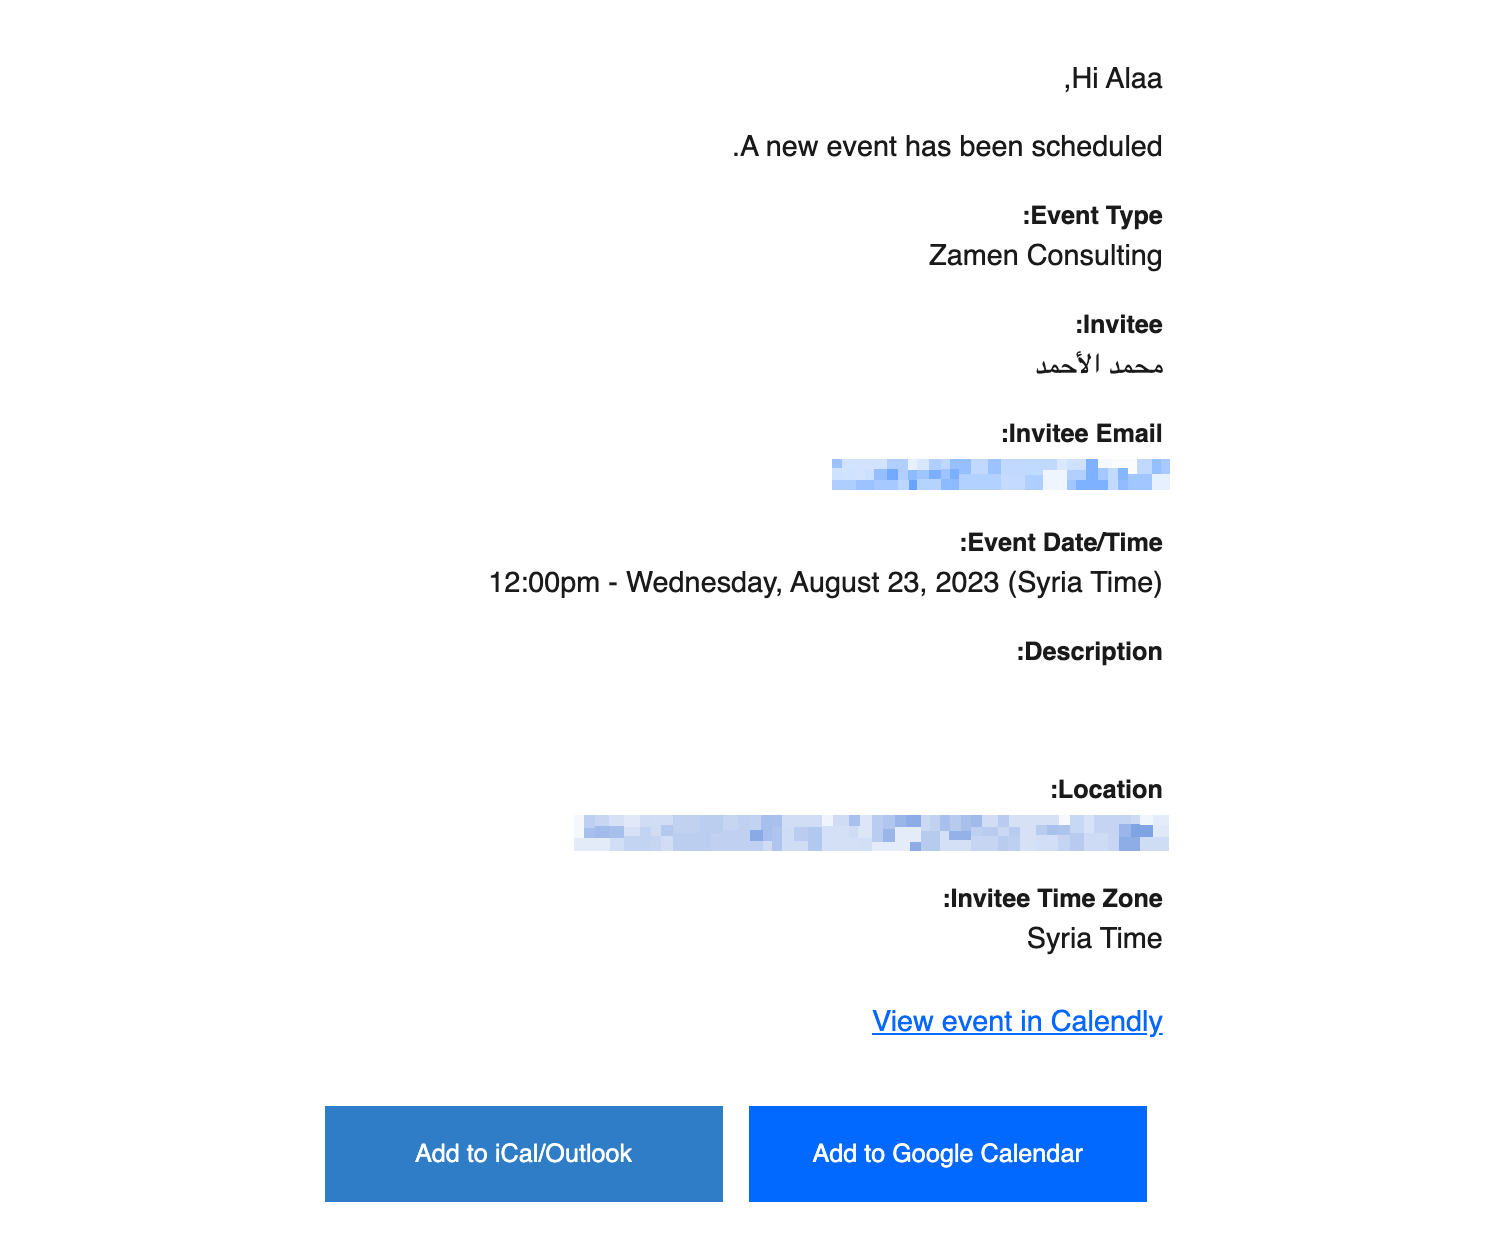
When a student books a consultation, an email is sent to the email address you used to create your Calendly account.
You can also see all scheduled bookings and their details on the Scheduled Events page of your Calendly account.
