Sell webinars
This article shows how to sell a paid webinar on your platform. The webinar is a virtual room that you add to a course, and then you sell that course as a product.
To run a paid webinar, follow these steps:
- Create a virtual room.
- Create a course.
- Add the room link to a target in the course.
- Add the course as a product.
1. Create a virtual room
-
From Virtual Classes in the dashboard, open the Rooms page and click Create room.

-
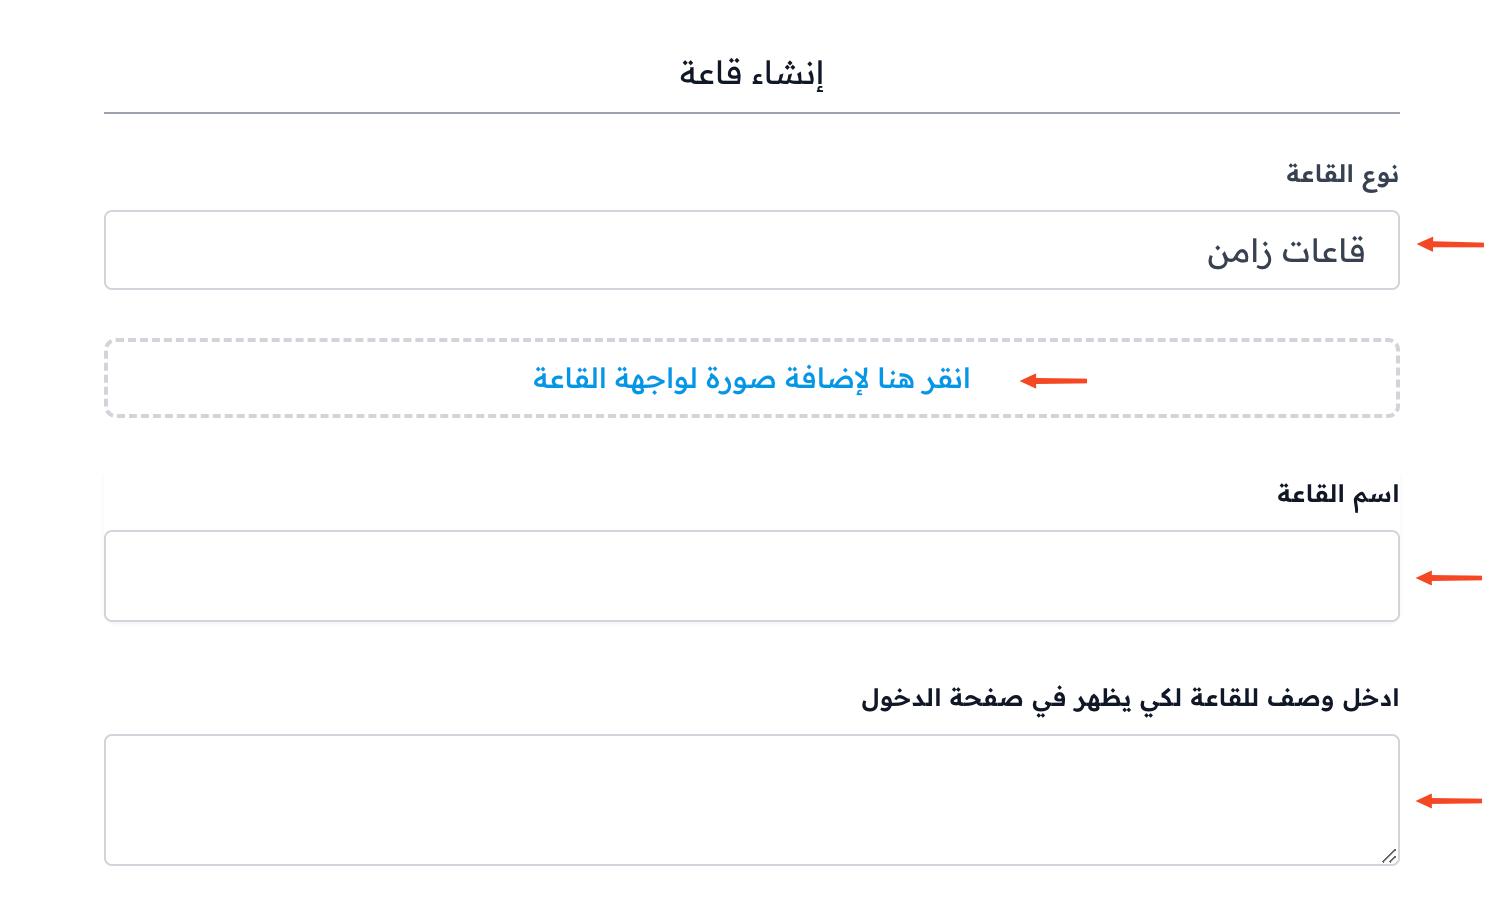
Enter the room details:
- Choose the Room Type.
- You can add an image that shows on the room's front page.
- Write the Room Name.
- Write a description for the room.
-
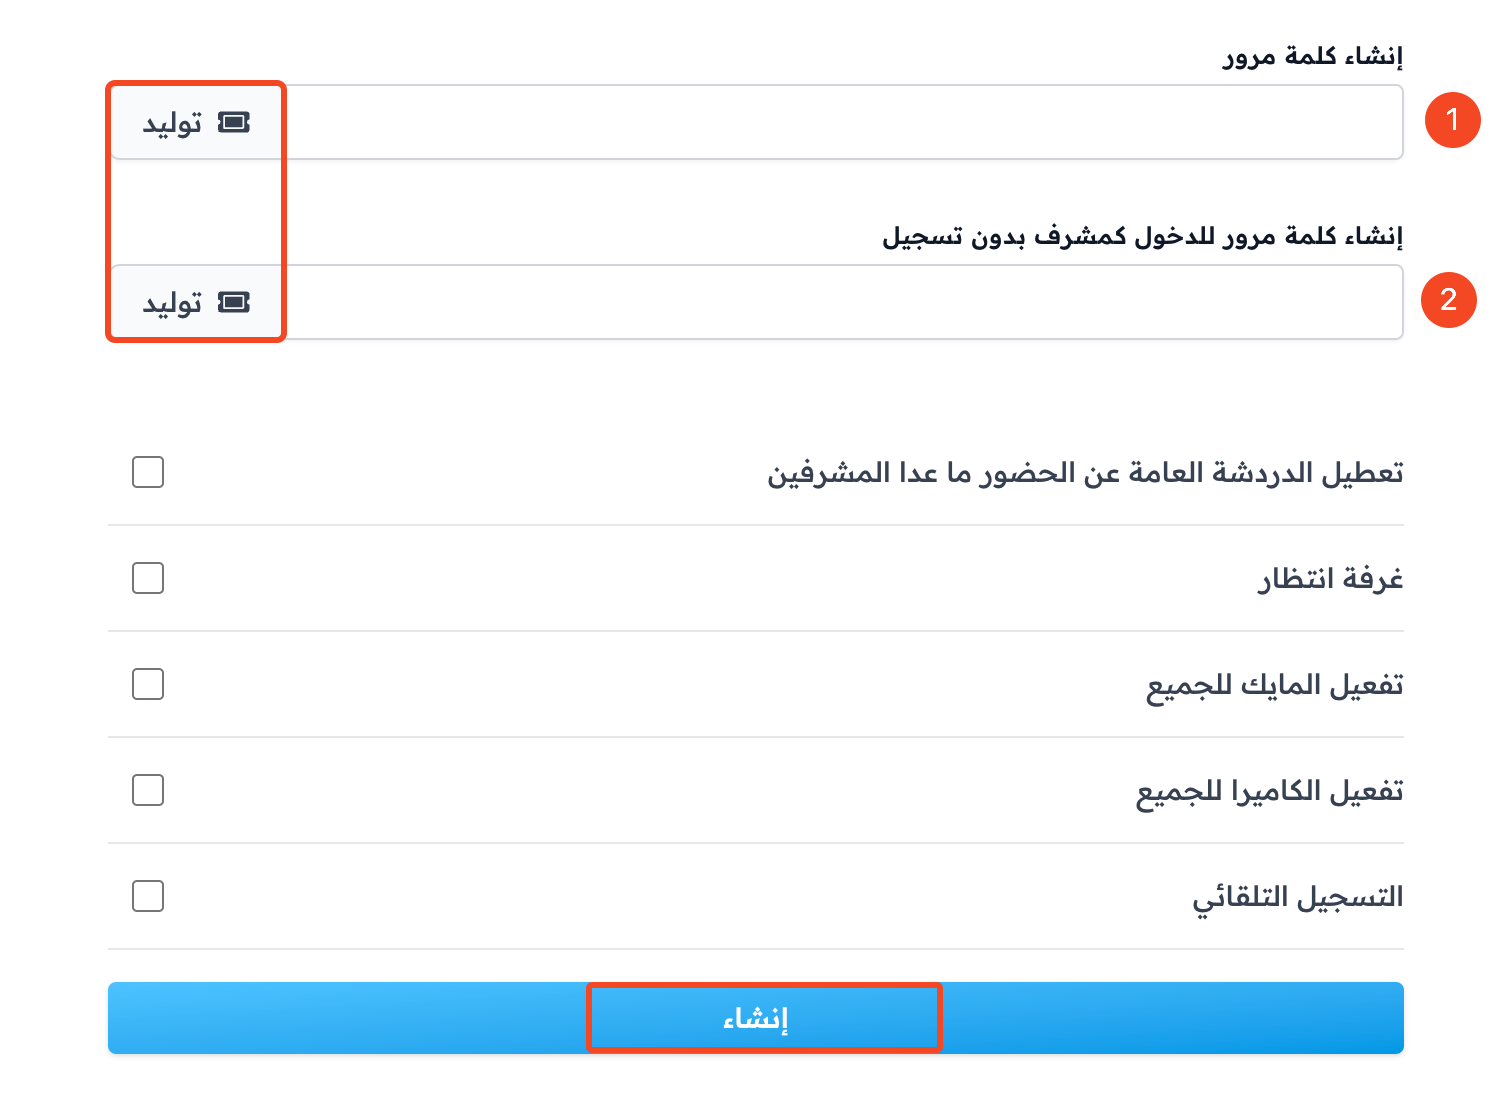
Choose the room settings:
- You can type passwords or create them with the Generate button:
- A password for students and attendees.
- A password for the room moderators.
- You can disable the public chat for attendees, except for moderators.
- You can turn on the Waiting Room, where attendees wait for a moderator to let them into the room.
- You can turn on the mic, the webcam, or both for everyone.
- You can turn on Auto recording, so recording starts as soon as you enter the room.
- You can type passwords or create them with the Generate button:
-
Click Create to save the room.
2. Create a course
-
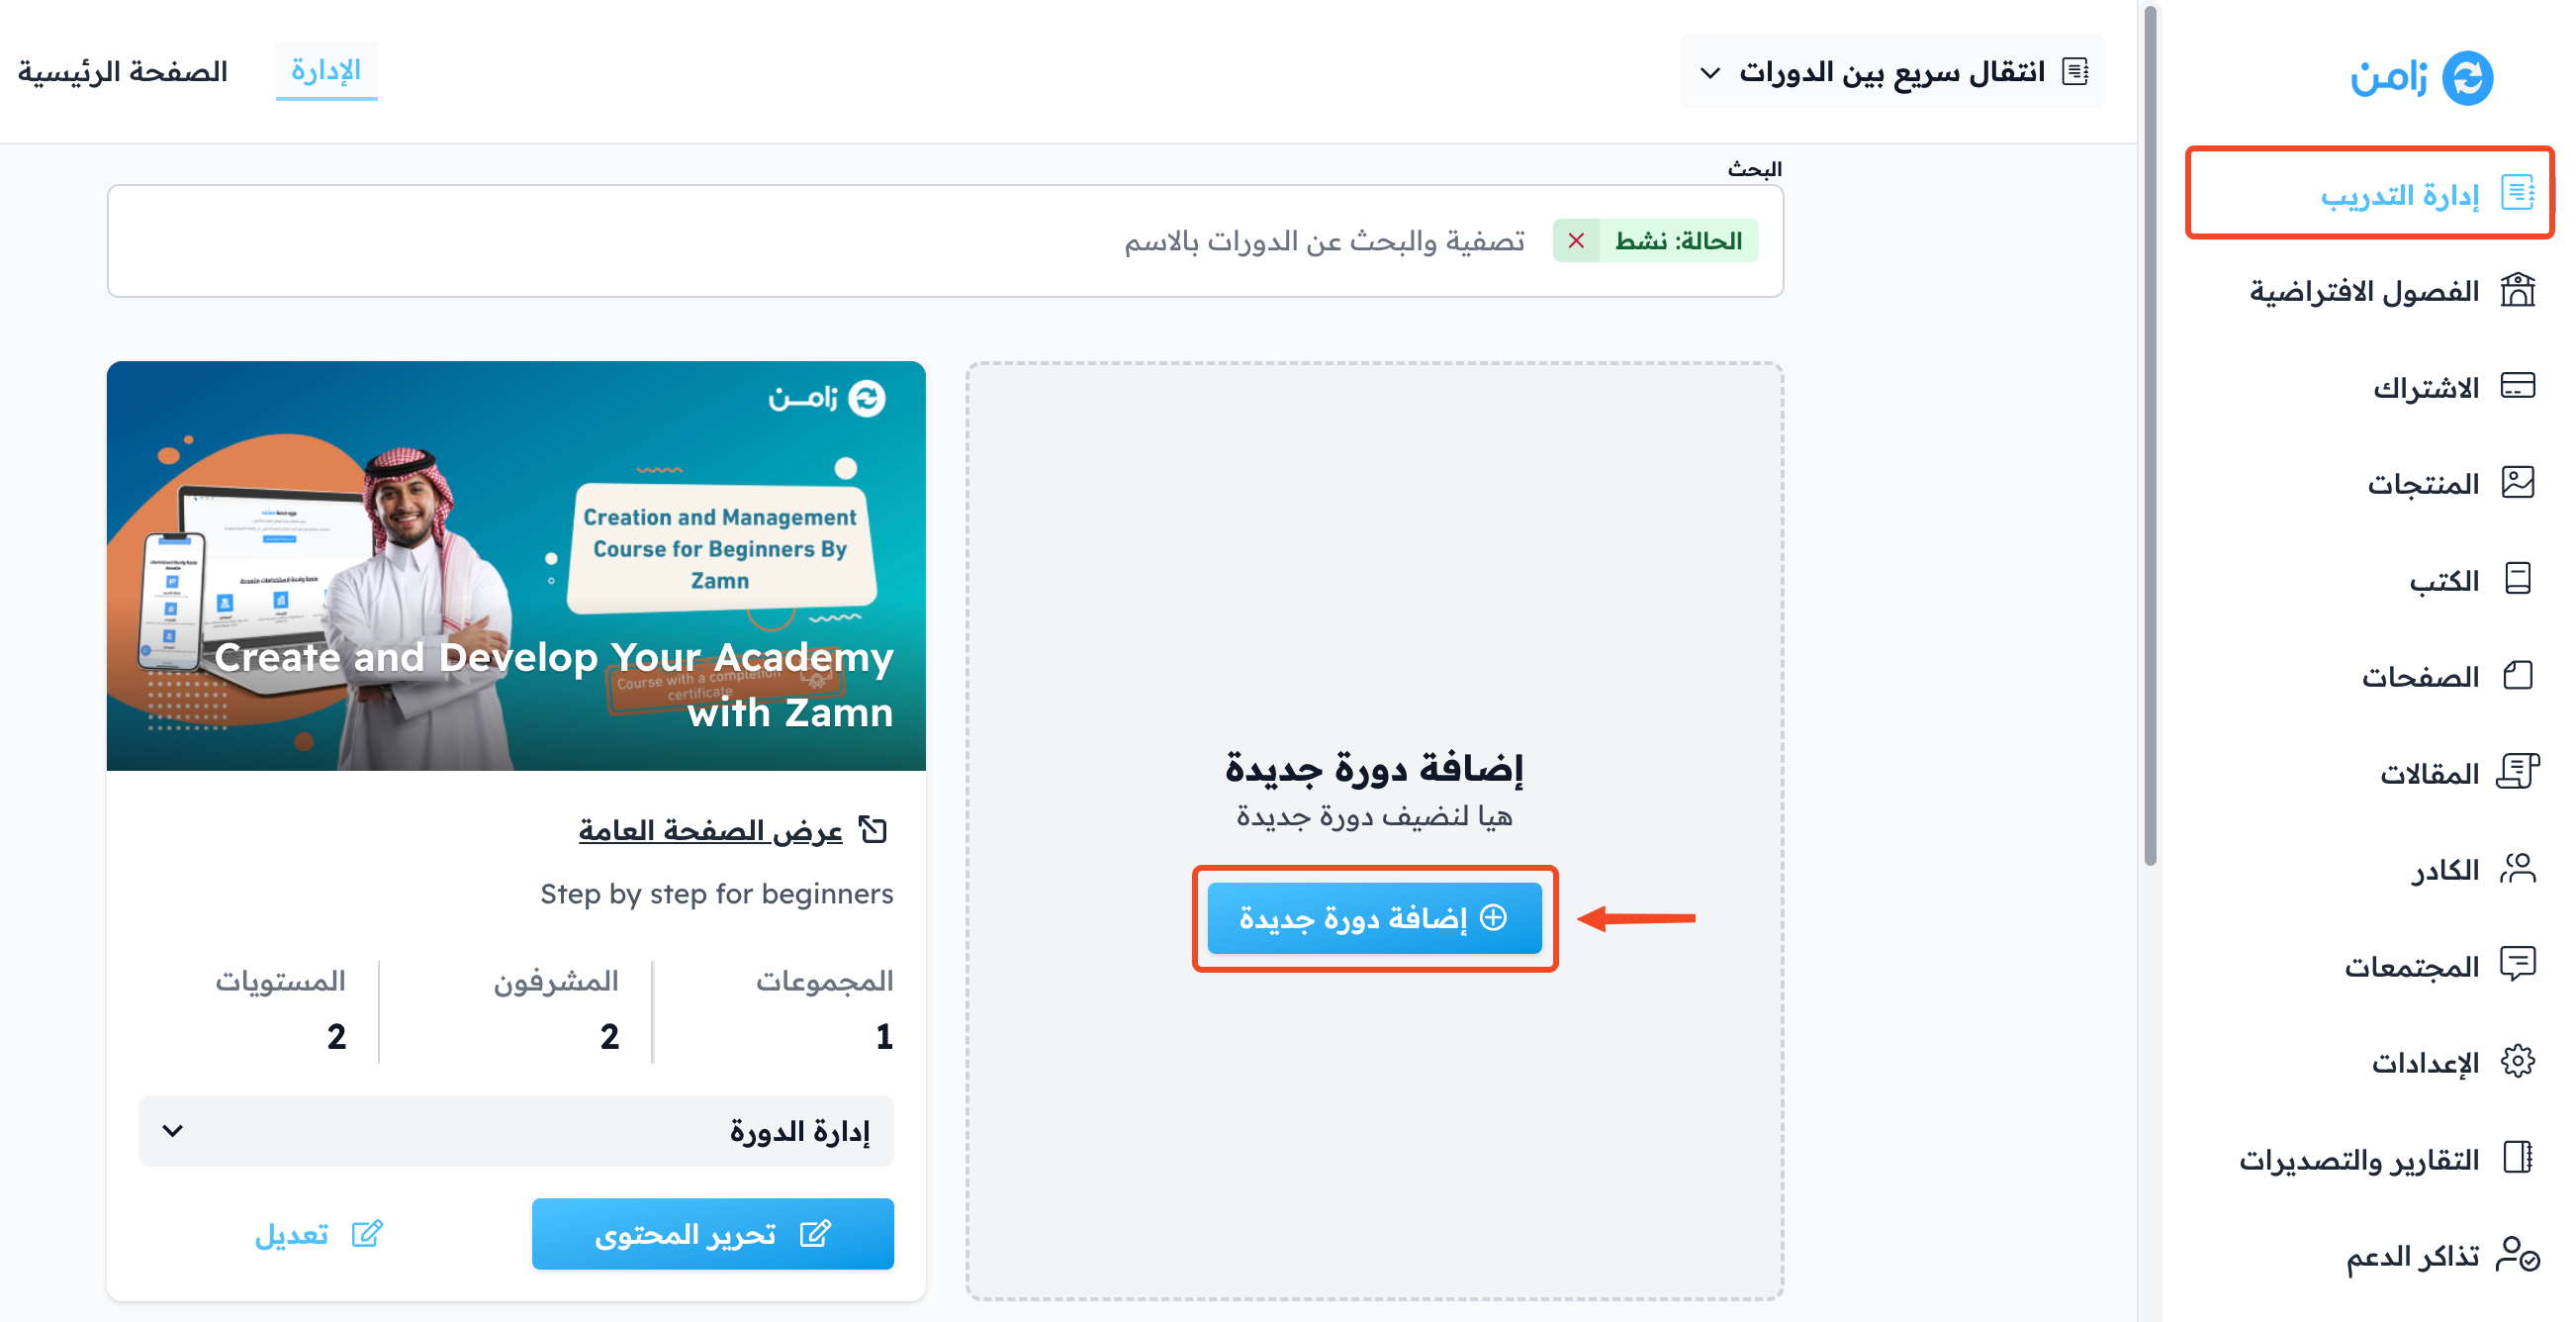
From Courses in the dashboard, click Add New Course.
-
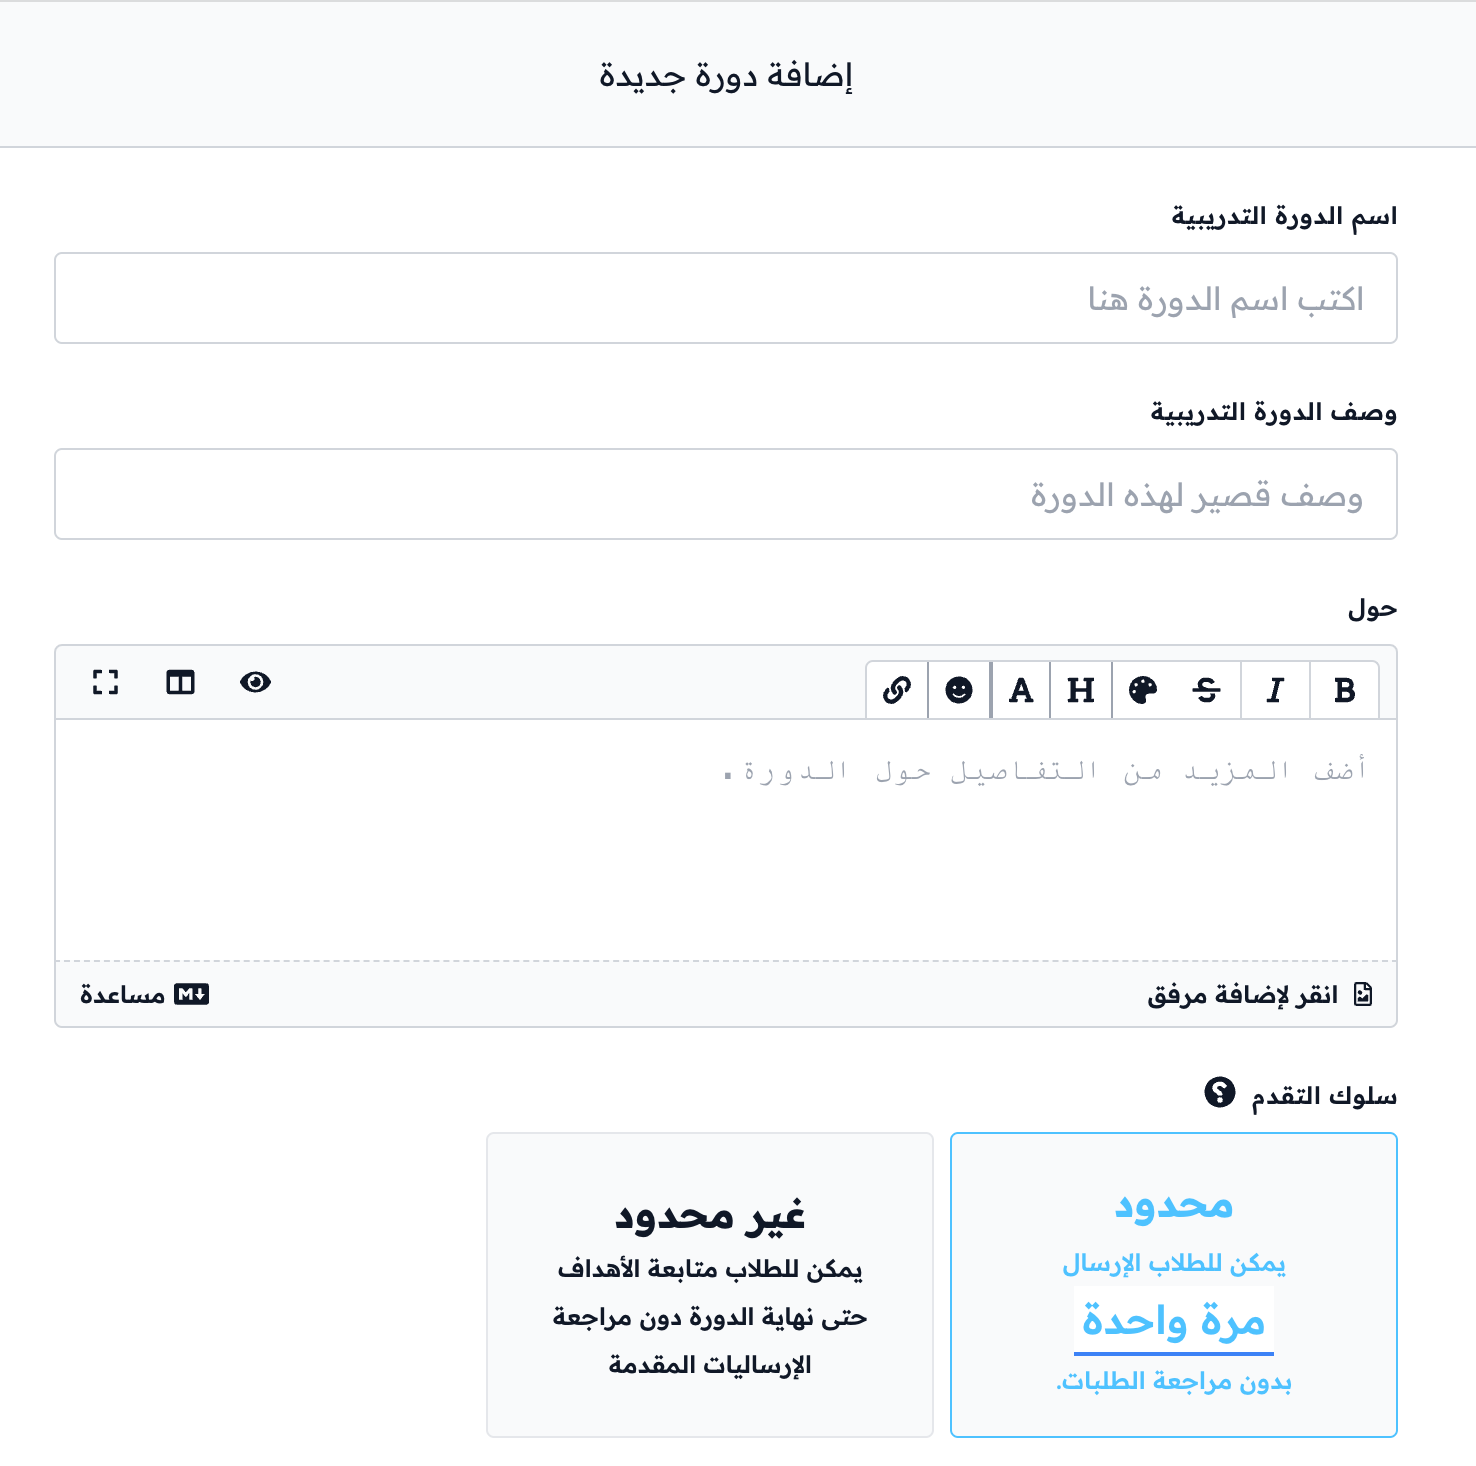
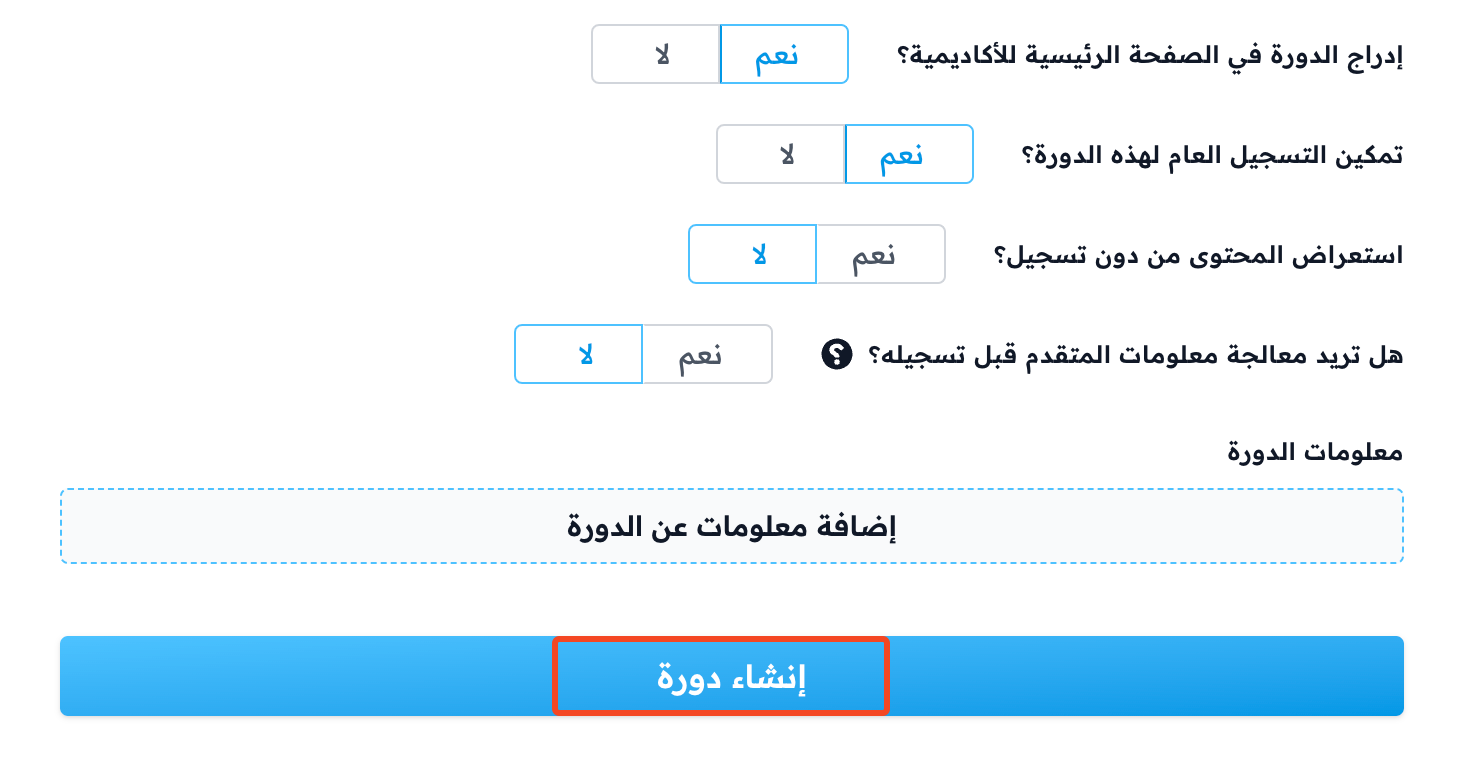
Enter the course details, then click Save.
3. Add the room link to a target in the course
-
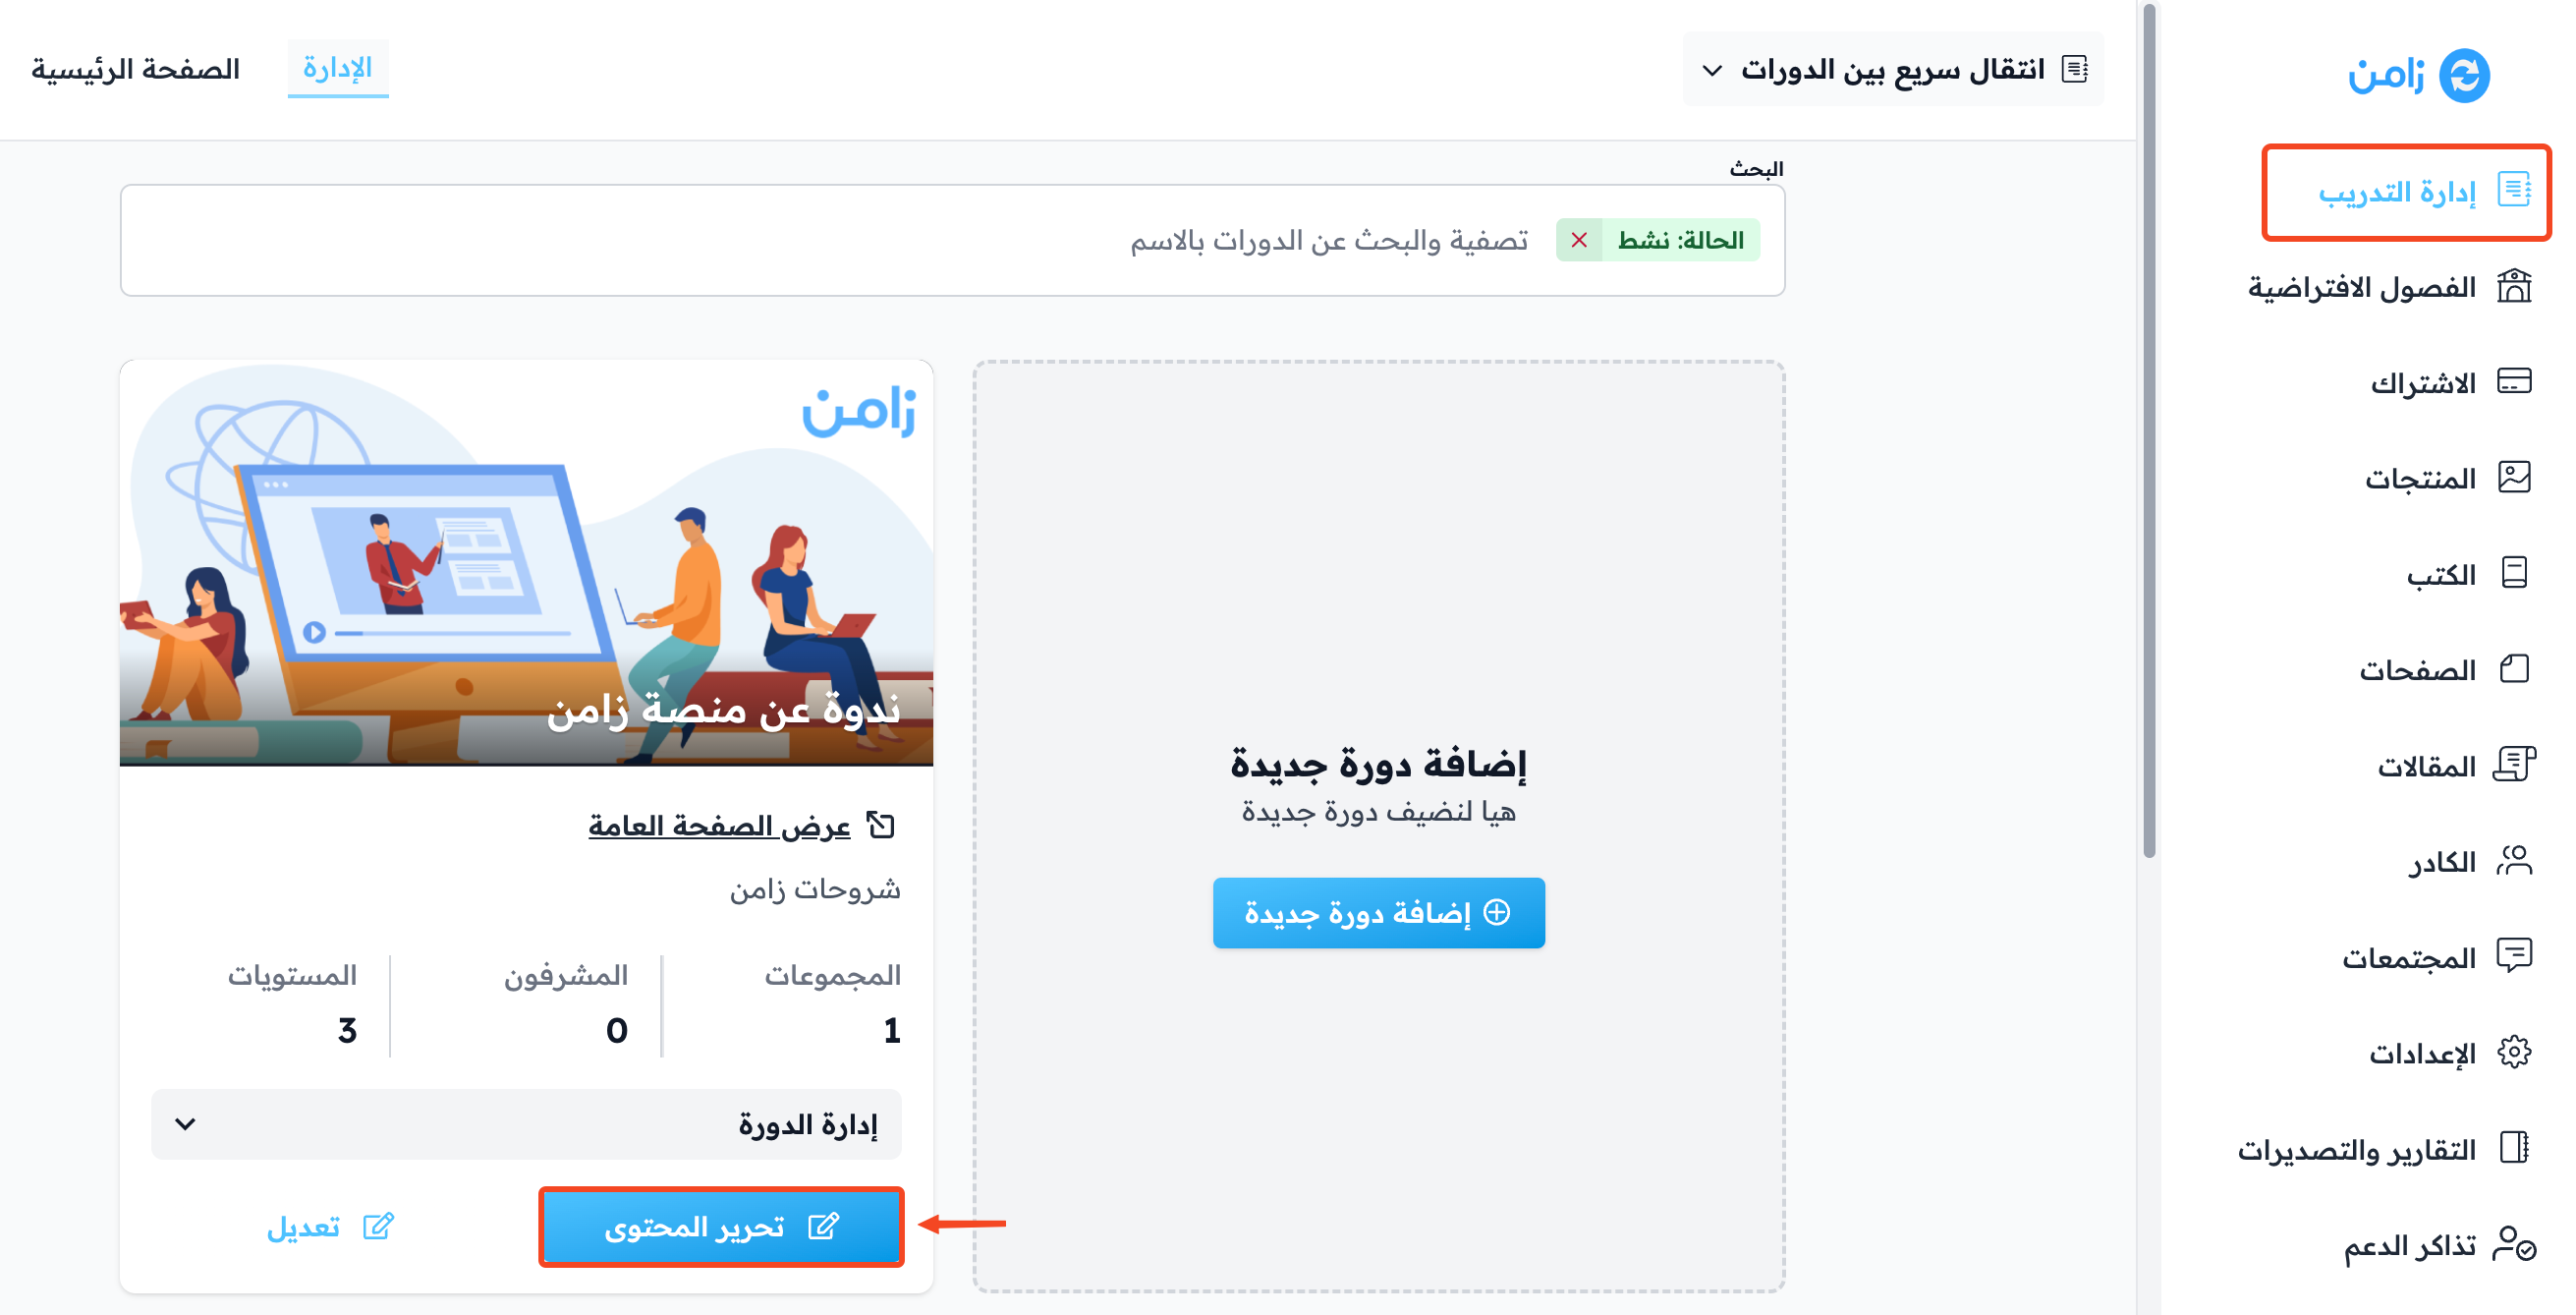
From Courses in the dashboard, after you add the course, click Edit Curriculum on the course card.
-
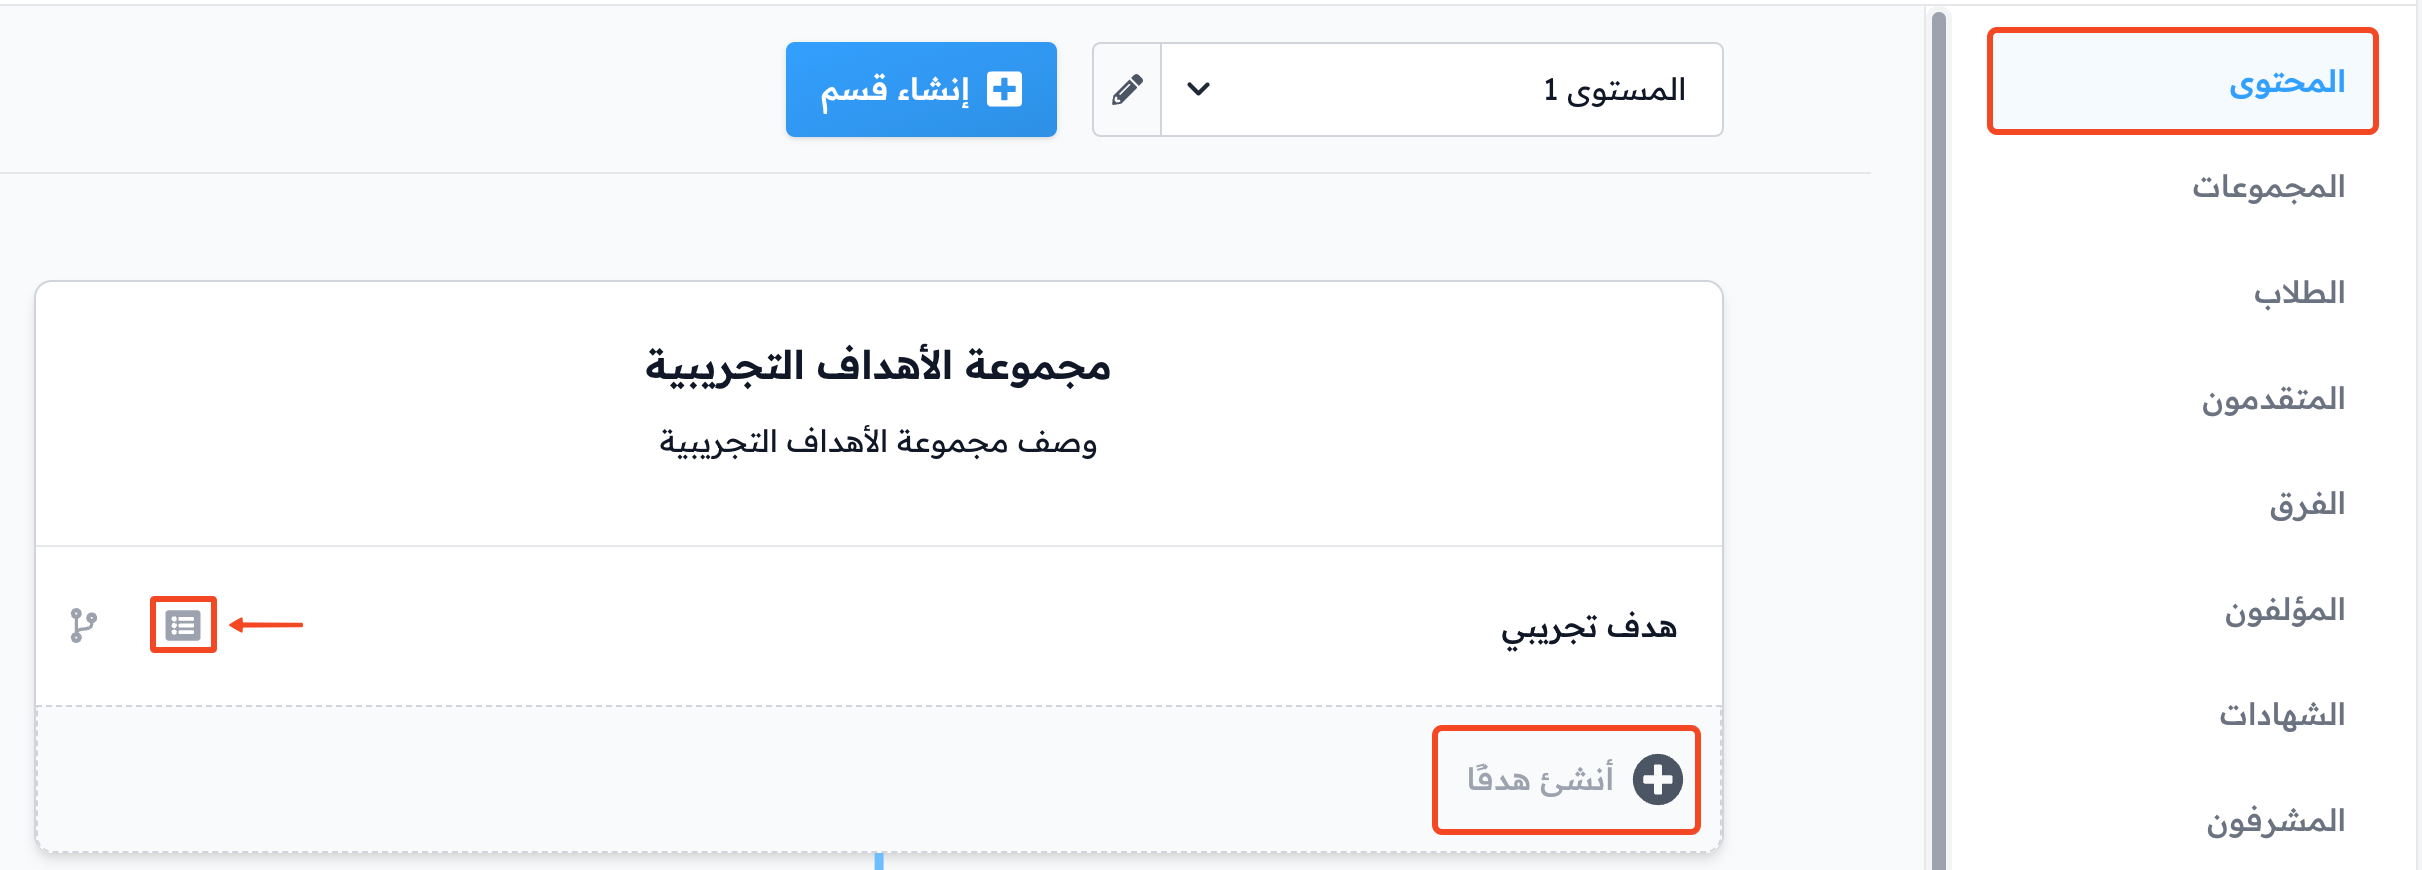
On the Curriculum page, click a target to edit it, or click Create target to make a new one.
-
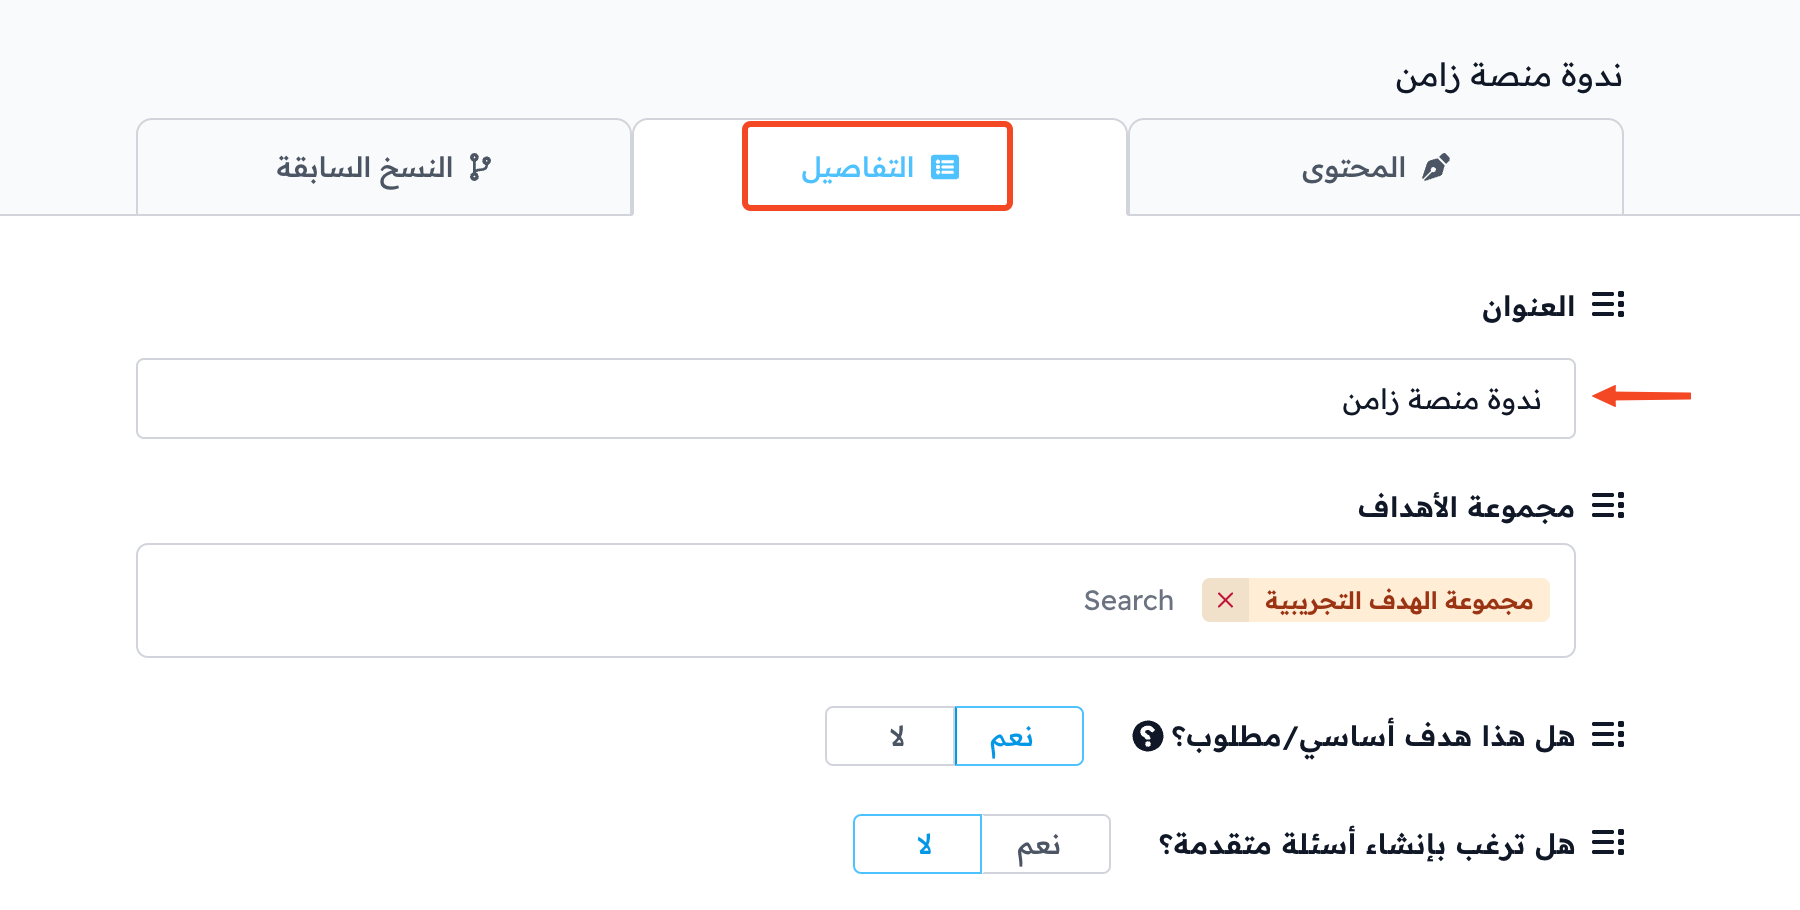
Open the Details tab and write the webinar name in Title.
-
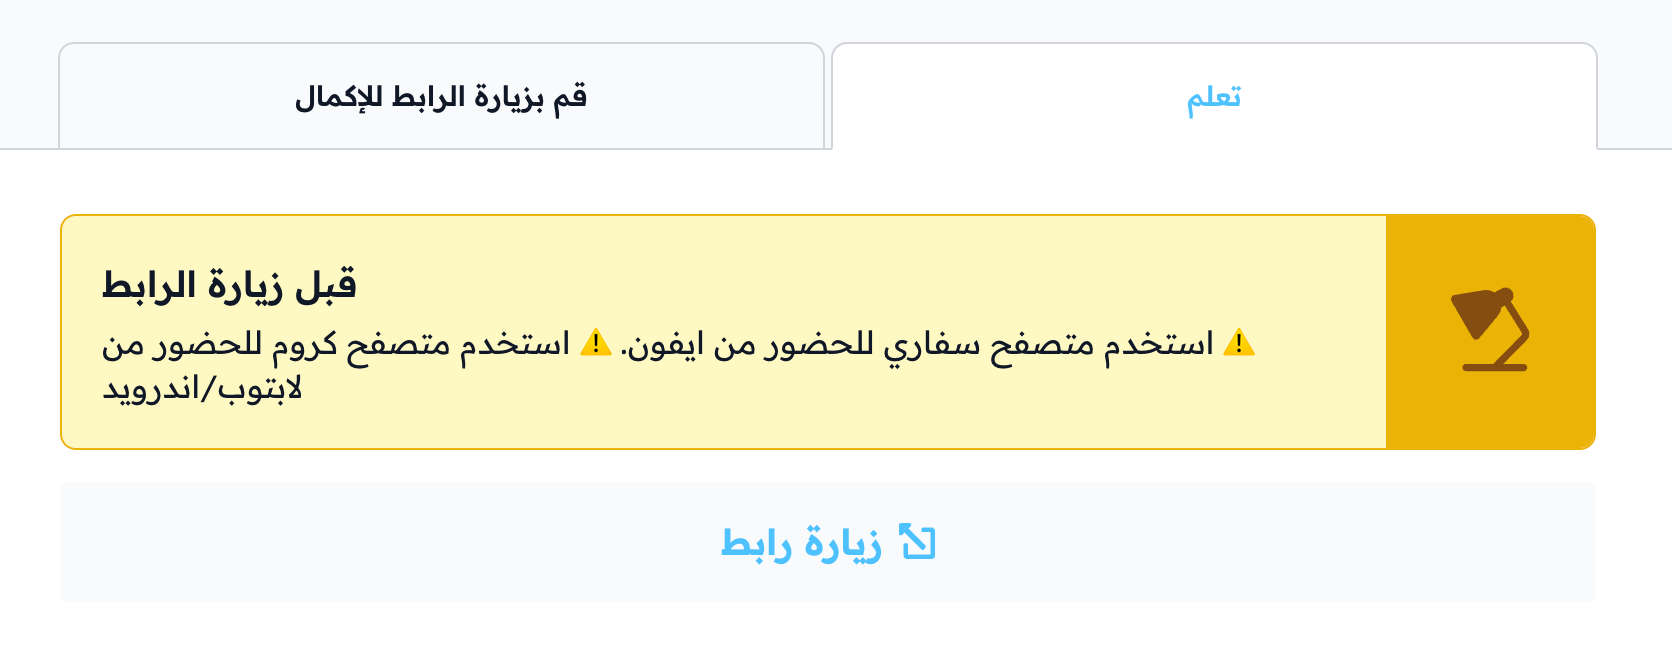
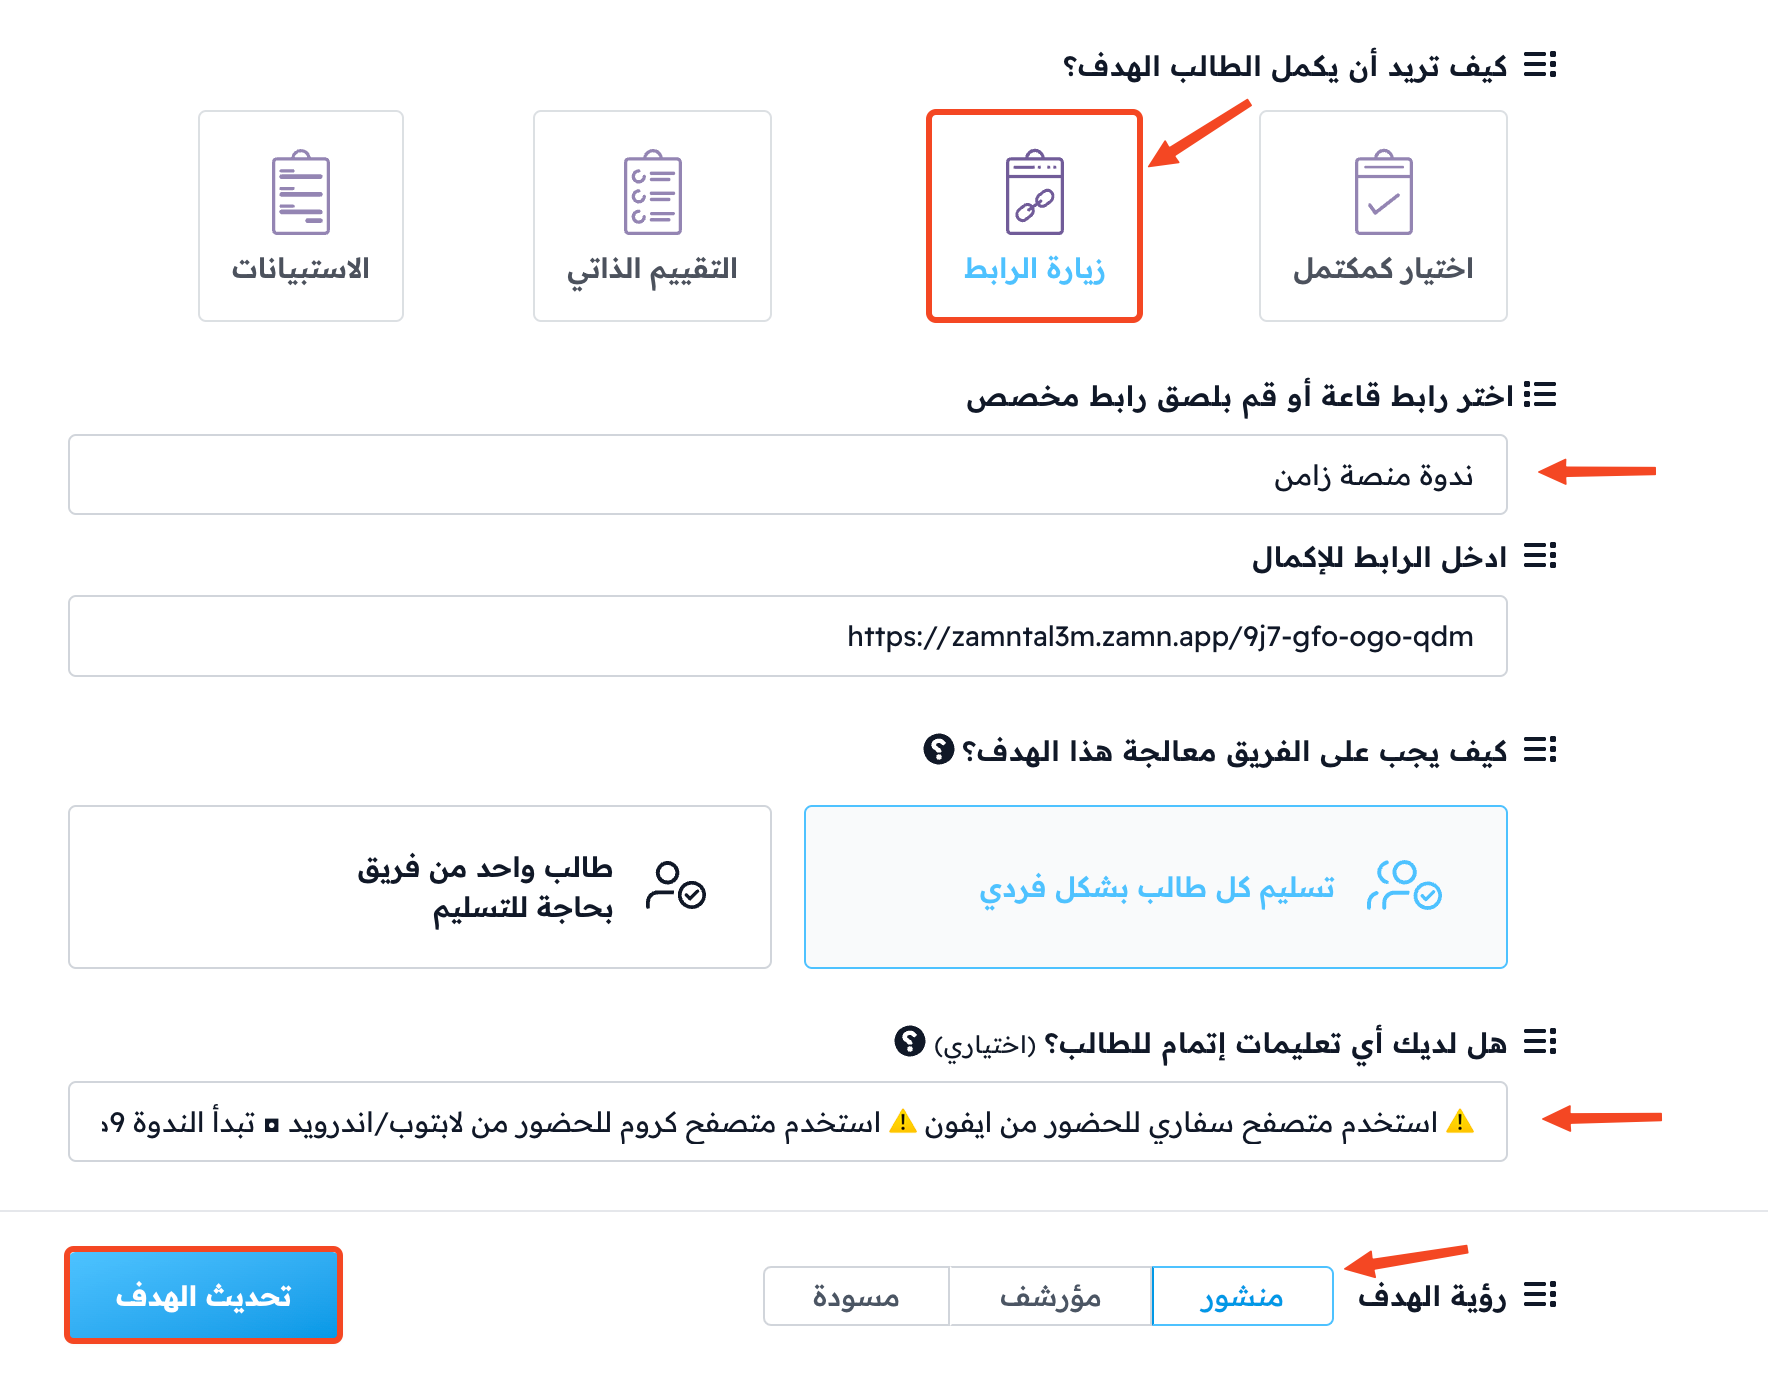
Under How do you want the student to complete the target?, choose Visit a link to complete the target.
-
Choose one of your rooms on Zamn or on Zoom.
-
You can add instructions for the attendees.
-
Make sure Target Visibility is set to Live.
-
Click Update Target to save.
To pick a Zoom room, you must first connect your Zoom account to the Zamn platform.
4. Add the course as a product
-
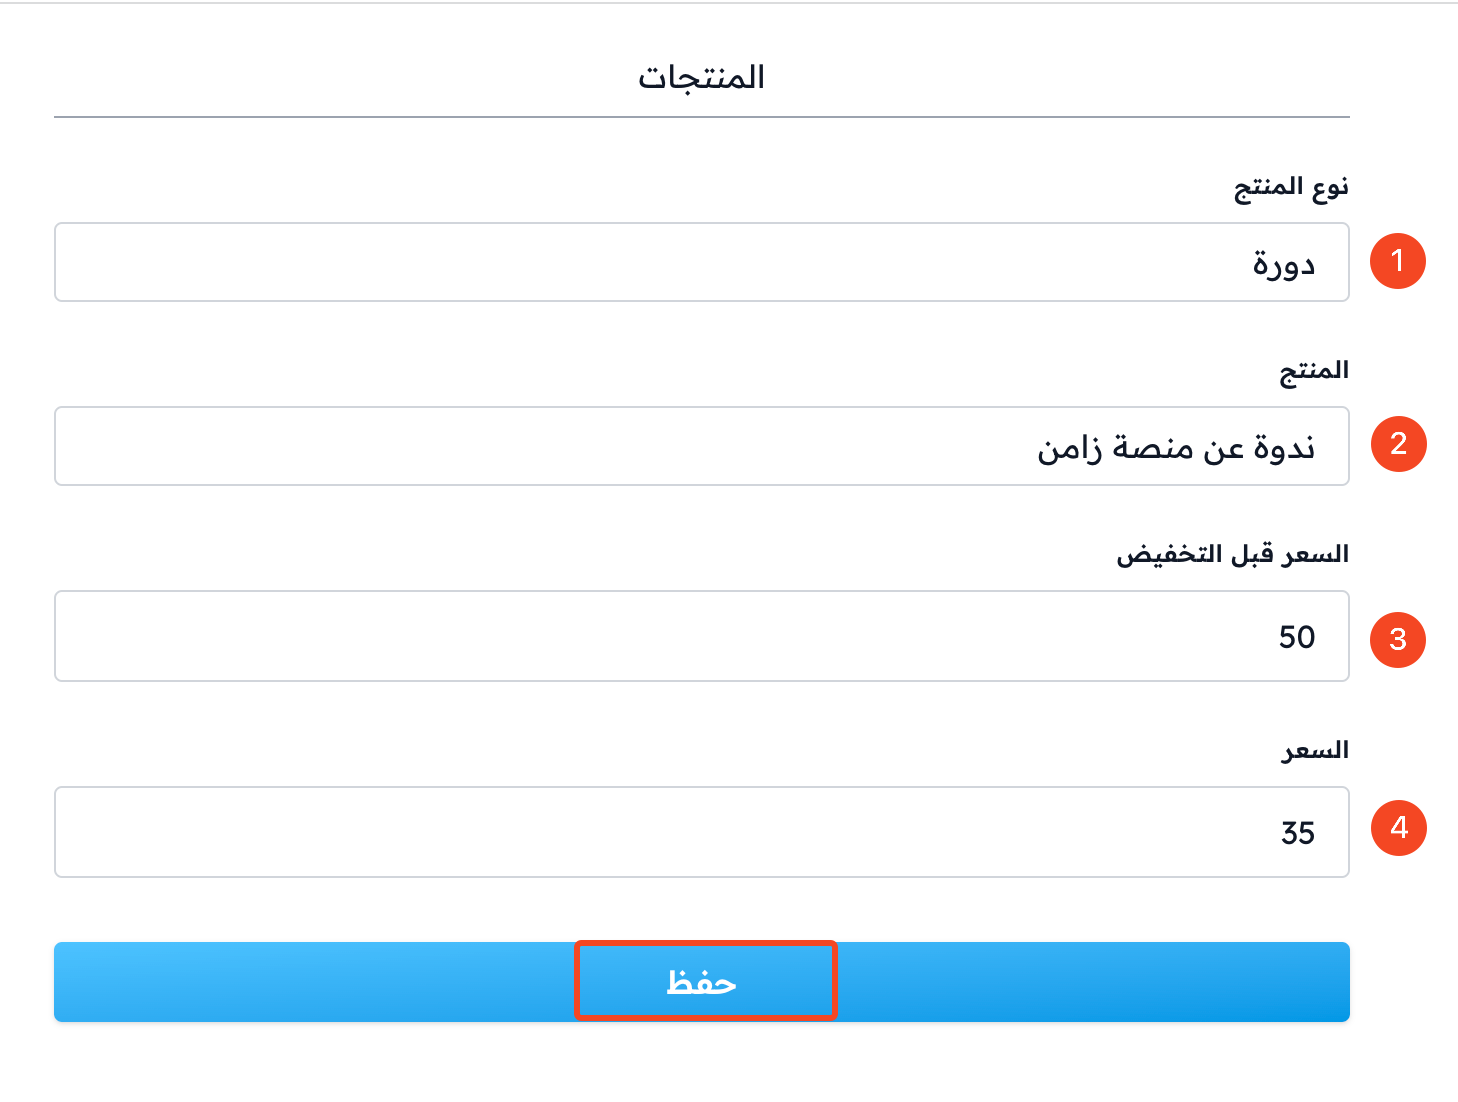
From Product Management in the dashboard, open the Products page and click Create Product.

-
Under Product Type, choose Course.
-
Under Product, choose the course you created and added the webinar room to.
-
Enter the current product price in Price.
-
You can enter the Price before reduction.
-
Click Submit.
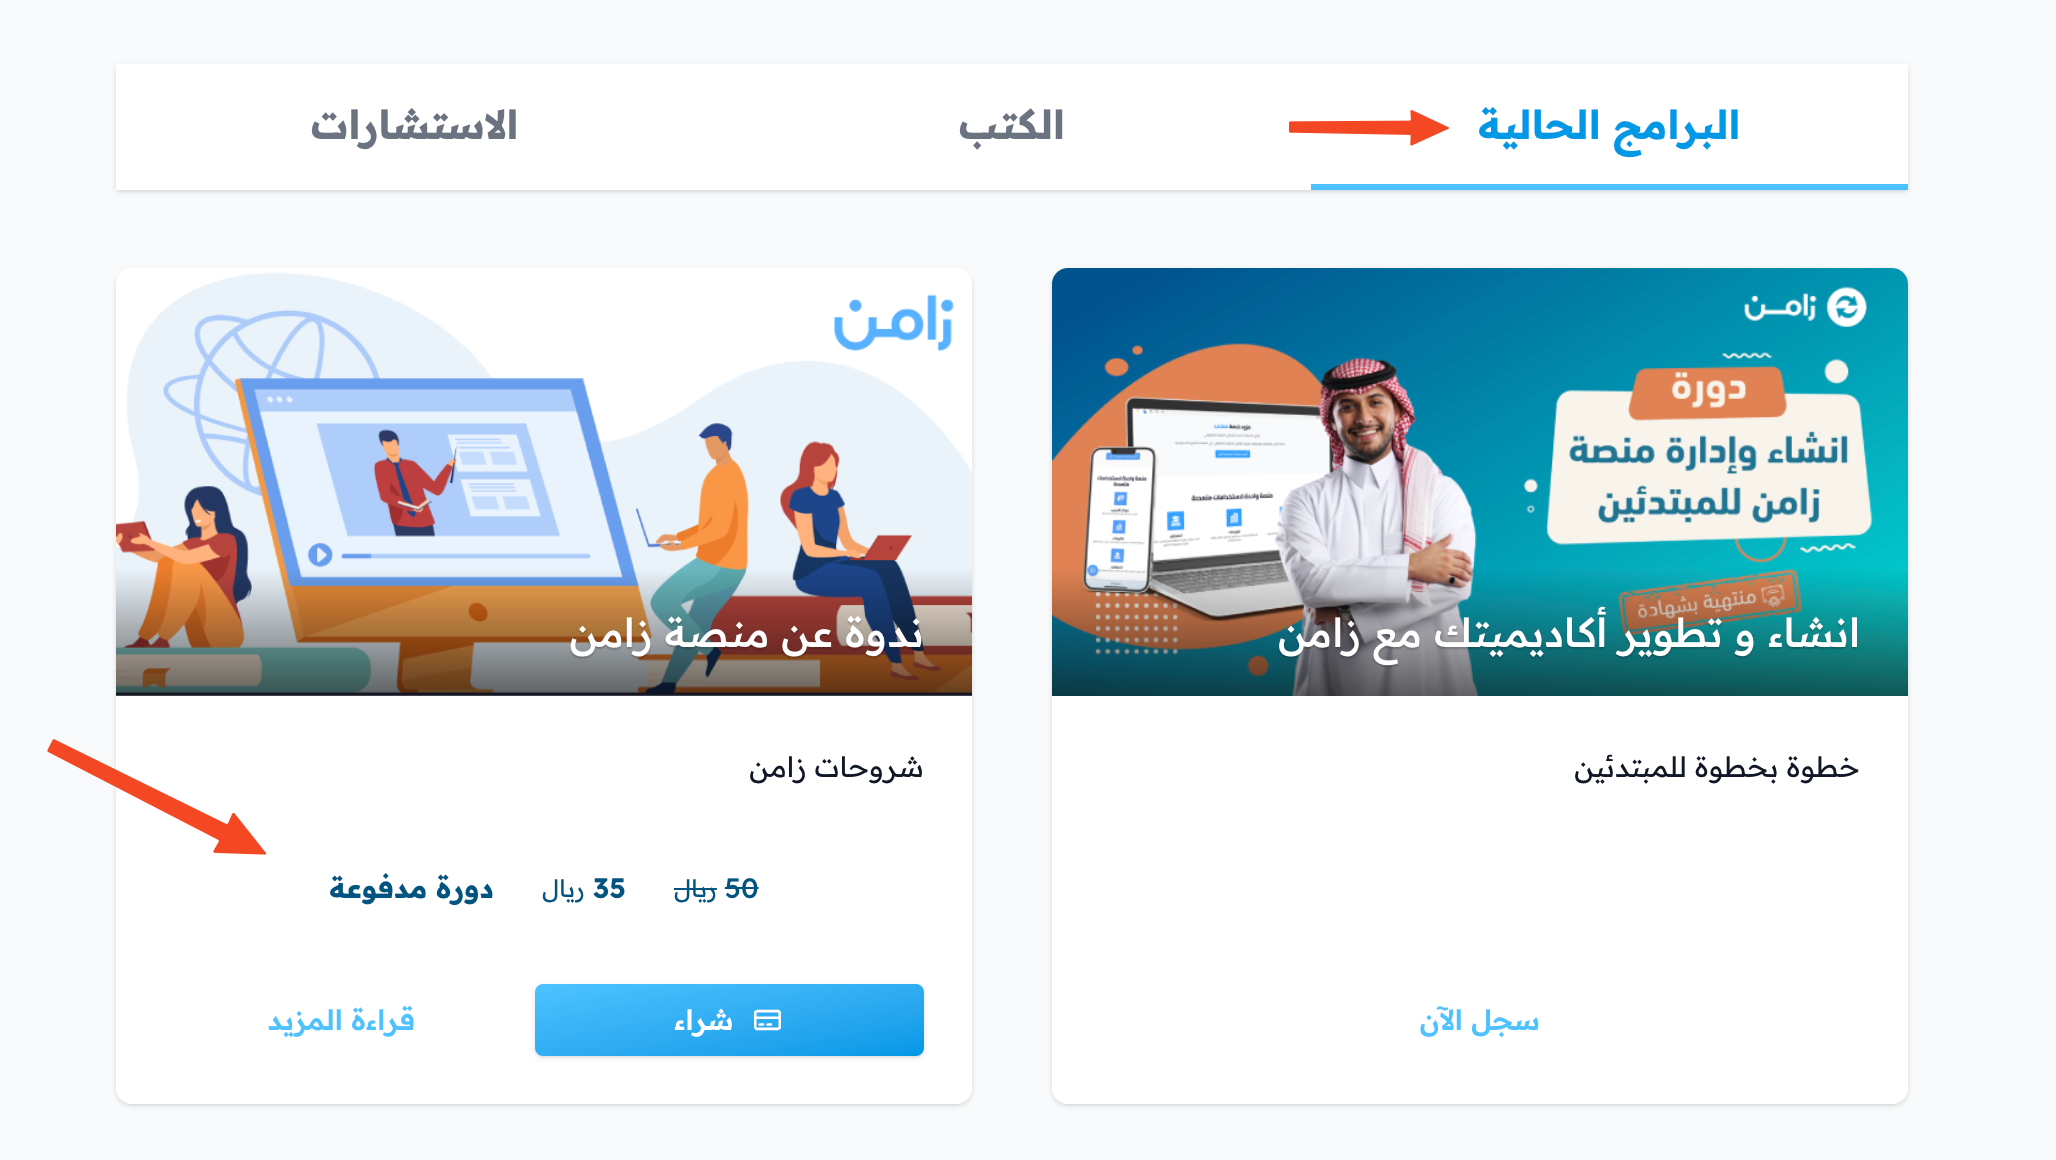
You can see an example of a paid webinar on the Zamn platform home page.